

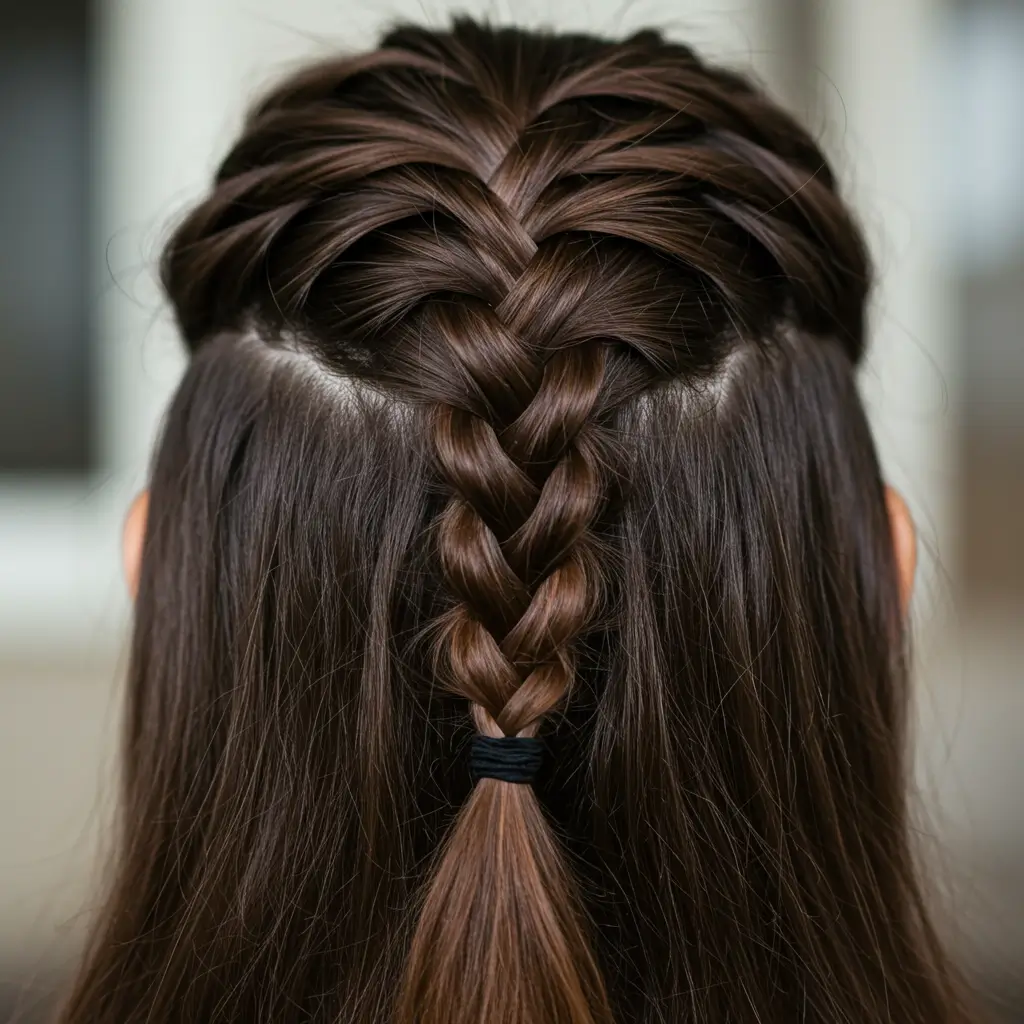
How To Do French Braid Hairstyle
Okay, let’s be real for a second. French braids look gorgeous, but they’ve got that mysterious “I swear this is wizardry” vibe going on. Ever watched someone whip one up in like 30 seconds and thought, “How?! Did I miss that class in school?” Same.
Well, guess what? You can totally learn how to do a French braid, and no, it doesn’t require magic, just a bit of patience, practice, and maybe a snack break halfway through. Let’s break it down together, friend-to-friend.
What Even Is a French Braid, Anyway?
Spoiler alert: It’s not just a fancy name. A French braid is basically your standard three-strand braid but with a twist you keep adding sections of hair as you go down. That’s it. Really. If you’re into other timeless looks like this, you might also enjoy browsing our hairstyles for long hair section.
What You’ll Need Before You Start
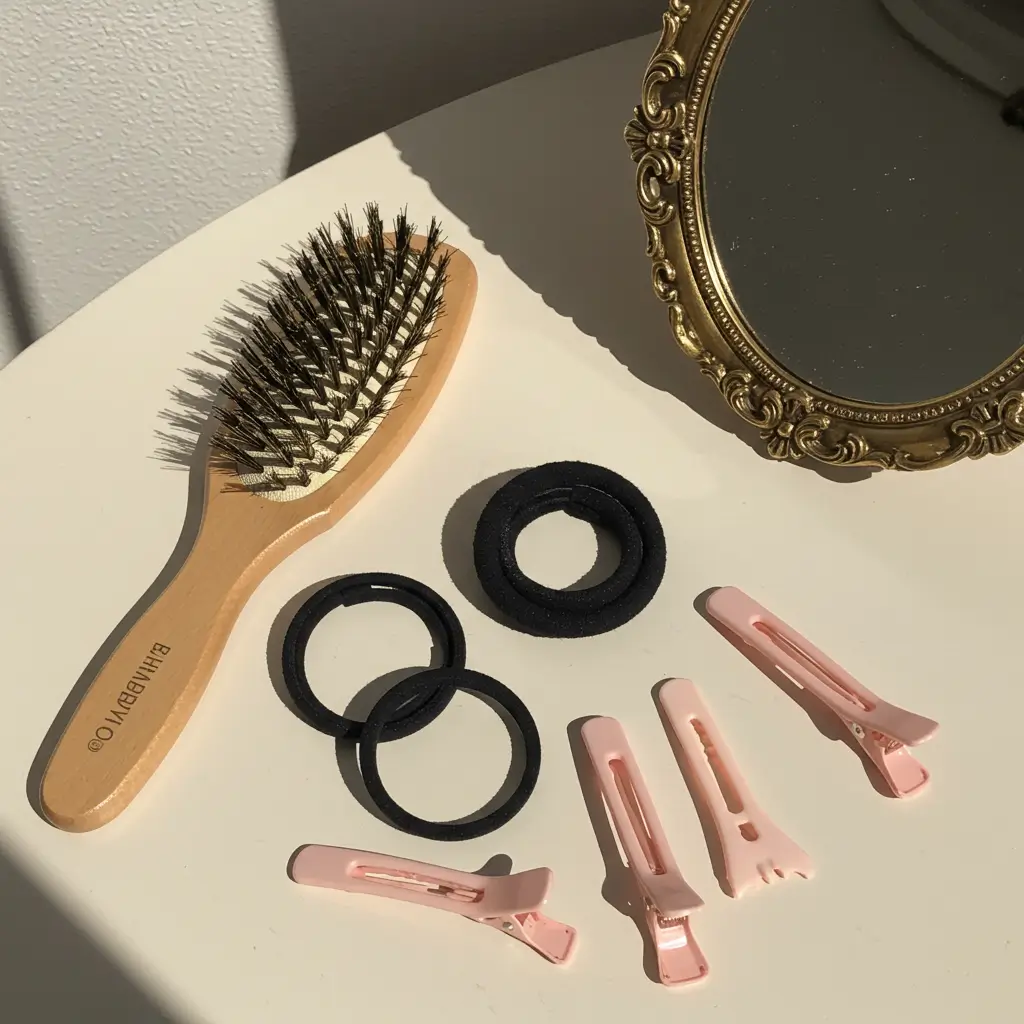
Let’s not overcomplicate things. You don’t need a glam squad for this. Just grab:
- A brush or comb—tangles are your worst enemy here
- A couple of hair ties—always keep an extra, trust me
- Optional: Hair clips—helpful if you’re working in sections
- Mirror(s)—one in front, maybe one behind if you’re being fancy
Pro tip: Work on slightly dirty hair (like day 2 or 3). Clean hair is slippery AF. And if you’re wondering which braid style to try next, don’t miss our how to do braided hairstyles guide for more ideas.
Step-By-Step: How To Do a French Braid
Alright, time for the real stuff. Here’s your no-fluff, no-fail guide to mastering the French braid:
1. Start With a Center Section

Grab a chunk of hair from the top center of your head. Like a little triangle right at your crown.
Why? Because this is your “anchor”—the beginning of the braid. Everything else builds off this.
2. Divide Into Three Equal Sections
You know the drill: left, middle, right. If they’re uneven, you’ll feel it later (and not in a good way).
Bold move? Name them. I call mine Past, Present, and Panic.
3. Cross the Right Over the Middle
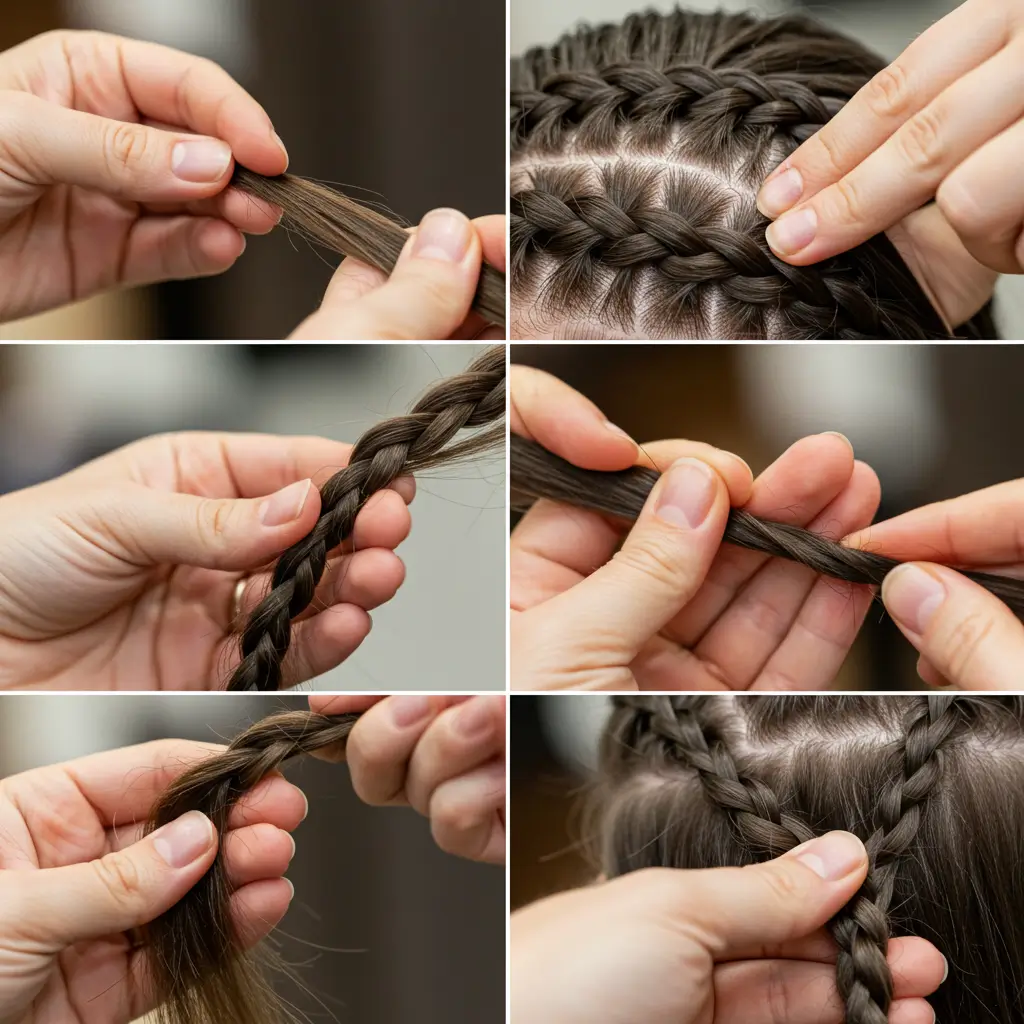
Take the right section and cross it over the middle. That right piece is now the new middle.
Easy? Yep. You’ve probably done this a million times. Let’s keep going.
4. Now Cross the Left Over the New Middle
Same thing. Left goes over the middle. Boom you’ve got your first “braid” going.
5. Here’s Where It Gets French: Add Hair to the Right Section
Before crossing the right piece over again, grab a small section of hair from the right side of your head and combine it with that right strand. Then cross it over the middle.
Feeling fancy yet? You should.
6. Repeat on the Left
Add a small chunk of hair to the left strand and cross it over the middle. You’re now officially French braiding.
7. Continue the Pattern
Keep alternating sides:
- Add hair to right, cross over
- Add hair to left, cross over
FYI: Keep your tension firm but not too tight. We want secure, not headache-inducing.
8. Finish With a Regular Braid
Once you run out of hair to add (usually at the nape of your neck), just finish with a basic three-strand braid down to the ends.
Tie it off with a hair tie, admire your masterpiece, and maybe take 73 selfies.
Common Mistakes and How to Avoid Them
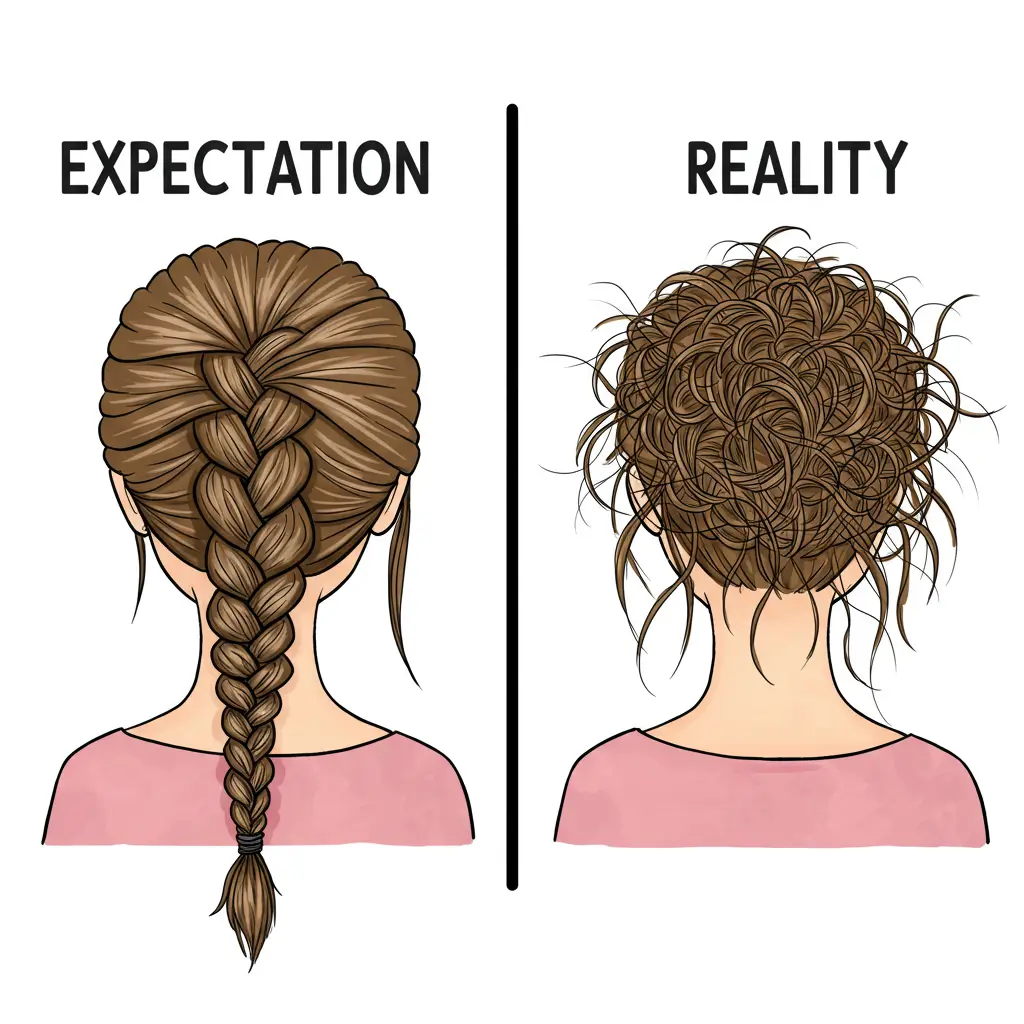
Let’s save you a few “why does this look like a knot?” moments:
- Sections too thick? Your braid will look chunky and uneven.
- Pulling too tight? Ouch and also hello scalp lines.
- Not adding enough hair each time? It’ll fall apart faster than my will to work on Mondays.
Fixes:
Use smaller sections, keep your hands close to your scalp, and keep even tension. And don’t panic if it flops, you can always call it a “boho braid” and pretend it’s intentional.
Variations to Try Once You Nail It

Feeling confident? Here are a few fun twists (pun 100% intended):
- Double French Braids: Think sporty and sleek also great for workouts
- Side French Braid: Elegant and romantic, perfect for date nights or pretending you’re in a shampoo commercial
- French Braid Into a Bun: Braid the top, twist the end into a bun. Done and done
Bonus tip: These work beautifully with both medium and long hair lengths so feel free to experiment based on your current cut.
Maintenance Tips for Your French Braid
Now that you’ve nailed it (high five, btw), let’s make it last:
- Use a bit of styling cream or gel to tame flyaways
- Sleep with a silk pillowcase if you wanna stretch the style overnight
- Mist with hairspray if you’re heading out into wind, rain, or just general chaos
Why I Love French Braids (And Why You Will Too)
Let me tell you, I’ve had days where I look in the mirror and think, “Yep, today’s a baseball cap day.” Then I French braid my hair and suddenly I’m like, “Wait, do I look… put together?” It’s like a built-in confidence boost. French braids are also perfect for events like weddings when you want to look effortlessly elegant without spending hours at the salon.
Final Thoughts: You’ve Got This

Learning how to do a French braid hairstyle might seem intimidating at first, but once you get that rhythm down, it’s like riding a bike except way cuter.
So next time you’re staring at your hair thinking, “Ugh, what do I even do with this?”, try a French braid. Worst case? It turns into a messy braid and you call it “textured.” Best case? You’ve got your new signature look.