How To Do A Beehive Hairstyle: The Big Hair Comeback
Ever looked at an old photo of your mom, aunt, or literally anyone from the 60s and thought, “Whoa, what’s holding that hair up gravity or sorcery?” Same. That, my friend, is the beehive hairstyle, and it’s making a serious comeback. And guess what? You don’t need to be a vintage queen or a hair wizard to pull it off.
I’ve tried this style more than once (let’s not talk about that one time my teasing brush got stuck), and trust me it’s way easier than it looks, especially when you know the hacks. So let’s break down how to do a beehive hairstyle like a pro, without losing your mind—or your hair.
What Is a Beehive Hairstyle, Really?
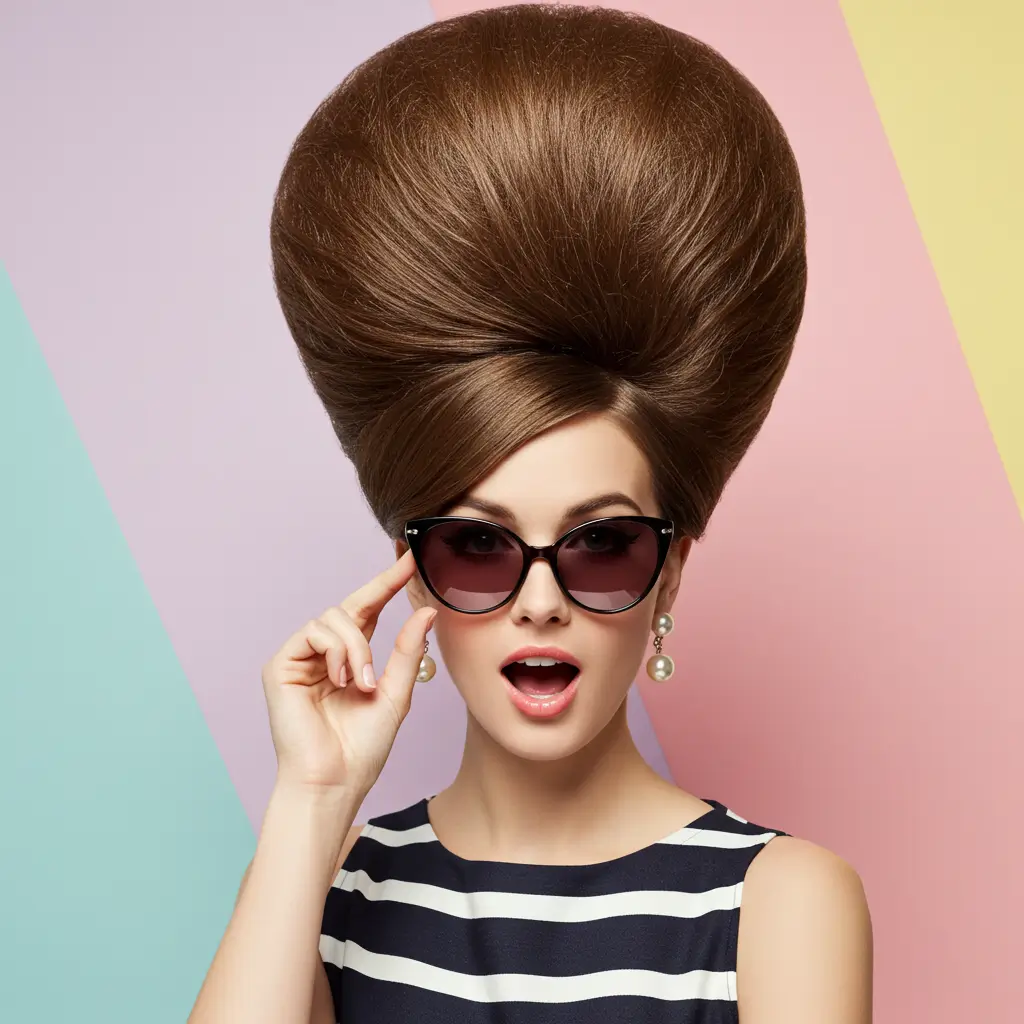
Okay, picture this: your hair is piled high on top of your head, rounded like, well, a beehive. Shocker, right? It’s bold, dramatic, and oozes retro glam. Think Audrey Hepburn in Breakfast at Tiffany’s or Amy Winehouse with her signature sky-high style.
It’s one of those timeless hairstyles that still make a statement today. The beauty of the beehive? It works on most hair lengths (shoulder-length and up), it screams confidence, and it adds major volume.
What You’ll Need: Beehive Survival Kit
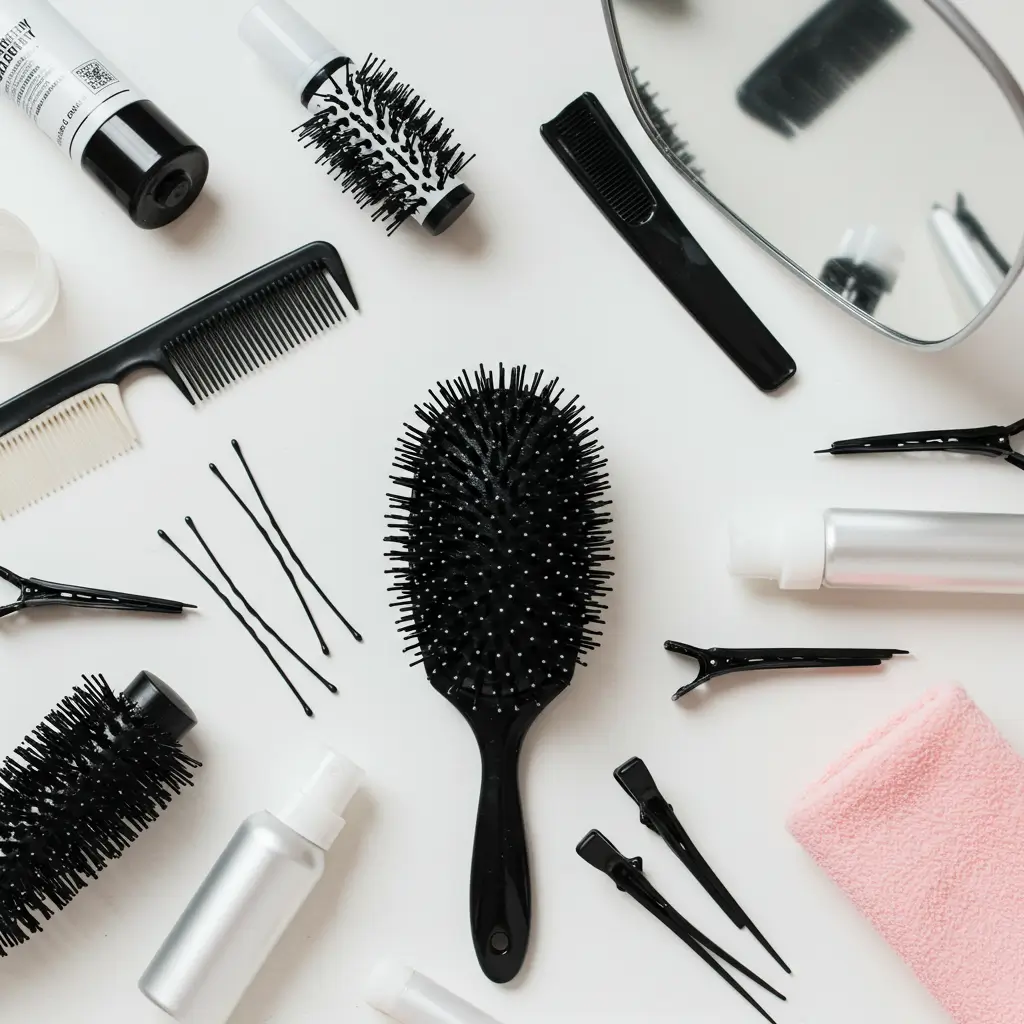
Before we start stacking hair like pancakes, let’s talk gear. You don’t need an army of tools, just a few essentials:
- Teasing comb or brush this is your volume MVP.
- Strong-hold hairspray because gravity is rude.
- Bobby pins lots. Like, an embarrassing amount.
- Hair ties
- Hair padding (optional) for that extra boost.
- Sectioning clips not glamorous, but very useful.
- Mirror setup because what’s the point if you can’t see the back?
Pro tip: Go for slightly dirty hair (like day two or three). Clean hair is way too slippery and just says “no thanks” to volume.
Step-by-Step: How To Do A Beehive Hairstyle
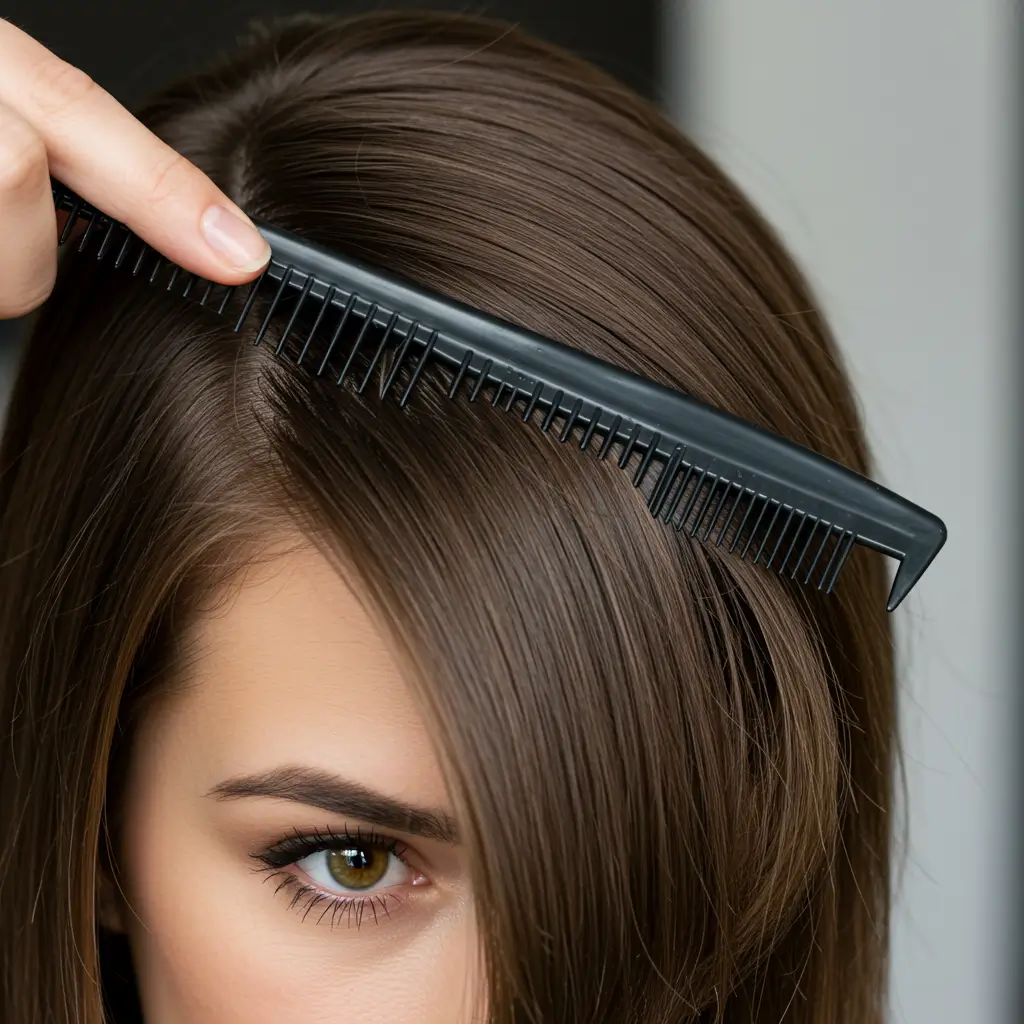
1. Section Like a Boss
Divide your hair into three parts:
Front section (crown to forehead) – clip this out of the way.
Middle section (crown area) – this is your teasing zone.
Back section – you’ll use this to cover the teased bits.
Why section? Because chaos is fun in theory, but not when your hair’s involved. This tip works for medium-length hairstyles and longer, and even some short hairstyles with added volume tricks.
2. Tease, Tease, and Then Tease Some More
This is where the magic (and the arm workout) happens.
- Take small sections of the crown hair.
- Hold each piece straight up and backcomb from mid-length down to the roots.
- Use short, firm strokes like you’re brushing in reverse.
Keep going until you look like you lost a bet. You’re doing it right.
3. Shape It Up
Now for the fun part molding that mountain of fluff into a smooth beehive.
- Gently smooth the top layer of the teased hair with a brush to hide the chaos underneath.
- Use your hands to shape the rounded top.
- Optional: Add a hair bump or padding underneath for extra drama (aka volume that defies logic).
4. Pin It Like Your Life Depends On It
Tuck the ends of the teased section underneath and secure them with bobby pins at the crown.
- Make sure the pins go in crisscrossed for maximum hold.
- Use additional pins to secure the sides and back.
Don’t skimp on the pins. I’ve had one rogue gust of wind ruin a perfectly good beehive. Not fun.
5. Add the Front Flair
Remember that front section you clipped earlier?
- You can smooth it back over the hive and pin it.
- Or, create a side-swept bang, middle part, or even mini pompadour for a personal touch.
Do what makes you feel like a rock star.
6. Lock It In
Spray your masterpiece like you’re prepping it for a hurricane. Use a strong-hold hairspray to freeze that beehive in place.
- Tilt your head and spray from different angles.
- Don’t forget the back (this is where a second mirror saves lives).
Beehive Hacks & Real Talk

Here’s the thing: not every beehive has to scrape the ceiling. You can totally rock a mini-beehive if you want something more casual (read: less arm pain). IMO, it’s all about owning the vibe. Some extra tips I swear by:
Use dry shampoo or volume-friendly hair products before teasing to get extra grip.
Don’t over-brush the top layer just smooth it gently.
Need it to last all day? A light backcombing at the base + padding = unshakable volume.
Hair too thin? Clip-in extensions under the teased hair. Instant volume. No one will know. For even more volume tricks, check out our guide to long hairstyles that balance drama and glam.
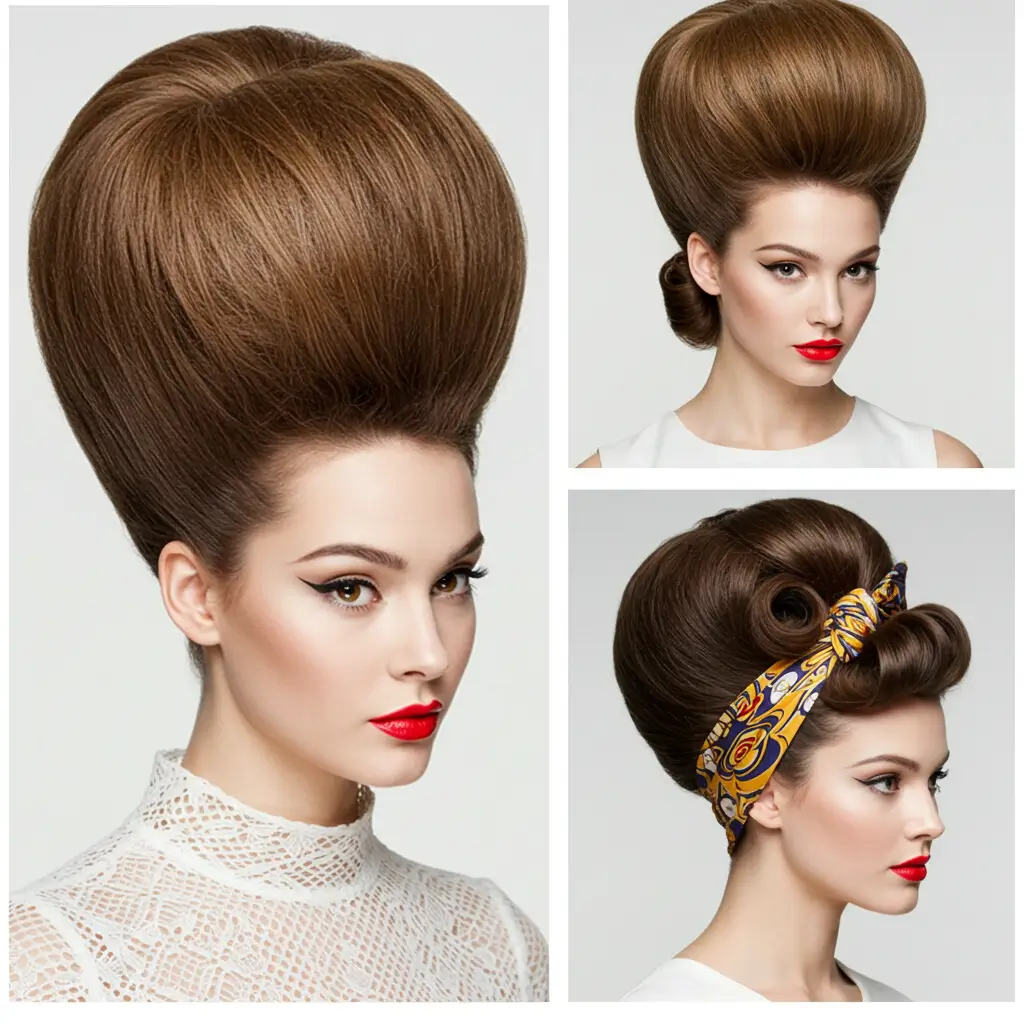
Beehive Hairstyle Variations You’ll Love

Tired of the classic version? Remix it.
Beehive Ponytail – Tease the crown, then tie the rest into a high ponytail. Elegant but playful.
Half-Up Beehive – Great for everyday glam. You keep the volume on top and let the rest of your hair flow free.
Beehive with Headband or Scarf – Retro and super cute. Also covers any bobby pin chaos. Win-win. Want to match the beehive to a special event? It makes a gorgeous option for vintage-inspired wedding hairstyles, especially with a veil or statement accessory.
Final Thoughts: Should You Try It? Heck Yes.
If you’ve ever wanted to feel like a 60s icon or just really need a hairstyle with height (literally and metaphorically), the beehive is calling your name.
Sure, it takes a little teasing (okay, a lot), but once you get the hang of it? It’s actually fun. You’ll strut around like you’re in a vintage movie—and people will ask how you did it.
So grab that teasing comb, channel your inner retro queen, and give the beehive a go. Worst case? You laugh, take a wild selfie, and try again tomorrow. Best case? You look fabulous and start a trend.