How To Do Layered Hairstyles
Let’s be real for a sec: layered hairstyles are the Beyoncé of haircuts. They’ve been around forever, they look good on pretty much everyone, and they know how to steal the spotlight. Whether you’ve got long, thick waves or fine hair that clings to your head like it’s scared of gravity, layers can add movement, volume, and just enough sass to make you say, “Damn, who is she?”
So, you wanna know how to do layered hairstyles? Girl (or guy I don’t judge), you’re in the right place.
Why Layers, Though?
Ever had that “meh” feeling after a haircut that just… hangs there? Yeah, we’ve all been there. Layers fix that. They give your hair shape, movement, and personality like contouring, but for your head. Whether you’re working with short hairstyles, medium length styles, or flowing long hairstyles, layers can elevate your whole look.
Here’s what layers actually do:
- Add volume (especially if your hair’s flatter than your last relationship)
- Frame your face without being all up in it
- Remove weight from thick hair so it doesn’t feel like a wool sweater on your neck
- Create bounce and flow, making it look like you tried even if you didn’t (my personal fave)
FYI: Not all layers are created equal. You can go soft and subtle or full glam with drama that screams “I’m fabulous.” The key? Customizing it for your hair type.
Step 1: Know Your Hair Type Like It’s Your Bestie
Before you even think about snipping, get familiar with your hair type. Trust me, layering curly hair vs. fine straight hair is like comparing cats and dogs cute, but wildly different. If you need inspiration for all types and textures, head over to our hairstyles guide to match layering styles with your unique hair.
For Straight Hair:
- Use long, blended layers to avoid the choppy “I-cut-my-own-hair-during-quarantine” vibe.
- Layers around the face add dimension and volume.
For Wavy Hair:
- Embrace textured layers that follow your natural movement.
- The more lived-in, the better think of a beachy goddess without the sand stuck everywhere.
For Curly Hair:
- Go slow, layer by curl pattern, not length.
- Layers should reduce bulk but not disrupt your curl definition.
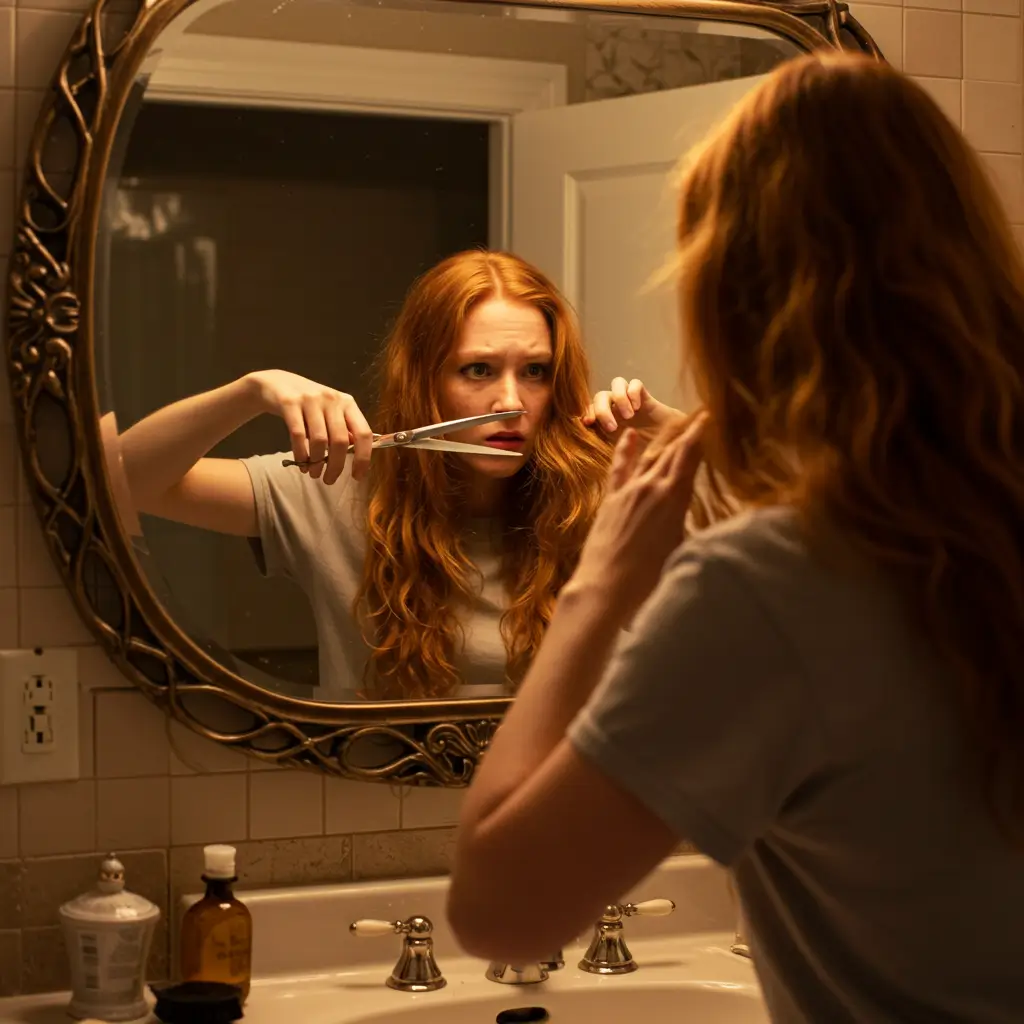
Pro tip: Curly folks, get a dry cut or see a curly-hair specialist. Not doing that? Might as well cut your own bangs with kitchen scissors while you’re at it.
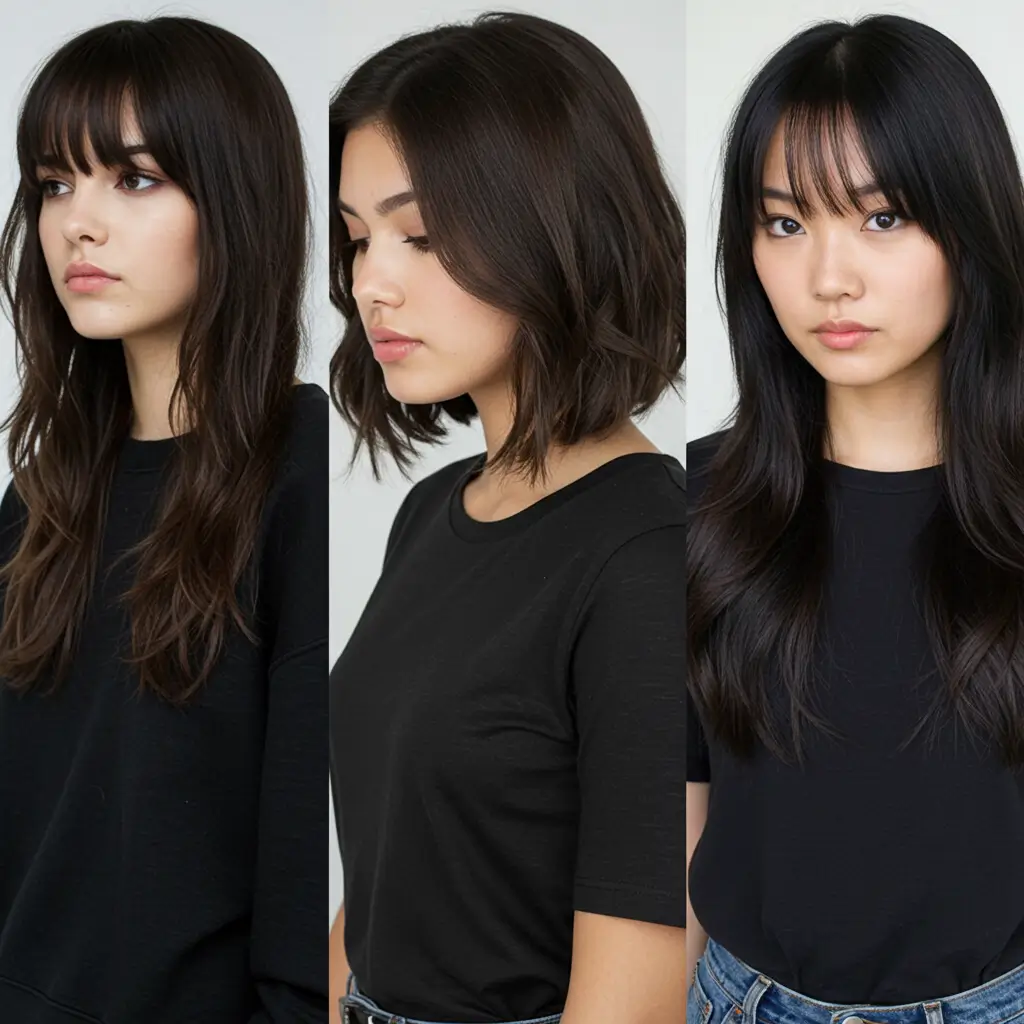
Step 2: Pick Your Layering Style Like You’re Choosing a Netflix Series
Okay, this is where it gets fun. You’ve got options, babe. Whether you’re into bold V-cuts or subtle framing, our curated collections—from medium-length hairstyles with layers to edgy short cuts—have something for every vibe and volume need.
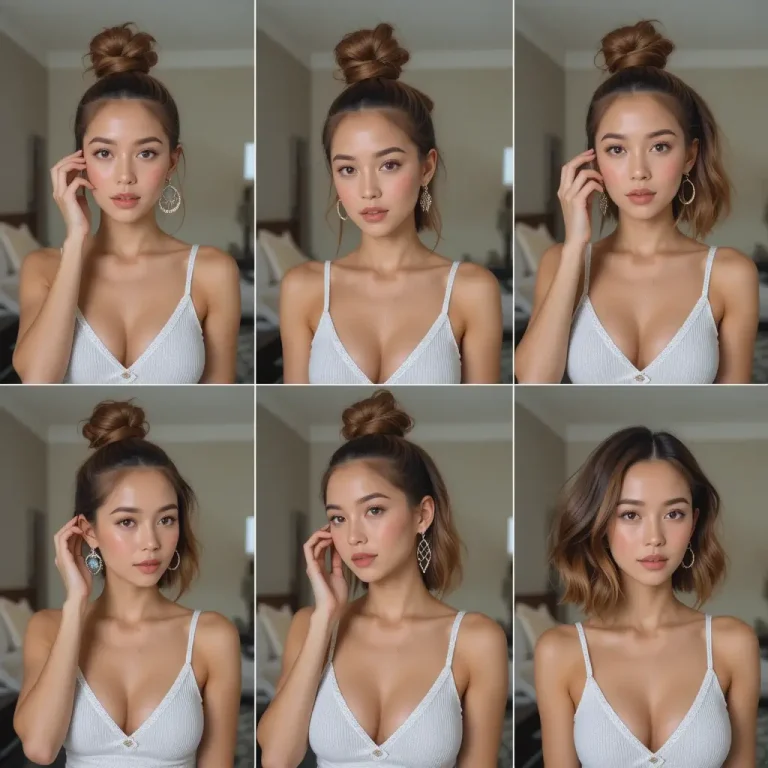
Face-Framing Layers
Soft, flattering, and makes your cheekbones pop even if you skipped highlighter that day.
Long Layers
Best for straight or slightly wavy hair. Adds subtle movement without sacrificing length. AKA commitment issues in haircut form.
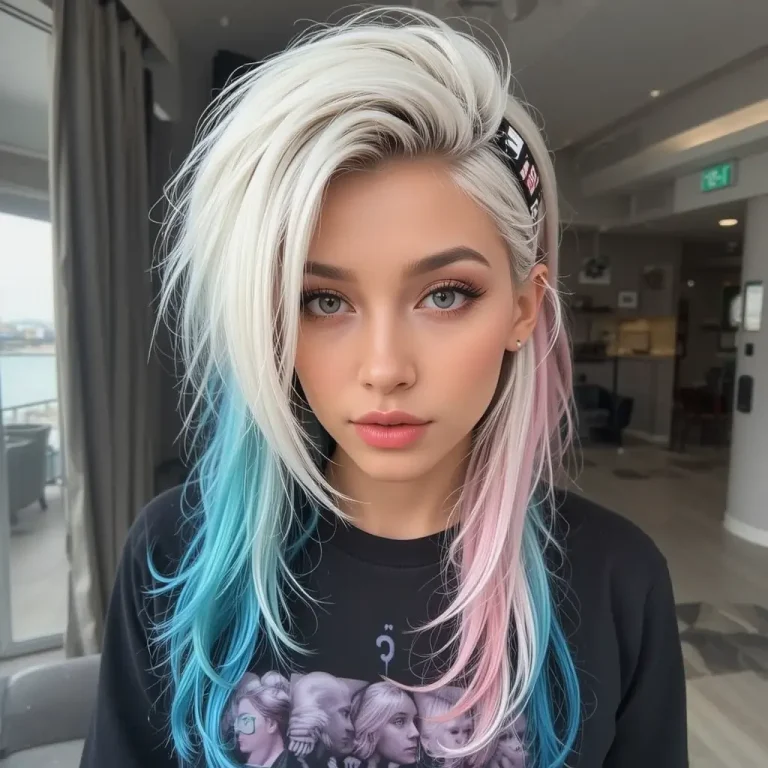
Shaggy Layers
Hello, cool girl vibes. This one’s messy, textured, and pairs perfectly with dry shampoo and oversized sunglasses.
Feathered Layers
Total retro moment. Think Farrah Fawcett but make it 2025.
V-Shape or U-Shape Layers
Want your hair to look like a waterfall of glory when it’s down? This is the one.
Step 3: DIY or Nah?
Here’s the million-dollar question: Should you try doing layers at home?
Well, IMO… yes and no. If you’re just trimming ends or adding light face-framing layers, you can DIY with the right tools and YouTube video. But if you’re thinking of giving yourself a full-on shag… please, don’t. I beg you.
If You Insist on DIY:
- Use sharp, salon-quality scissors (not your mom’s craft ones)
- Cut hair dry if it’s curly or wavy, wet if it’s straight
- Section hair properly and go slow
- Always cut less than you think hair shrinks, and so will your self-esteem if you go too short
Step 4: Layer Styling 101
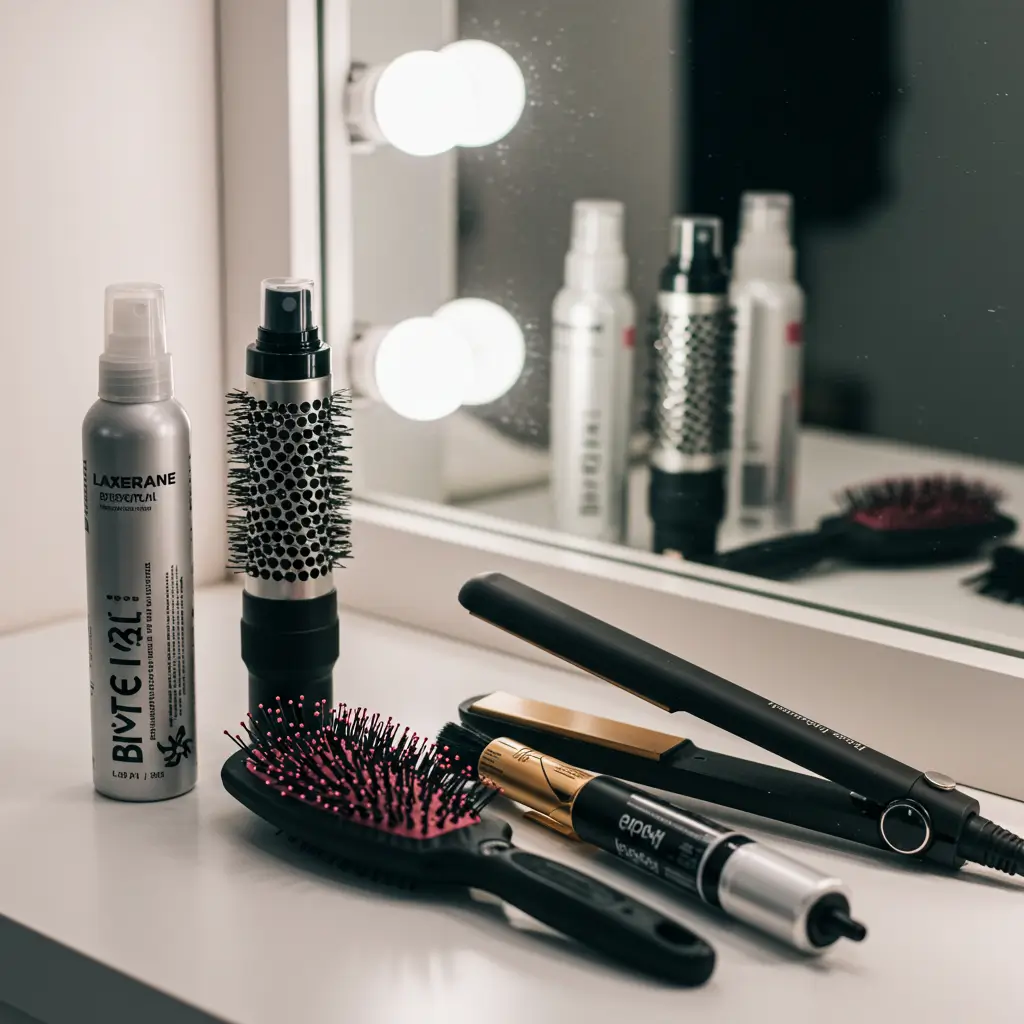
So now you’ve got layers. Now what? Time to style, baby. From blowouts to beach waves, the trick is tailoring your tools and products to your hair length and type. Not sure what style direction to take? Our main hairstyles page is full of real-life inspiration for every occasion and aesthetic.
Blowouts for Layers:
- Use a round brush to lift at the roots and flip the ends.
- Aim the dryer down the hair shaft to keep things smooth and shiny.
Beach Waves:
- Curl sections in alternating directions with a medium-barrel wand.
- Finish with texture spray to get that “I woke up like this (but better)” look.
Sleek & Straight:
- Use a heat protectant (unless you like fried noodles for hair)
- Flat iron in layers (pun intended) for a super chic look
Must-Have Products:
- Texturizing spray (for volume)
- Lightweight hair oil (for shine and frizz control)
- Volumizing mousse (especially for fine hair that needs a little boost
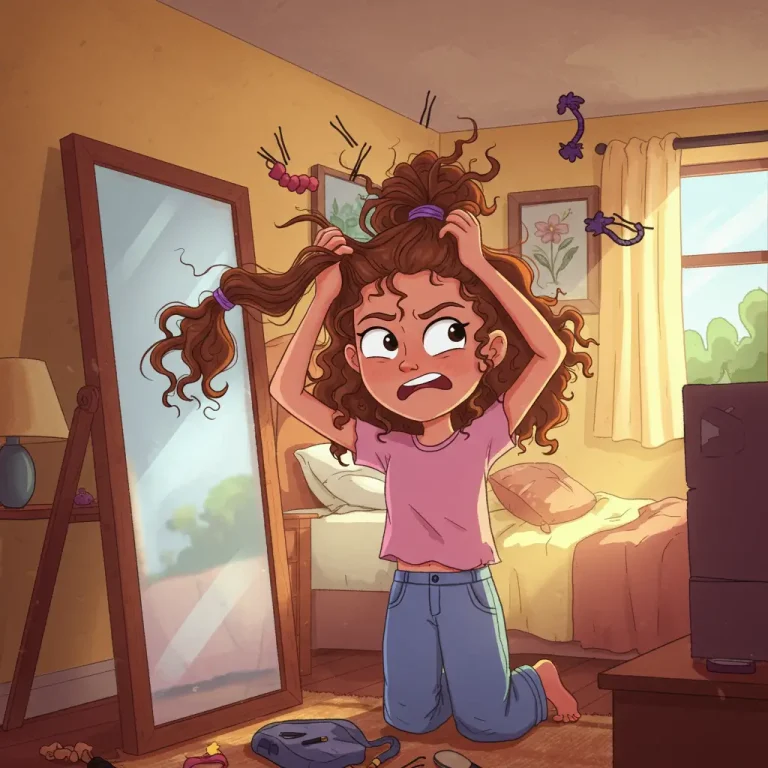
Step 5: Layer Maintenance (aka Don’t Let It Go All Tangled)
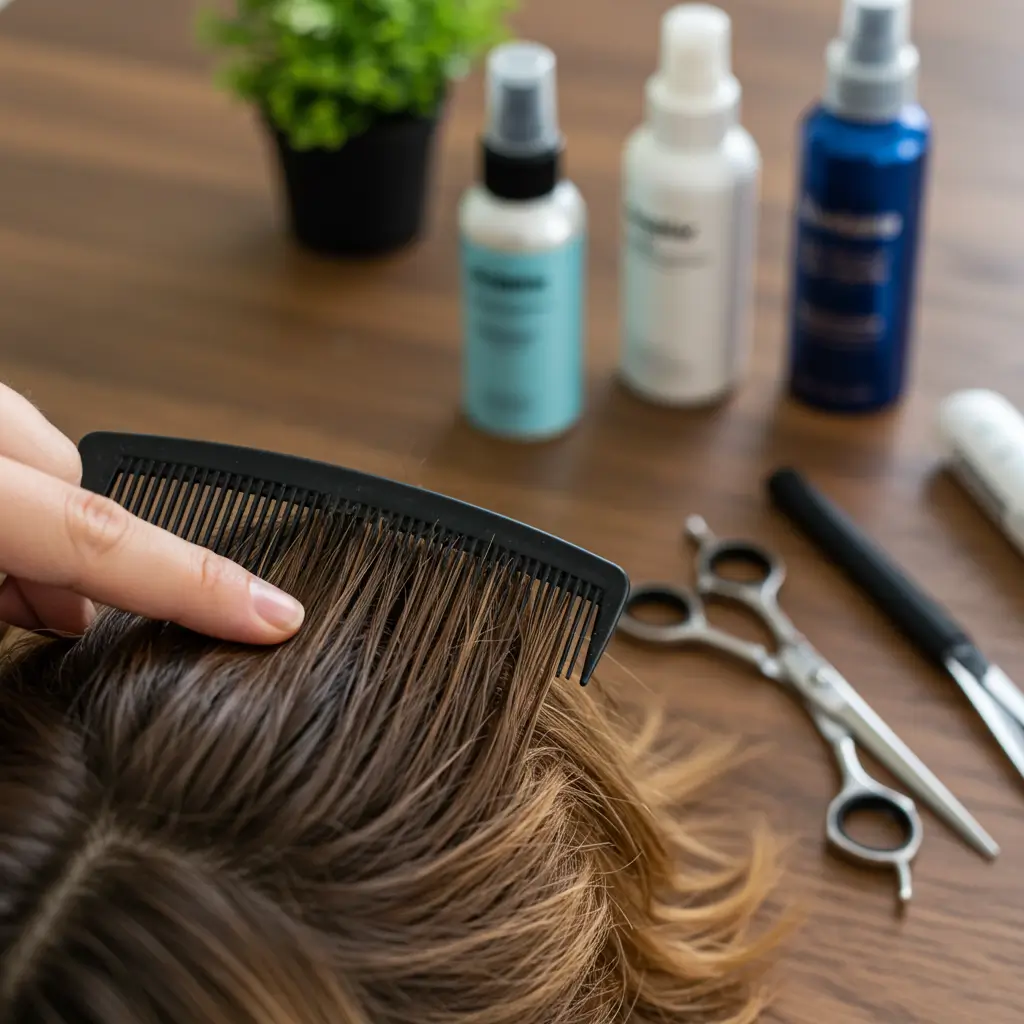
Here’s the thing: layered hair needs a lil’ TLC. Ignore it, and it’ll rebel like a teenager with Wi-Fi issues.
What to keep in mind:
- Trim every 6 8 weeks to keep things looking fresh
- Use a wide-tooth comb or detangling brush—layers can tangle if you look at them wrong
- Don’t overdo the heat styling unless you’re into crispy ends
Layered Hairstyles I Swear By
Alright, personal opinion time. Here are some layered styles I live for:
The Long Shag with curtain bangs effortless and iconic. Blended Long Layers for subtle glam. Soft Layers on Lob-Length Hair for the “I’m polished but chill” energy. If you’re styling for an event, don’t miss our wedding hair section for dreamy layered looks perfect for brides and guests alike.
ed?

If you’re still on the fence, let me put it this way layers are the hair equivalent of wearing sunglasses and walking in slow-mo. Instant boost. They can give flat hair some oomph, take thick hair down a notch, and basically make you feel more put together on days when you’re anything but.
So yes, you should totally do layered hairstyles. Just make sure you’re picking a style that fits your hair type and maintenance goals. And remember less is more, especially when you’re holding scissors.
Ready to layer it up? Go for it. And hey, if you mess it up… hats are always in style