How To Do An Ombre Hairstyle?
Let’s be real, the ombre hairstyle has been around for a while, and it’s not going anywhere anytime soon. You’ve probably seen it on celebs, influencers, or that cool barista who somehow makes espresso and hair dye look effortless. But here’s the kicker: you can totally do an ombre hairstyle at home, even without a glam squad or salon chair in sight.
And before you panic: I’ve done it myself. Twice. One time was a disaster (bleach and overconfidence are a wild combo), but the second? Chef’s kiss. So if you’re thinking of giving it a go, pull up a chair and let’s talk ombre like two friends swapping hair secrets.
What Even Is An Ombre Hairstyle?
Okay, first things first. What’s ombre?
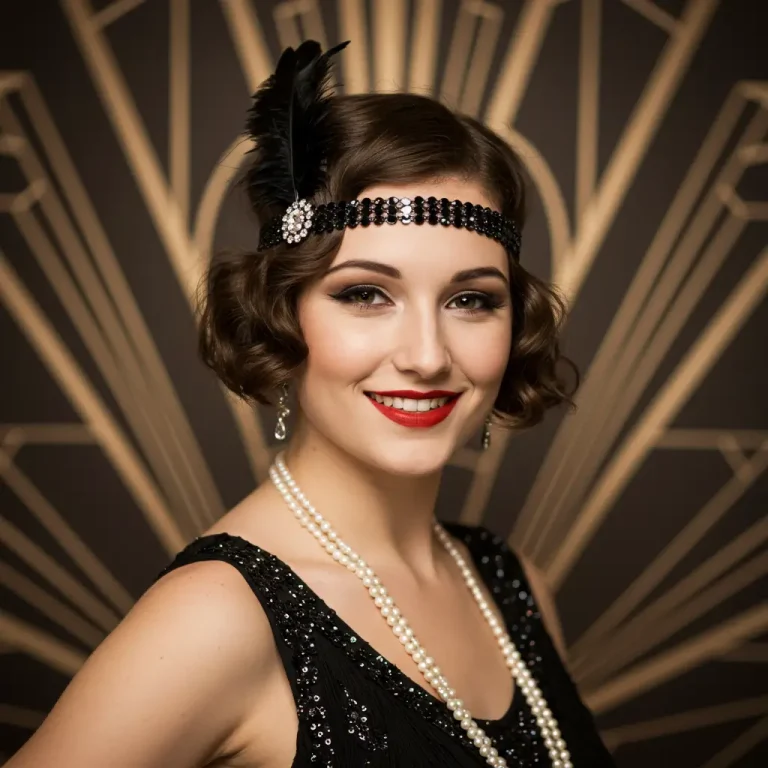
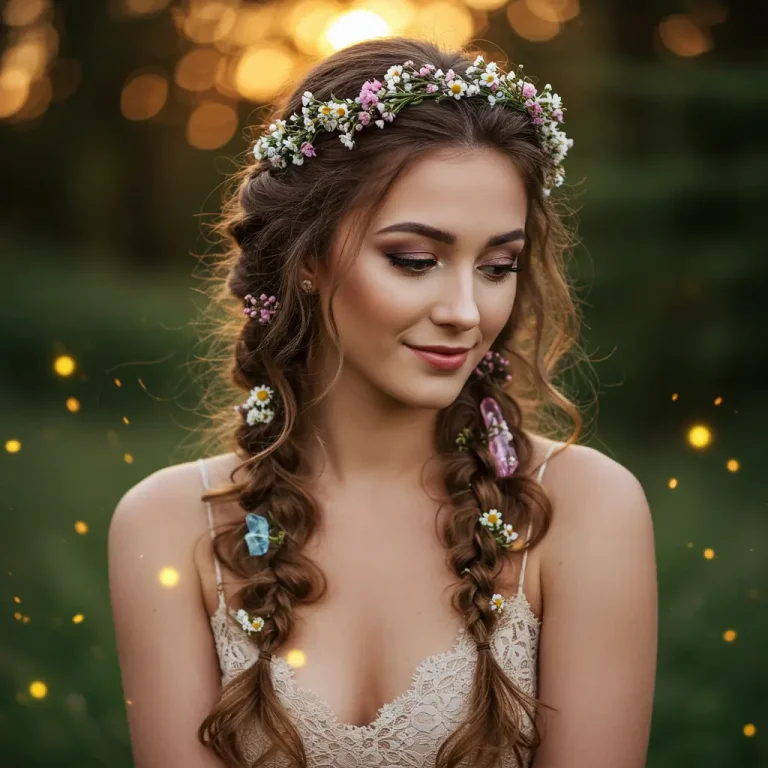
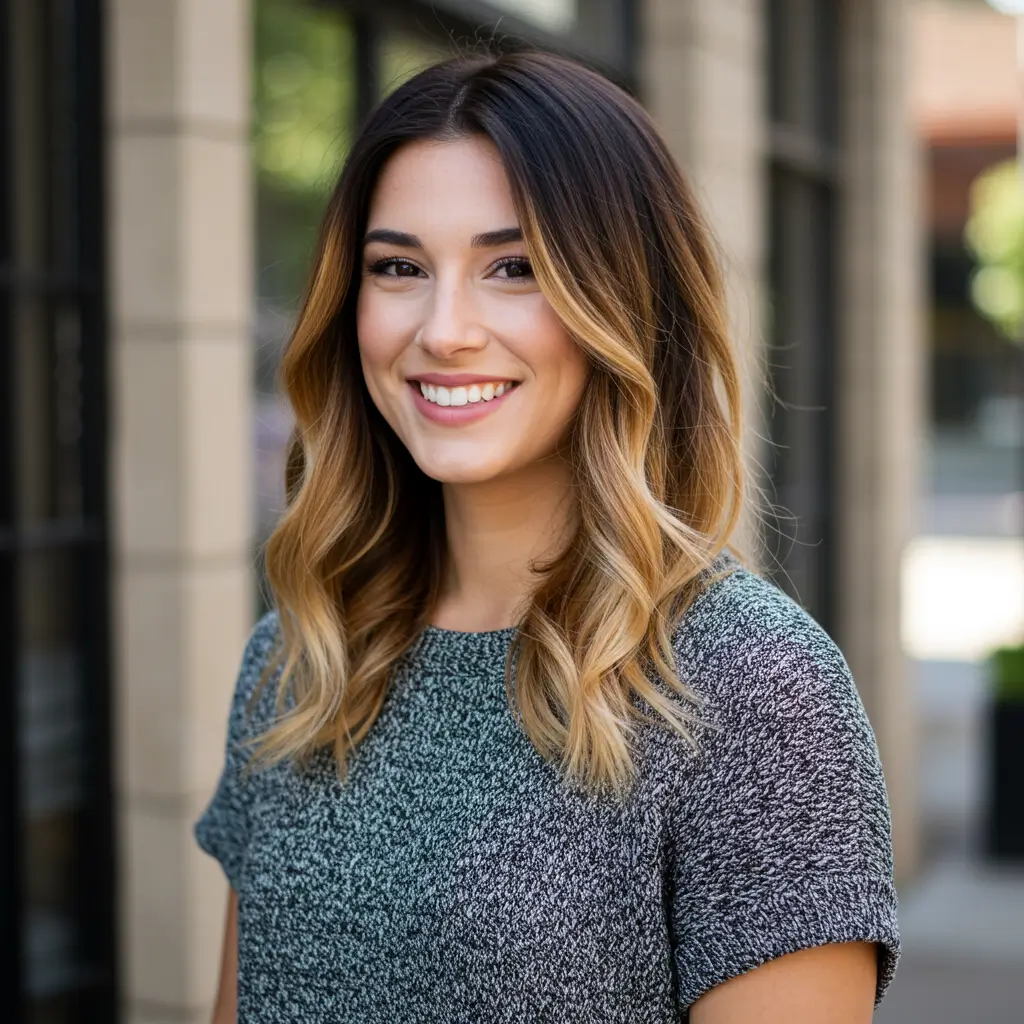
Ombre is a hair color technique where your hair gradually shifts from a darker tone at the roots to a lighter shade at the ends. Think of it like your hair got a sun-kissed vacation without actually booking flights or burning your scalp at the beach. It’s a favorite among hair color trends for a reason: it’s low-maintenance, customizable, and looks good on almost everyone.
Key traits of ombre:
- Dark roots, light ends (classic ombre).
- Seamless blend between the two (no harsh lines, please).
- Tons of room for creativity blondes, brunettes, bold colors… whatever your vibe is.
FYI: It’s not the same as balayage. Ombre is a gradient effect; balayage is more about painted-on highlights. And no, you don’t have to pick a favorite—but today, we’re all about that ombre life.
What You’ll Need (a.k.a. Your Ombre Survival Kit)
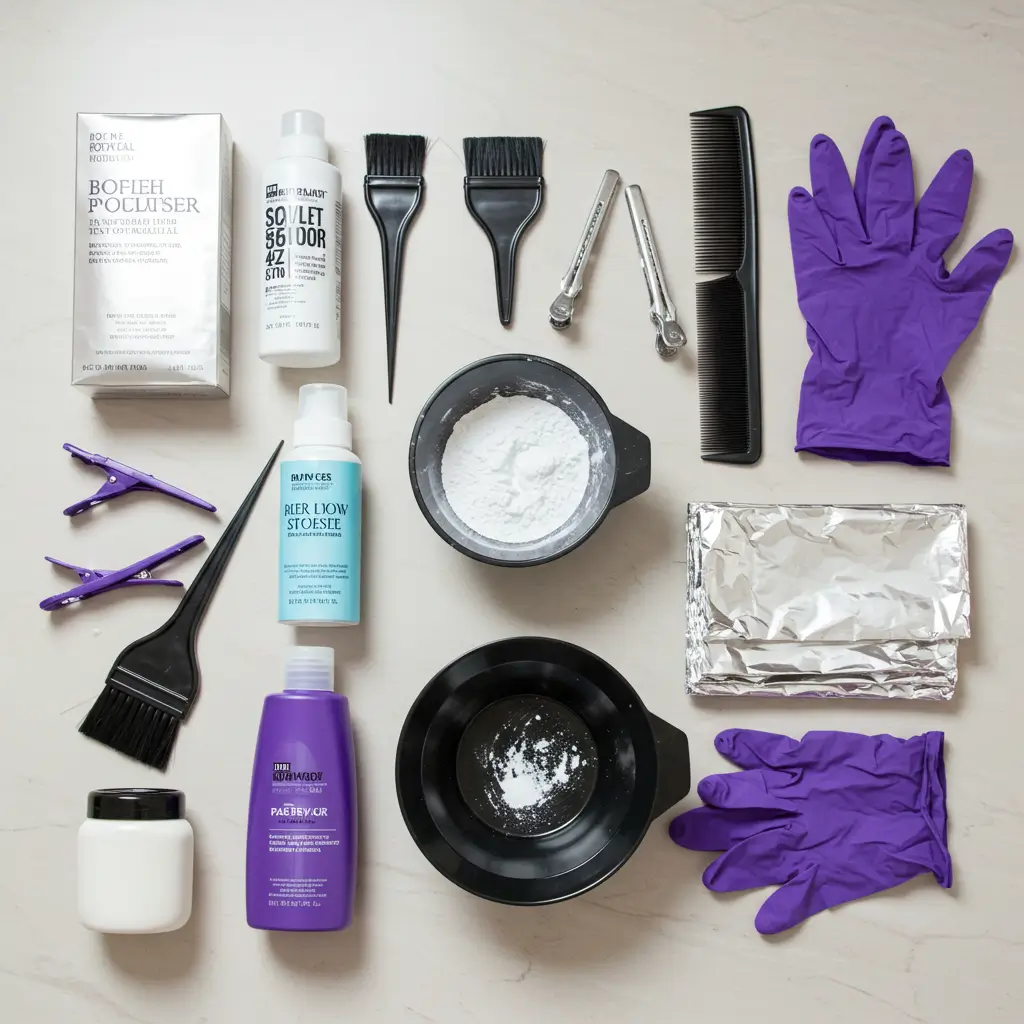
Before you jump into the deep end (or light end?), get your tools in order. Trust me, halfway through is not when you want to realize you forgot gloves.
Here’s your must-have list:
- Hair bleach (powder + developer usually 20 or 30 vol)
- Toning shampoo or purple shampoo (to nix brassy tones)
- Mixing bowl and brush
- Gloves (unless you enjoy bleach burns. Spoiler: you don’t.)
- Comb and sectioning clips
- Foil (optional) for precision and less mess
- Old shirt/towel (because you will drip somewhere)
Pro Tip: Always do a strand test. Don’t skip this. Just do it. Your future hair will thank you.
Step-by-Step: How To Do An Ombre Hairstyle At Home
Alright, here comes the fun part. I won’t lie—it gets messy, but it’s the good kind of messy.
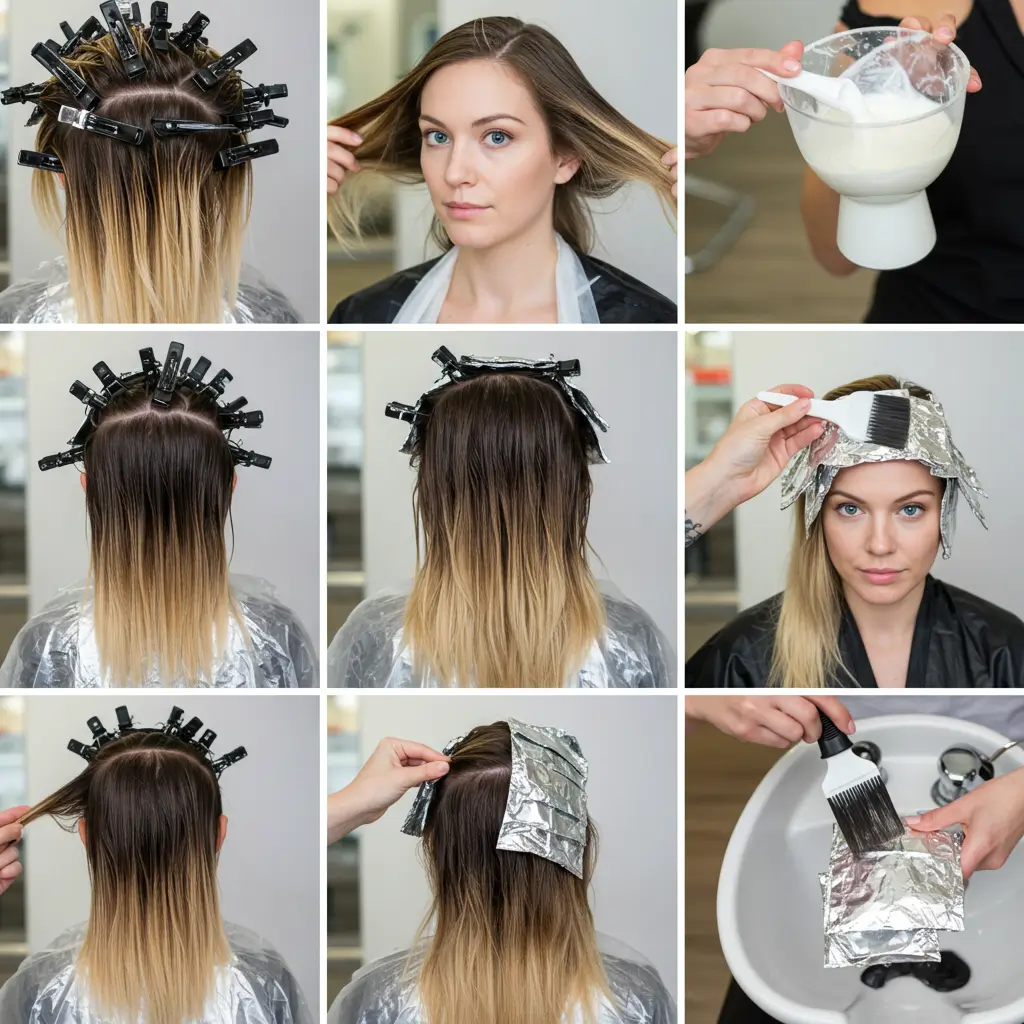
Step 1: Section Your Hair Like a Pro
Start with dry, unwashed hair (yep, let those natural oils protect your scalp). Divide your hair into four sections—two in the front, two in the back. Clip them up like you’re prepping for battle. Because you kinda are.
Step 2: Mix the Bleach
In your bowl, mix bleach powder and developer. Stir until it looks like thick yogurt—not runny, not chunky. And for the love of your ends, follow the instructions on the box.
Step 3: Apply Mid-Length to Ends First
This is where ombre magic happens. Use your brush to apply bleach starting mid-shaft down to the ends. Don’t go all the way up to the roots—ombre isn’t a full head dye, remember?
Blend upwards with a teasing or combing motion to avoid harsh lines. Think “soft fade,” not “Oops, I spilled bleach.”
Step 4: Let It Process
Now, chill. Literally, go watch a show or scroll TikTok. But keep an eye on your hair—check every 10–15 minutes. Total processing time can vary, but don’t exceed 45 minutes unless you’re into the fried-noodle look.
Step 5: Rinse and Tone
Once your ends reach the lightness you want, rinse with cool water. Then hit it with purple shampoo or toner to cut the brass. If it still looks too yellow, no biggie just tone again in a couple of days.
IMO, this step is what takes your ombre from “meh” to “OMG who’s your stylist?”
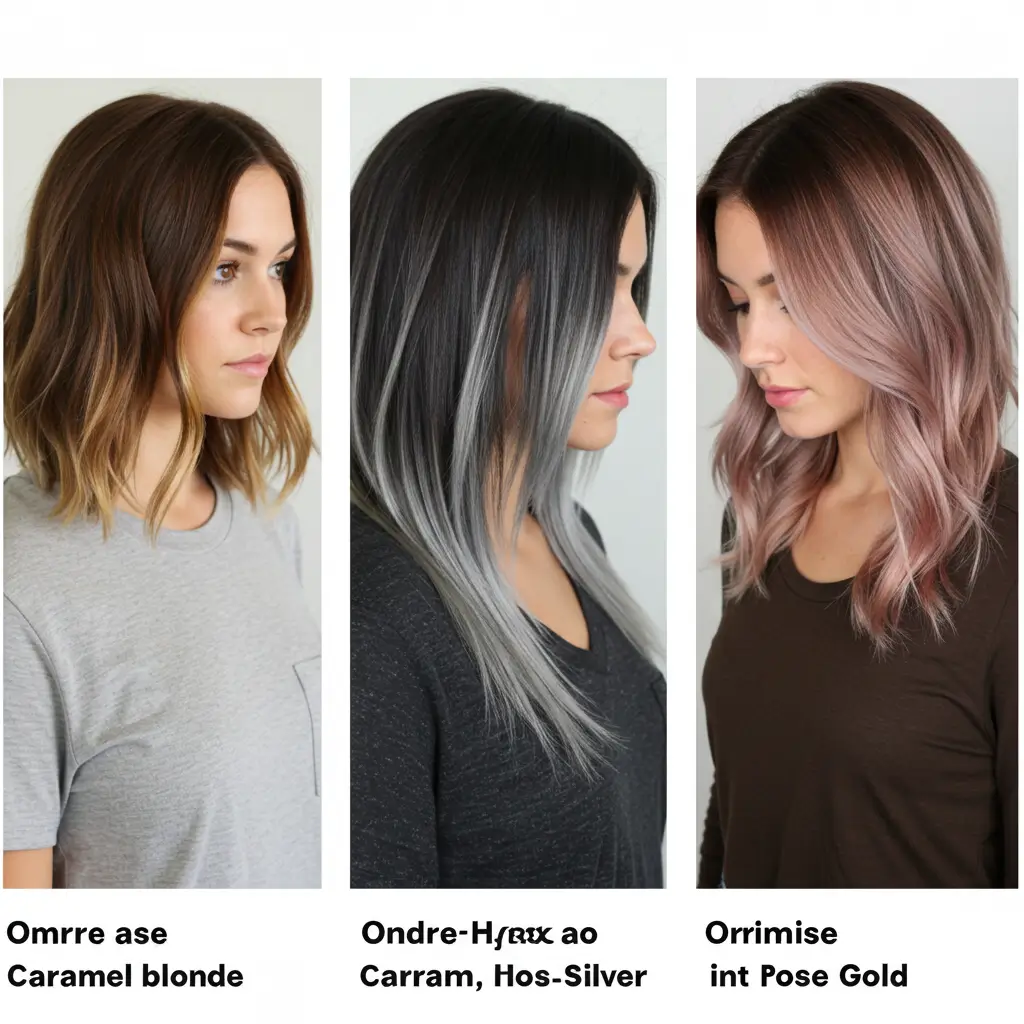
Ombre Color Ideas (Because Why Be Boring?)
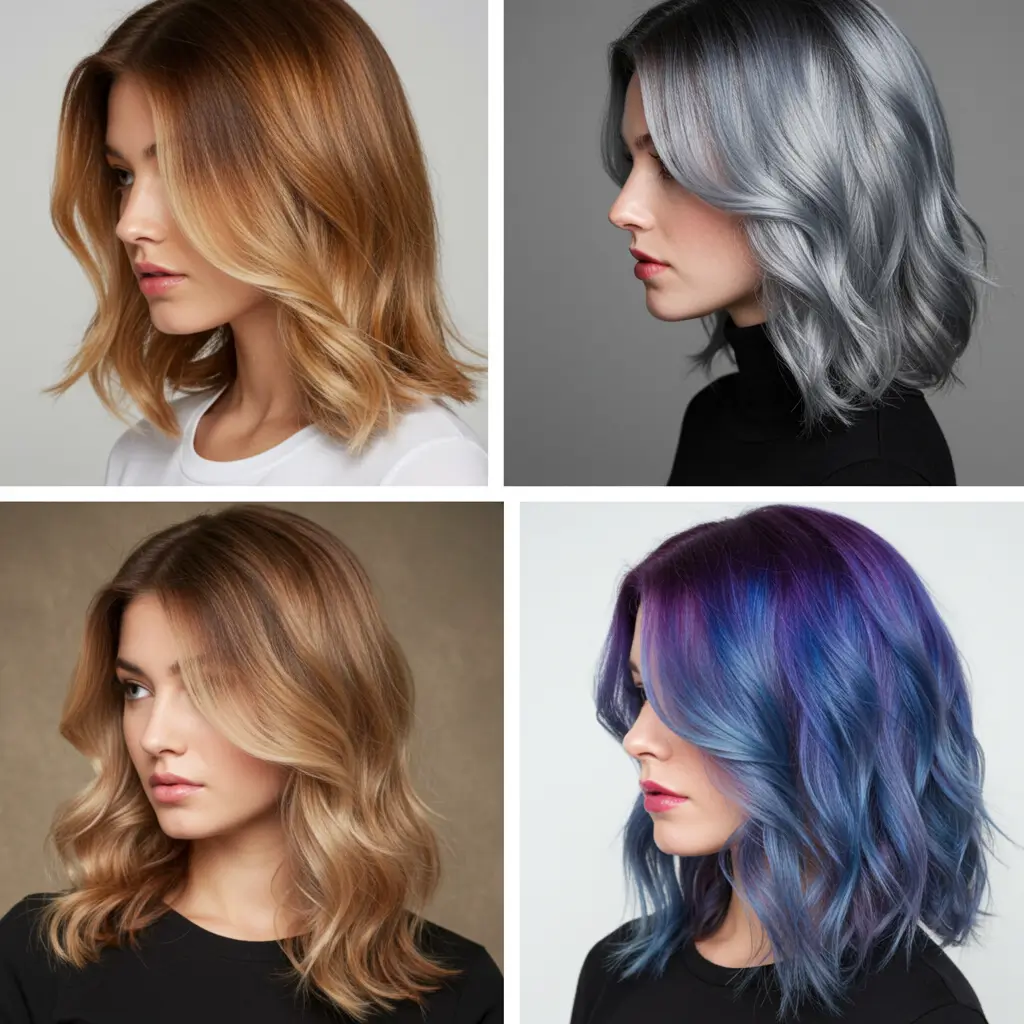
Still unsure which shades to try? Here’s a quick inspo list:
- Brunette to caramel blonde: Classic and warm.
- Black to silver: Bold, icy, and total drama queen energy.
- Dark brown to rose gold: Soft and romantic, like your Pinterest board came to life.
- Blue to purple: For those living in their unicorn era.
You can also explore more hair color ideas for olive skin or go bold with alternative hair color ideas if you want something outside the norm.
Whatever combo you choose, make sure it fits your vibe and maintenance level. Not everyone wants to tone their hair every week and that’s totally okay.
Common Mistakes (And How To Not Be That Person)
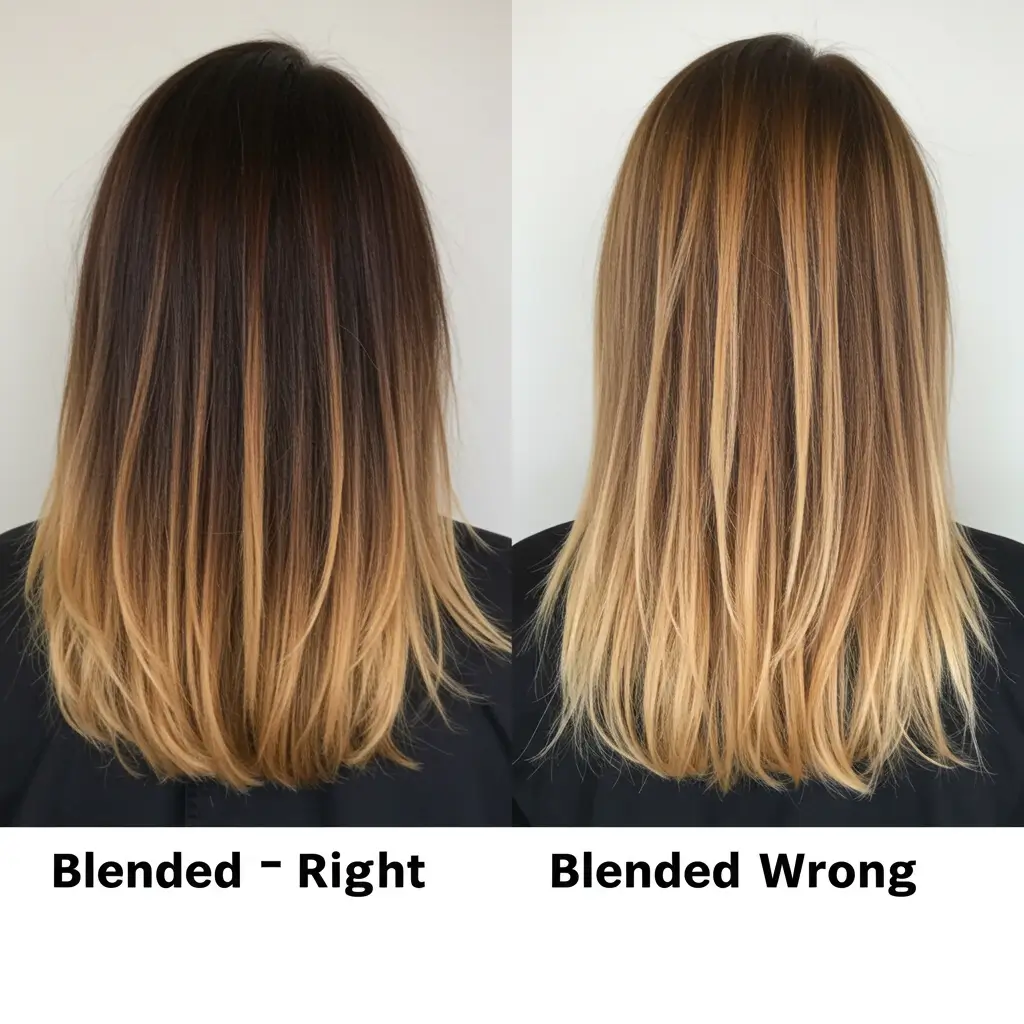
I’ve made some of these. Learn from my chaos:
- Skipping the blend: Harsh lines look like accidental dip dye. Blend, baby, blend.
- Using too strong a developer: 40 vol sounds powerful but can wreck your hair. Stick to 20 or 30.
- Not toning: Blonde isn’t always golden. Sometimes it’s yellow. Sometimes it’s just… sad.
And here’s a biggie: Don’t bleach damaged hair. If your strands already feel like hay, put the bleach down and walk away slowly.
Maintenance Tips To Keep Your Ombre Looking Fresh
You’ve done it. Your hair is gorgeous. Now don’t ruin it by skipping aftercare.
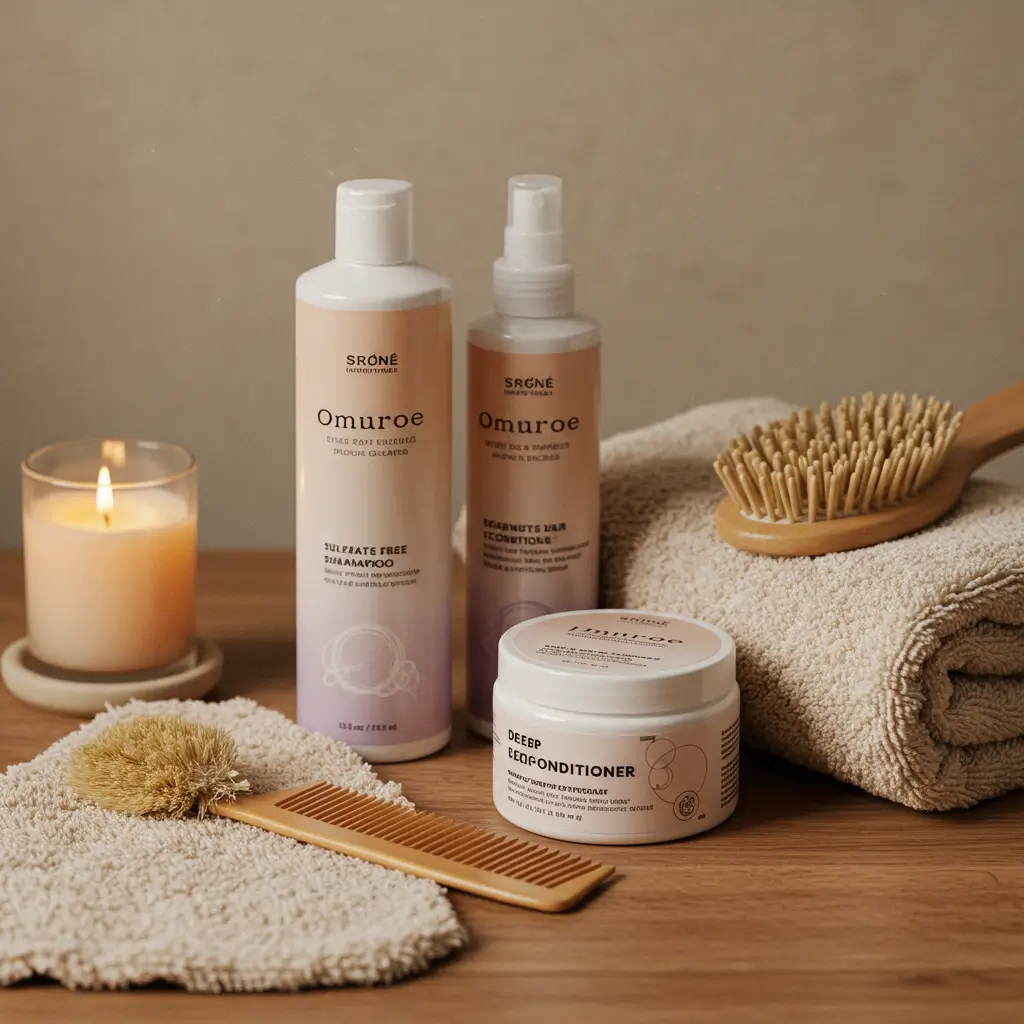
- Use sulfate-free shampoo (trust me, your color will last longer).
- Deep condition weekly to keep ends soft and hydrated.
- Avoid excessive heat or at least use a heat protectant. Burnt ombre isn’t a trend (yet).
- Refresh toner every few weeks to fight brassiness.
Basically: treat your ombre like a houseplant. Water it (with conditioner), don’t overexpose it (to heat), and it’ll thrive.
Final Thoughts: Should You Try It?

If you’re still exploring what kind of look fits you best, check out our full guide to hairstyles for more inspiration whether you’re working with long, medium, or short hair.
Just remember:
- Start slow.
- Don’t bleach everything at once.
- Take your time blending.
- And maybe just maybe ask a friend to help with the back. Unless you have eyes on your elbows. In which case… cool superpower.
Go forth and blend, my friend. You’ve got this.