
How To Cut Long Layered Hairstyles
Ever look in the mirror and think, “Okay, my hair’s long… but it’s also just there”? Yeah, I’ve been there too. Long hair can be gorgeous, but without layers, it can also scream “meh.” If your hair’s feeling heavy, flat, or just plain boring, it’s probably time to snip some strategic layers into it. Don’t worry you don’t need a cosmetology degree to figure this out. You just need a little know-how, some guts, and maybe a friend who won’t flinch with scissors in hand.
Let’s break it down like we’re talking over coffee (or wine, depending on how brave you’re feeling).
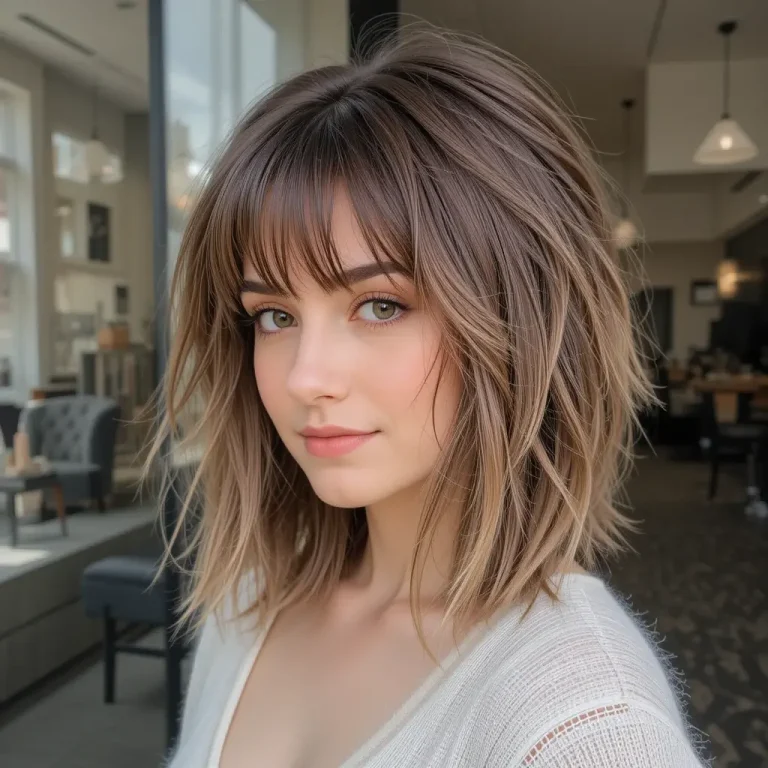
Why Long Layers Actually Matter

You know how celebrities somehow manage to have bouncy, voluminous, wind-blown hair even when they’re just “casually” walking down the street? Spoiler alert: it’s the layers. Long layered styles can transform your entire vibe, and you’ll see exactly how in our guide to long hairstyles.
Here’s what long layers actually do:
- Remove bulk without sacrificing length.
- Create a shape so your hair doesn’t look like a triangle.
- Add movement, making curls pop and straight hair look less limp.
- Frame your face, if done right (aka not like a 2006 emo bang disaster).
And yes, if you’ve got curls, waves, or pin-straight strands, long layers work for you too. It’s like the jeans of hairstyles versatile and flattering when tailored properly.
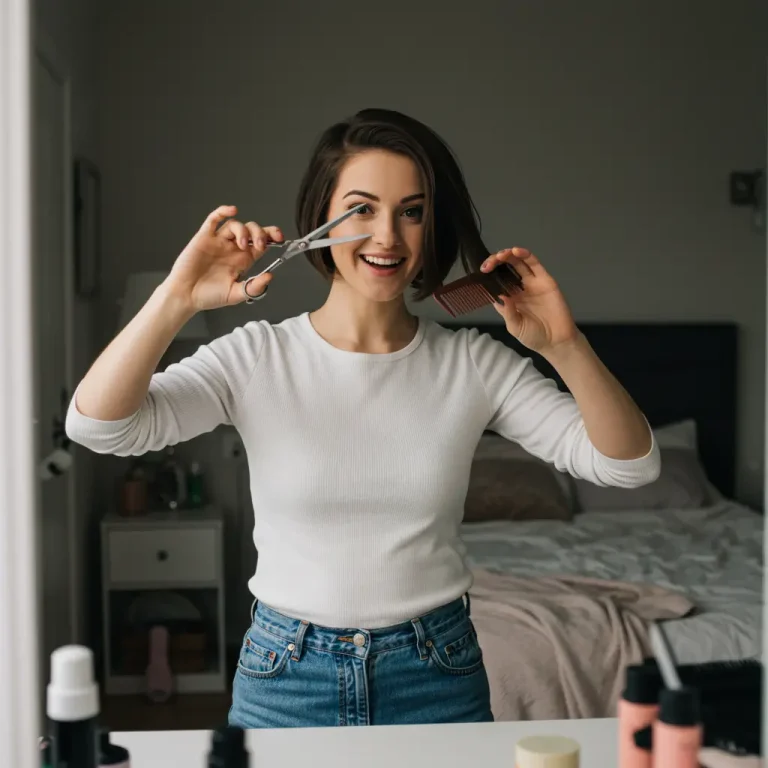
Tools You’ll Need (No Fancy Salon Equipment Required)

Before you start hacking away like you’re in a hair horror movie, let’s make sure you’ve got the basics covered. Even if you’ve never touched shears before, our complete hairstyle cutting guide has beginner-friendly tips that can save you from major regrets.
Grab these essentials:
- Sharp haircutting shears – no, your kitchen scissors won’t cut it. Literally.
- A fine-tooth comb
- Clips to section your hair
- A spray bottle (for slightly damp hair—it’s easier to cut)
- A mirror or three, depending on how brave you feel
FYI: If you mess this up, your hair will grow back. But maybe don’t do this the night before a wedding or job interview, just sayin’.
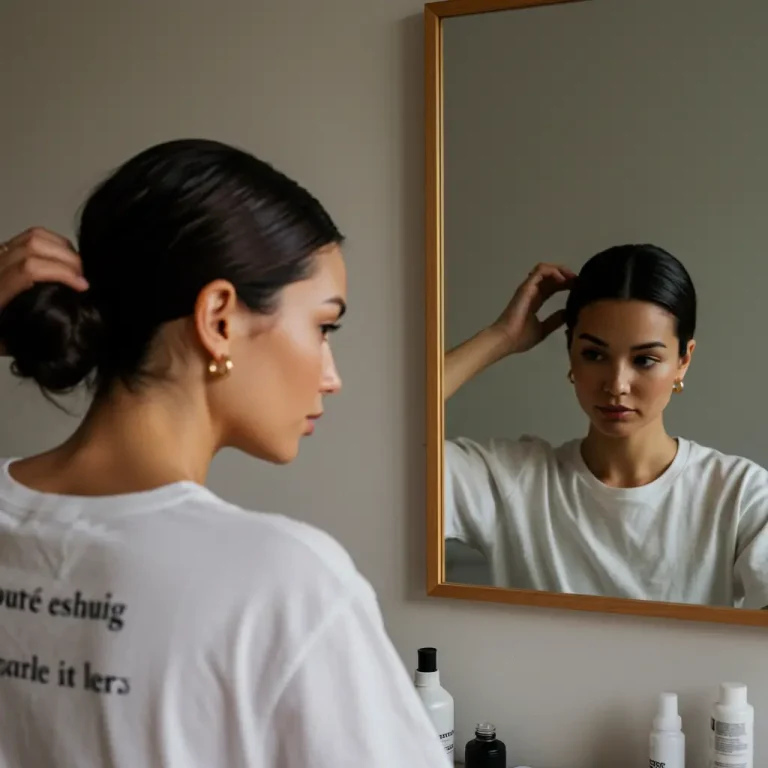
Section It Like a Pro (Even If You’re Totally Not One)

Layering is all about structure, and that means sectioning your hair first. This isn’t just a neat-freak move it actually helps your layers stay symmetrical. Because no one wants one side to scream “shag” while the other whispers “accidental mullet.”
Quick sectioning steps:
- Part your hair straight down the middle, all the way to the back.
- Divide it horizontally across the crown into top and bottom halves.
- Clip each section out of the way.
Now you’ve got four main sections to work with. Boom. Organized chaos.
How To Actually Cut Long Layers (AKA The Fun Part)
Take a deep breath. This is the moment. You’ve prepped, sectioned, and now it’s time to snip.
Method 1: The Ponytail Trick (AKA Beginner’s BFF)

This one’s perfect for lazy girls, guys, and everyone in between who just wants some easy, face-framing layers.
- Flip your hair upside down and gather it into a high ponytail at the center of your forehead.
- Comb it straight and secure it tightly.
- Decide how much you want to cut start small (like 1-2 inches).
- Cut straight across. Yes, really.
- Take it down and marvel at your soft, cascading layers.
Pro tip: Point-cut the ends (cutting into them vertically) to soften the look. Blunt ends scream DIY in the bad way.
Method 2: The Classic Face-Framing Layer Cut

This one takes a little more time but gives you more control, especially around your face.
- Start with the front sections. Pull a 1-inch section forward and decide where you want the shortest layer to hit (usually the chin or collarbone).
- Cut at a slight downward angle.
- Repeat on the other side to make sure both match (or close enough for Zoom calls ).
- Work through each section toward the back, making each layer slightly longer.
Key move: Always cut less than you think you should. You can take more off, but you can’t glue it back on.
Tips To Keep You From Having a Meltdown Mid-Cut

- Cut vertically for texture (aka point-cutting). It makes the layers look way more natural.
- Don’t pull your hair too tight when measuring. You’ll end up cutting more than you wanted.
- Cut when your hair’s damp, not soaking wet or bone dry.
- Check both sides constantly. Uneven layers will haunt you.
- Watch your angles. Straight across = blunt. Diagonal = soft layers.
IMO, it’s better to be cautious the first time around. You can always tweak and take off more later.
Aftercare: Make Those Layers Work For You
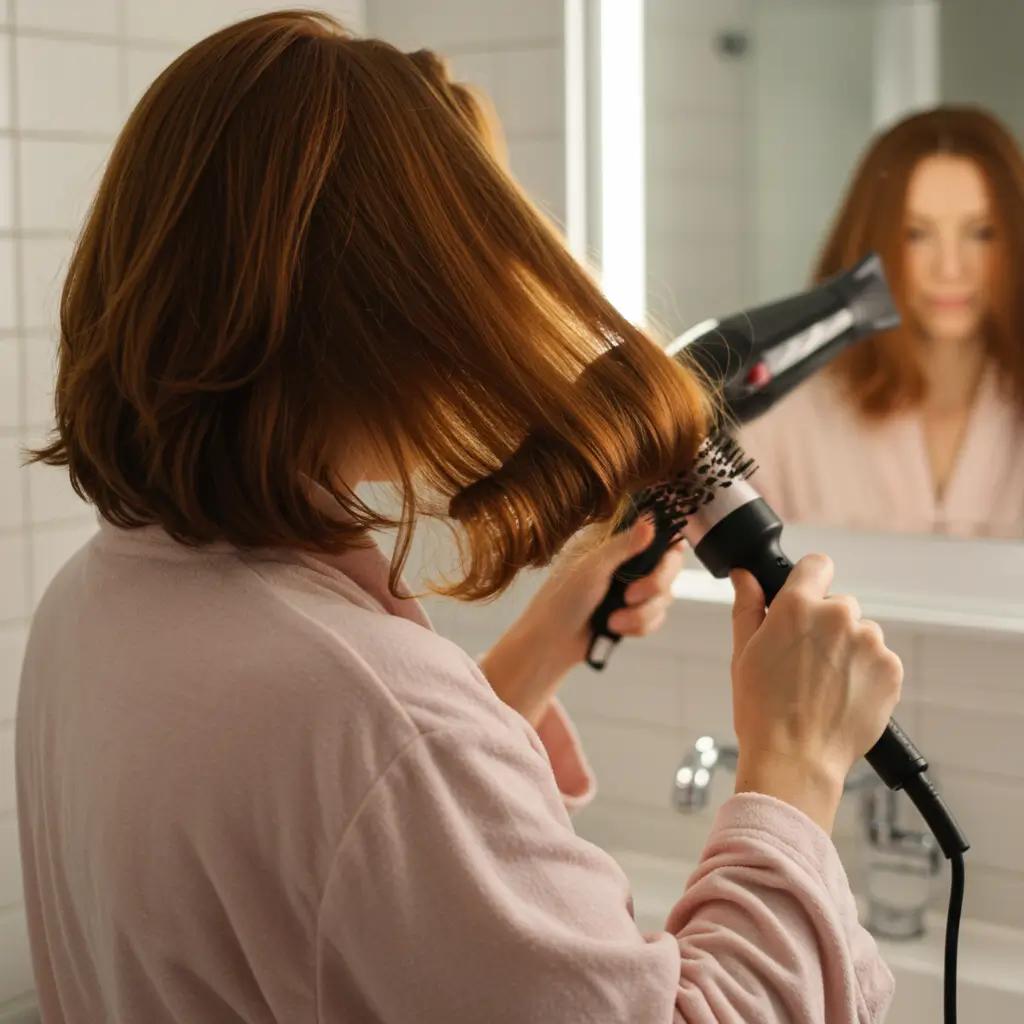
So you’ve survived the cut. Congrats! Now it’s time to style those layers like the glorious mane they are. Whether you’re into subtle movement or dramatic texture, the right finish depends on your hair type—and your vibe. Need inspo? Check out our hairstyles for long hair for ideas you can recreate at home.
Some go-to styling tips:
- Use a round brush when blow-drying for max volume.
- Add a few curls with a wand or flat iron to show off movement.
- Apply lightweight mousse or texturizing spray for beachy vibes.
- Trim every 6–8 weeks to keep the shape alive (yes, even if you’re the one doing it).
And if it didn’t go exactly as planned? Own it. Add a headband, rock a messy bun, or pretend it’s “intentionally edgy.”
Final Thoughts: You Got This

Cutting long layered hairstyles at home sounds intimidating, but with a little prep (and maybe some caffeine or courage juice), you can totally do it. Whether you’re craving face-framing magic, lightened-up ends, or just something new, layers are a game-changer.
Remember: Start small, check your angles, and trust your gut. Worst-case scenario? You just discovered a new favorite hat.
So what’s stopping you? Grab those shears and give your long hair the drama it deserves in the good way, of course.