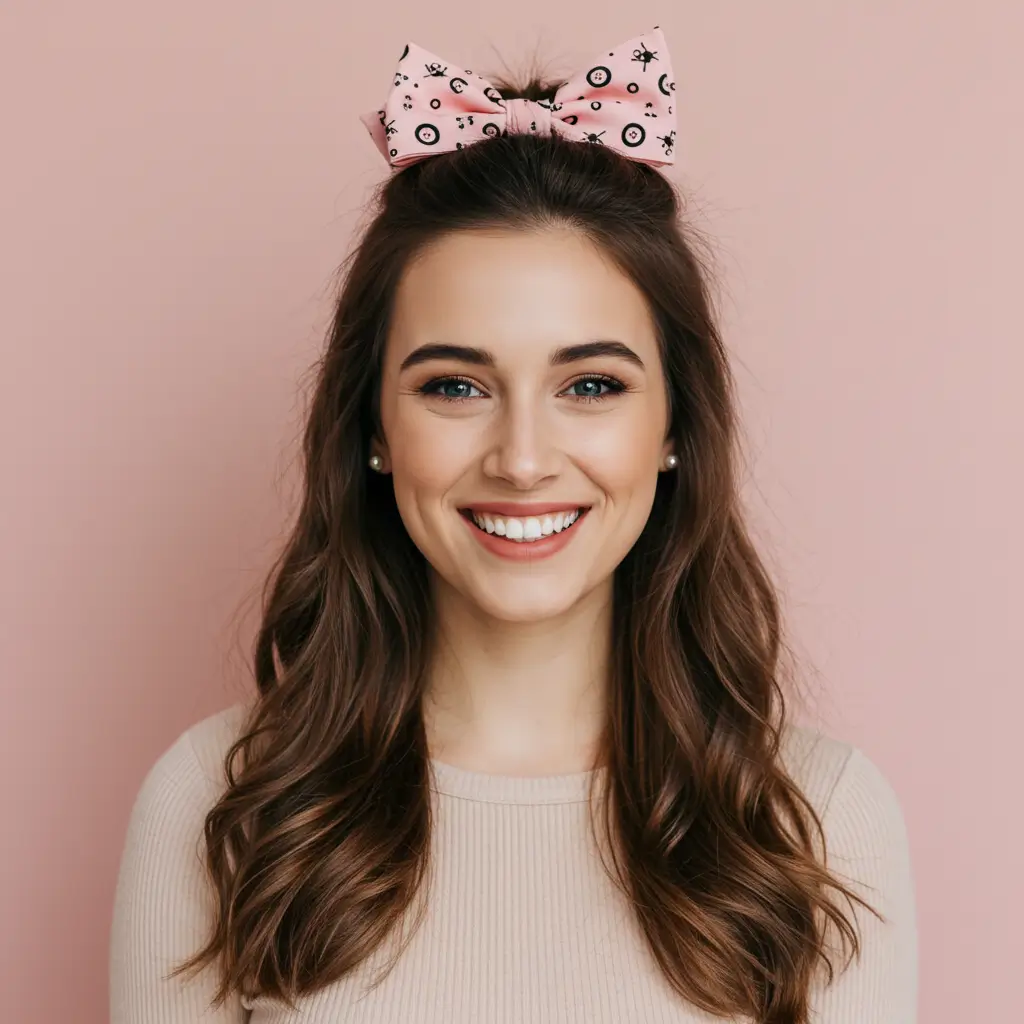
How to Make a Bow Hairstyle ?
Okay, real talk, have you ever seen those adorable bow hairstyles and thought, “Ugh, why does this look like it takes a degree in rocket science?” Yeah, same. But here’s the deal: making a bow hairstyle is way easier than it looks (like, surprisingly doable). Once you get the hang of it, you’ll be pulling off this look like a total pro even if your hair is having one of those days.
So grab your brush, some hair ties, and maybe a bit of hairspray—we’re diving headfirst into bow-making territory. And don’t worry, I’ve been there, made the mistakes, and lived to share the story.
Why Bow Hairstyles Are the Ultimate Power Move
First off—why even bother with a bow hairstyle?
Let me paint the picture: you’re heading out, your hair looks… fine. But you want something extra without looking like you tried too hard. Boom. Enter the bow hairstyle. It’s one of those effortlessly chic looks that turns heads and upgrades your style in seconds.
It’s:
- Cute, without being over-the-top
- Easy to dress up or down
- Surprisingly secure (unless you, like, roll down a hill)
And honestly, who doesn’t love turning their own hair into an accessory?
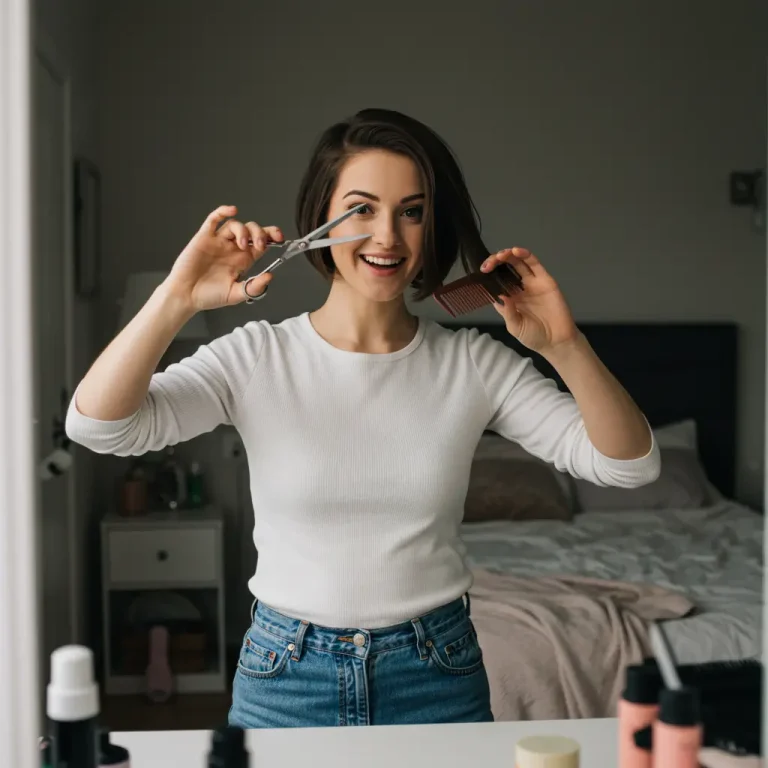
What You’ll Need (a.k.a. Your Bow Arsenal)
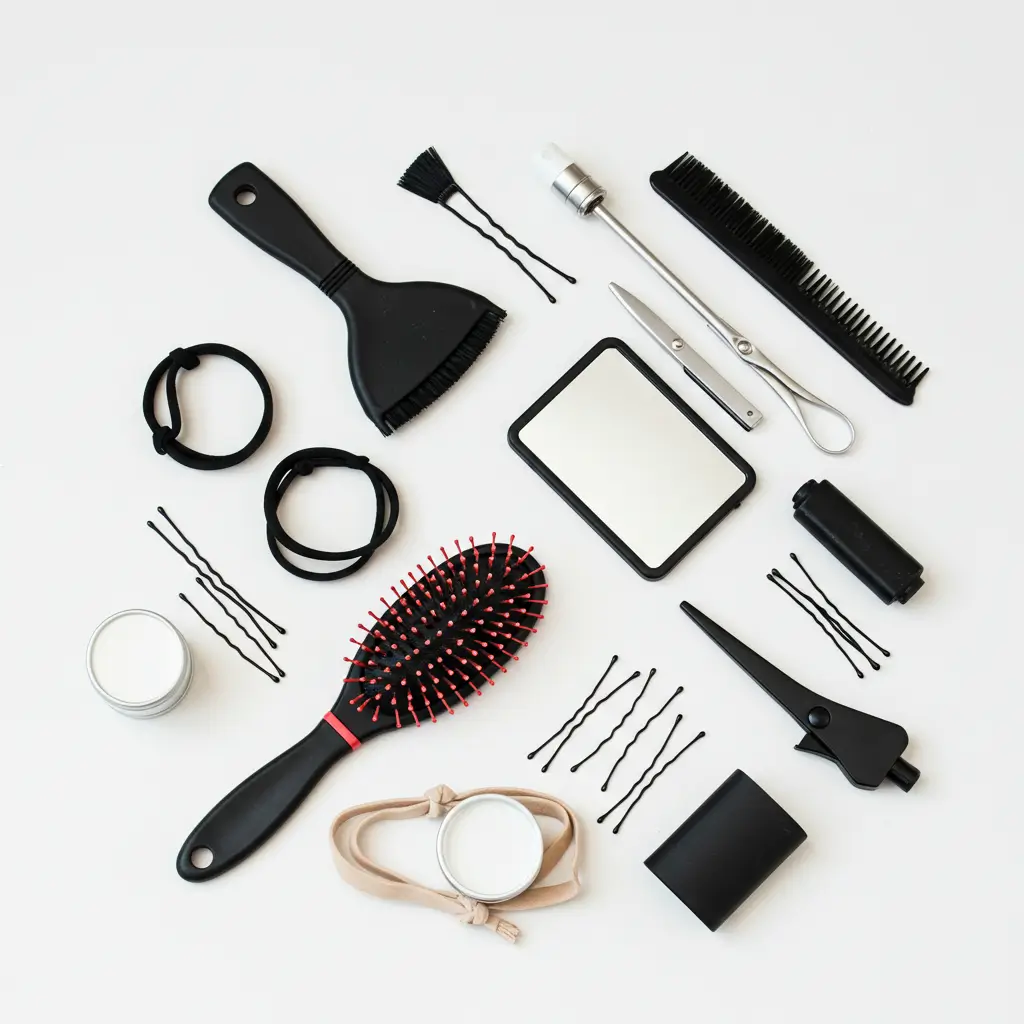
Let’s not make this harder than it has to be. IMO, you don’t need 47 products and a prayer to make this work. Here’s the lowdown:
- Hairbrush or comb – Detangle like your life depends on it.
- Elastic bands – Go for the small, clear ones if you’re going for that “effortlessly cute” vibe.
- Bobby pins – Because, duh.
- Hair spray (optional) – For the flyaways that love drama.
- Mirror setup – Two mirrors if you wanna see the back. Or just your phone camera in selfie mode. We adapt.
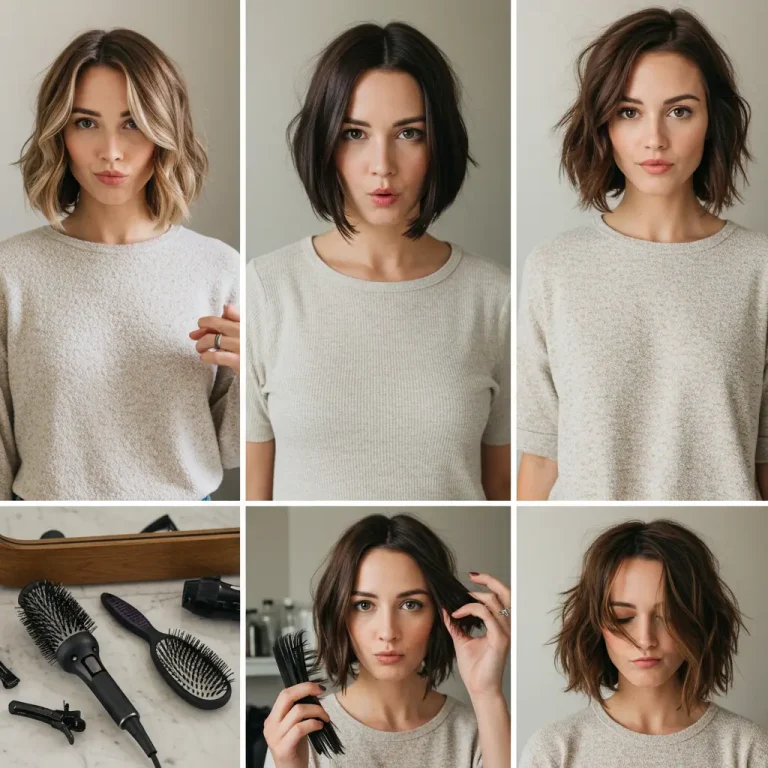
Step-by-Step: The Classic Bow Hairstyle
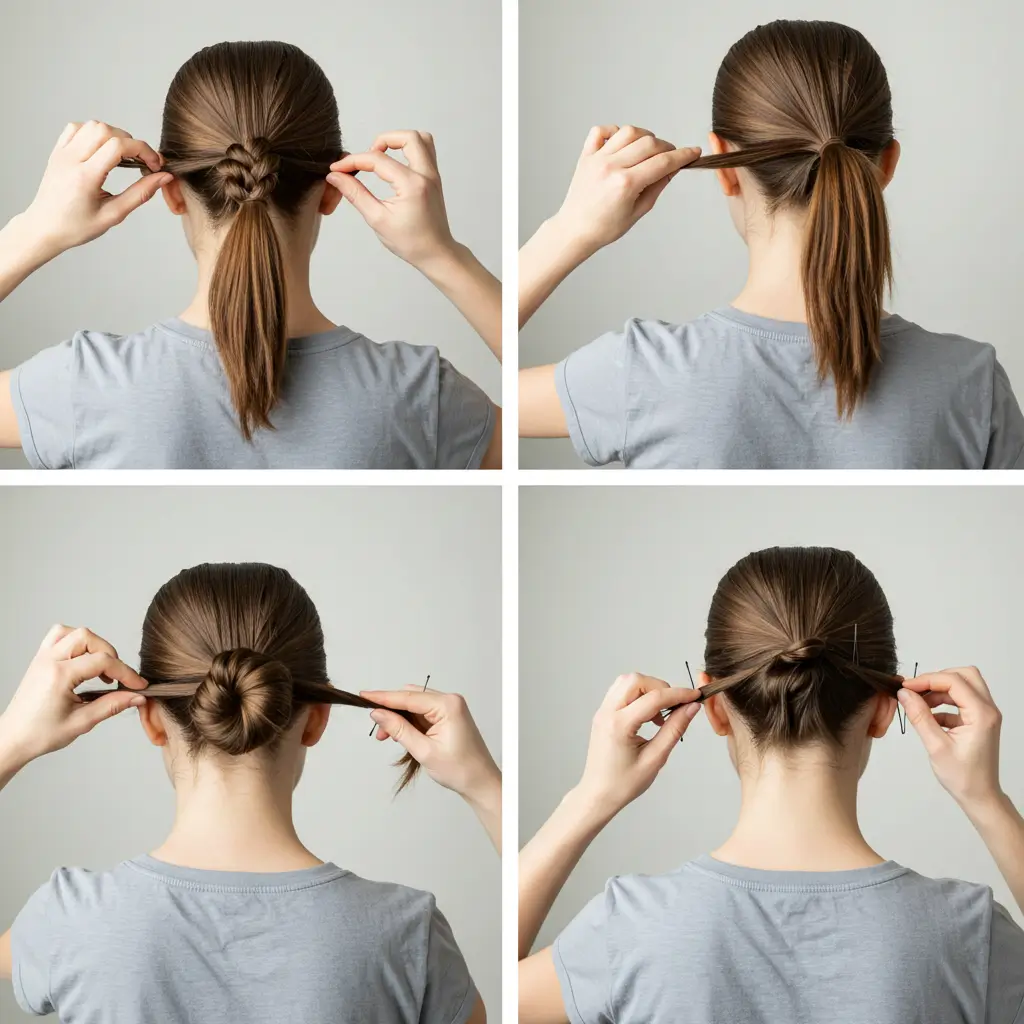
Let’s get into the how, shall we?
Step 1: Pull Hair into a High or Mid Ponytail
Tie it up like you normally would—but on the last loop of the elastic, don’t pull the hair all the way through. Instead, create a loop, leaving the ends sticking out toward your face.
Trust the process. It looks weird now, but magic’s coming.
Step 2: Split the Loop into Two Halves
These are your bow “wings.” Split the loop right down the middle so it looks like two mini buns side by side. Instant Minnie Mouse energy.
Step 3: Flip the Leftover Hair Between the Wings
Remember those ends you left out? Pull them back over the center of your “wings” to create the bow’s middle knot. Tuck them under and pin in place like your weekend depends on it.
Step 4: Shape and Secure
Now, finesse those loops into actual bows. Tug gently to fluff them out and use bobby pins to keep everything in place. Add a spritz of hairspray if you’ve got layers that love to sneak out.
Voilà. You’re now a bow-wielding goddess.
Bow Hairstyle Variations (Because We Love Options)
Half-Up Bow
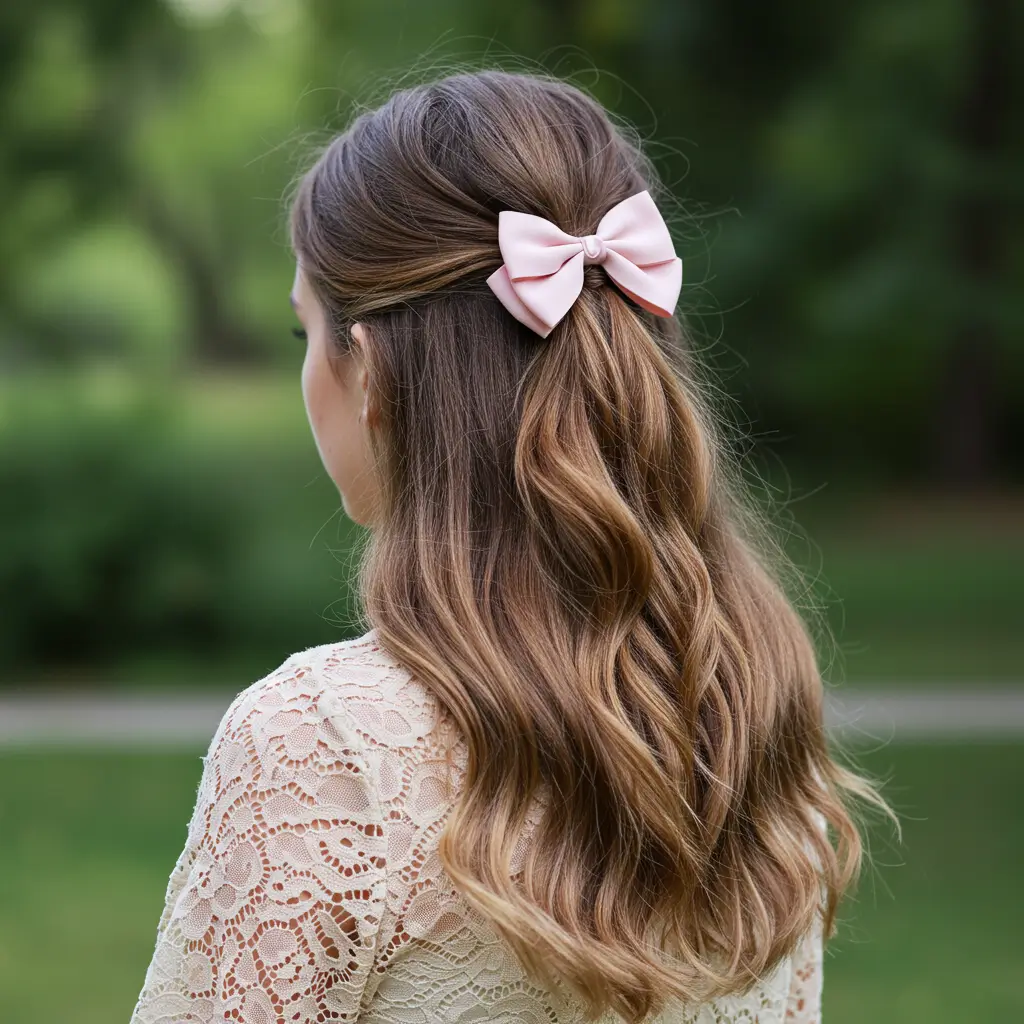
Not ready to commit to a full bow life? Try this:
Gather the top half of your hair (temple to crown), make a mini bow using the same steps above, and let the rest of your hair flow free. It’s a perfect mix of sweet and stylish—great for casual days or even low-key wedding hairstyles.
Side Bow
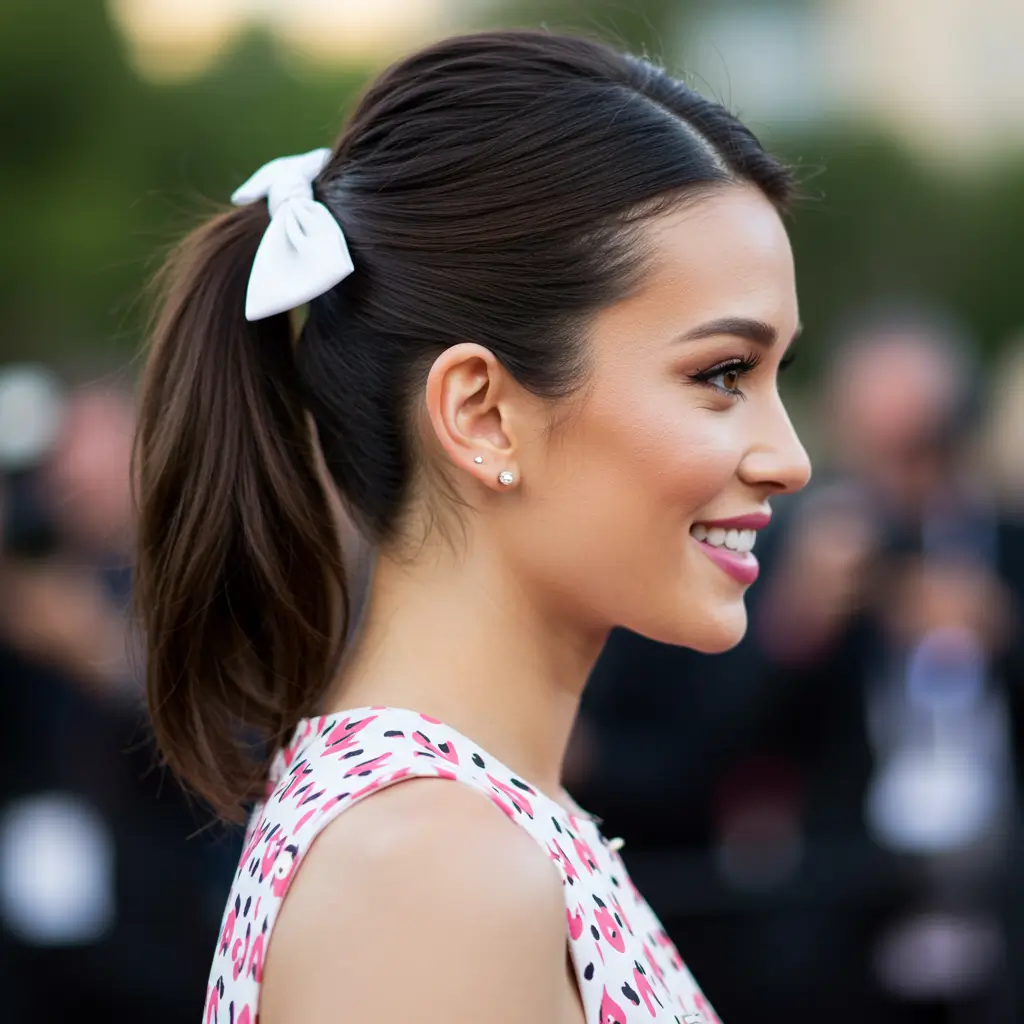
Feeling flirty? Or just trying to cover that one weird part of your hair? Same. Make a low side ponytail and create the bow right behind your ear. Add a ribbon if you’re feeling extra. It’s a great pick for parties, date nights, or even as a kids’ hairstyle for special occasions.
Double Bows (Yes, Plural)
For the bold ones: split your hair into two pigtails, make a bow in each, and prepare for compliments from strangers. This look especially shines at cosplay events or costume parties—and if you’re hunting for more creative looks, check out our long hairstyles guide.
Troubleshooting: When Your Bow Looks More Like a Blob
Been there. Here’s how to fix the most common “uhh, what?” moments:
- Lopsided wings? Your loop wasn’t centered. Try again, but this time make sure you’re pulling hair evenly on both sides.
- Center knot too short? You didn’t leave out enough hair at the start. Next time, leave a longer tail when looping.
- Bow falling apart? Girl, pin it like you mean it. Add more bobby pins and hairspray if necessary.
- Can’t see the back of your head? Welcome to the club. Use your phone camera or just pretending it looks good confidence works wonders.
Bonus Tips from Someone Who’s Been There (Too Many Times)
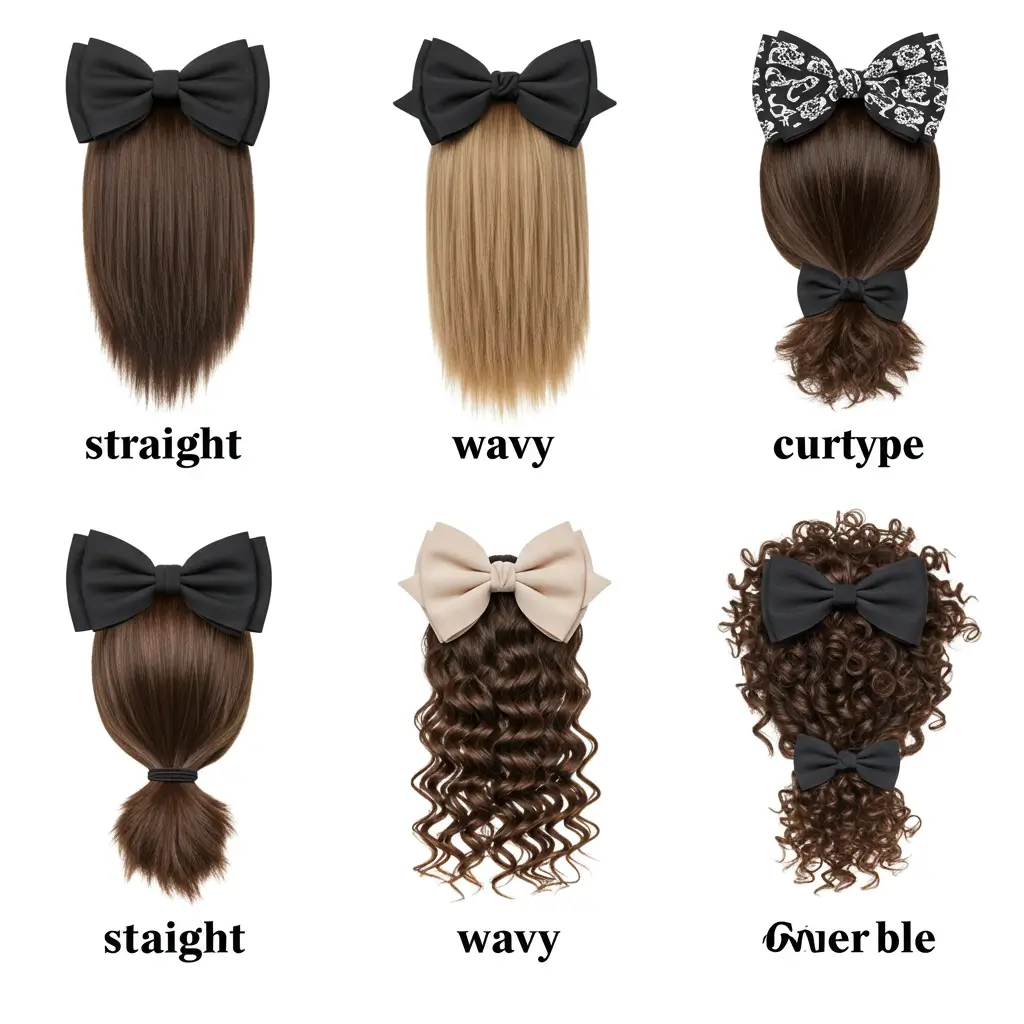
Have thick hair? Use stronger elastics and bigger sections to make the bow stand out. Thin hair? Try teasing the loops for more volume. And if you’ve got curly hair, lean into it the texture gives the bow a super whimsical, fairy-like flair (perfect if you’re into fantasy-inspired hairstyles).
Pro tip: You don’t need to make it perfect. Seriously. Messy bows are actually cuter. It’s a look, trust me.
Wrapping It Up (Like a Bow… See What I Did There?)

So there you have it, the bow hairstyle decoded. It’s fun, easy-ish, and guaranteed to get at least one “OMG how did you do that?” text if you wear it out.
The best part? You don’t need a glam squad, 500 YouTube tutorials, or magician-level hair skills to make it work. Just a bit of patience, a few bobby pins, and the confidence to rock it like you meant to do that all along.
Now go ahead, try it out. Post that pic. Tag your friends. Or keep it your little secret. Either way you totally nailed it.