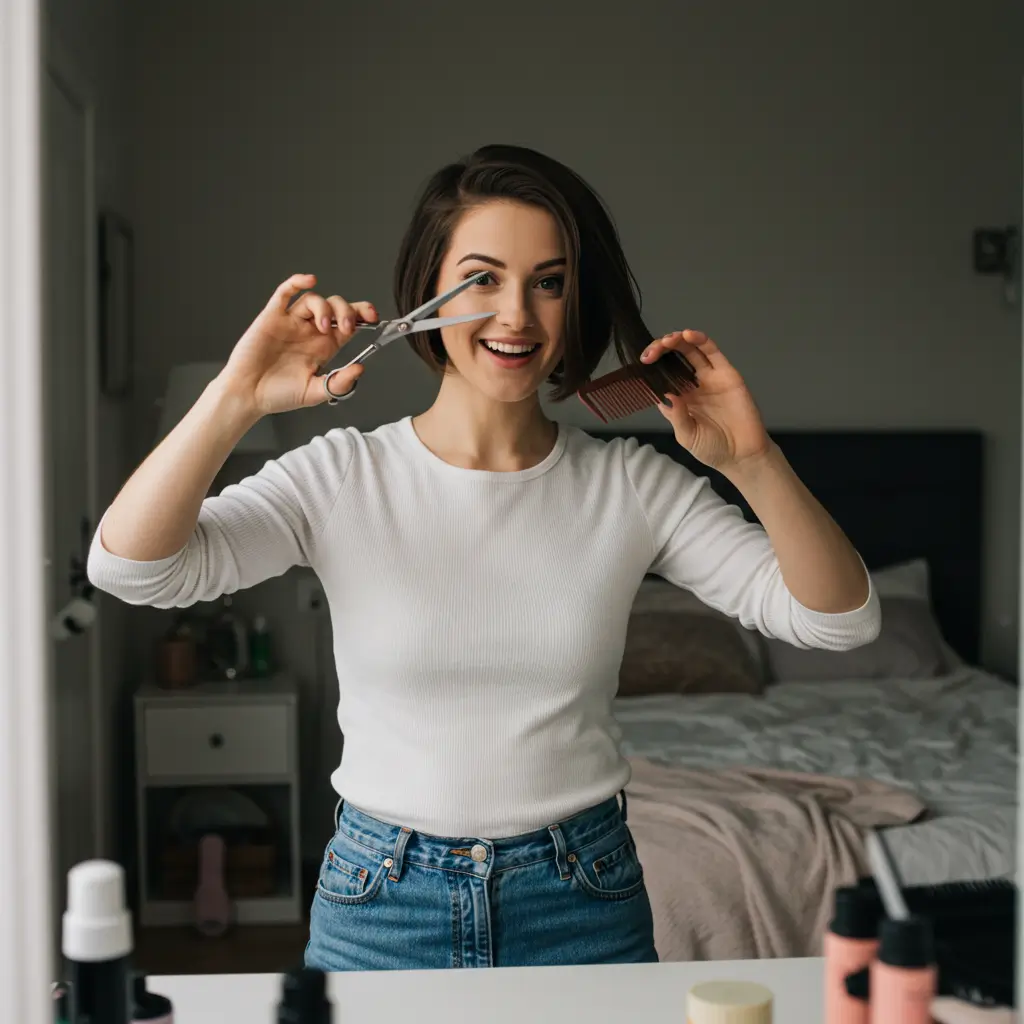
How To Cut A Bob Hairstyle ?
So, you’ve finally decided to try cutting a bob hairstyle yourself. Brave? Absolutely. Slightly terrifying? Also yes. But hey, if you’re tired of overpriced salon visits or just want to take control of your hair game you’re in the right place.
I’ve cut my own bob. Twice. One turned out fab, the other… let’s call it a “creative phase.” So, I’ve been there, I’ve wept in the mirror, and I’ve learned what not to do. Let me walk you through it like a good hair buddy should.
What Even Is a Bob Hairstyle?
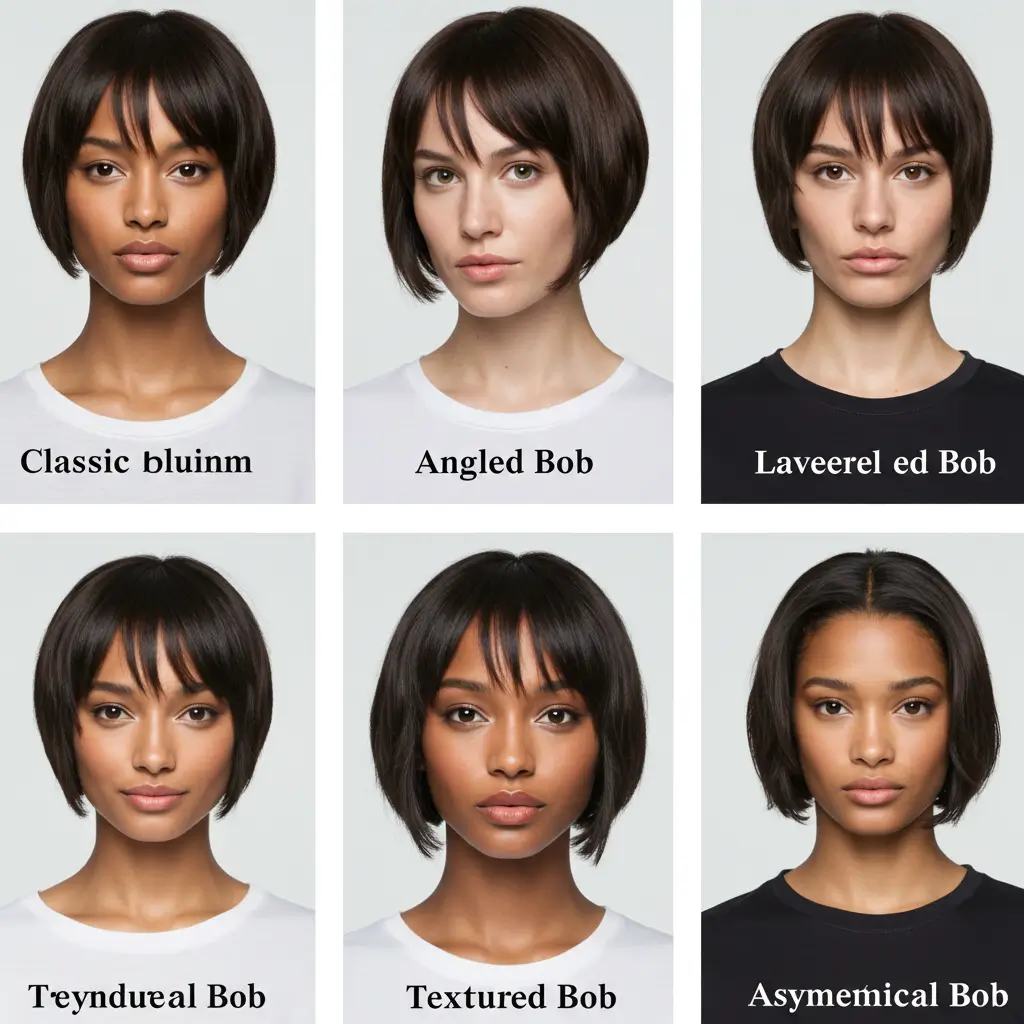
Before we start hacking at your precious locks, let’s make sure we’re all on the same page. A bob is a classic haircut where the hair is typically cut straight around the head at about jaw level. It can be angled, asymmetrical, layered, blunt, or even textured. If you’re looking for chic and low-maintenance short hairstyles, this one tops the list. It’s stylish and makes you look like you totally have your life together even if your fridge only has expired yogurt.
Tools You Need (No, Kitchen Scissors Aren’t Invited)
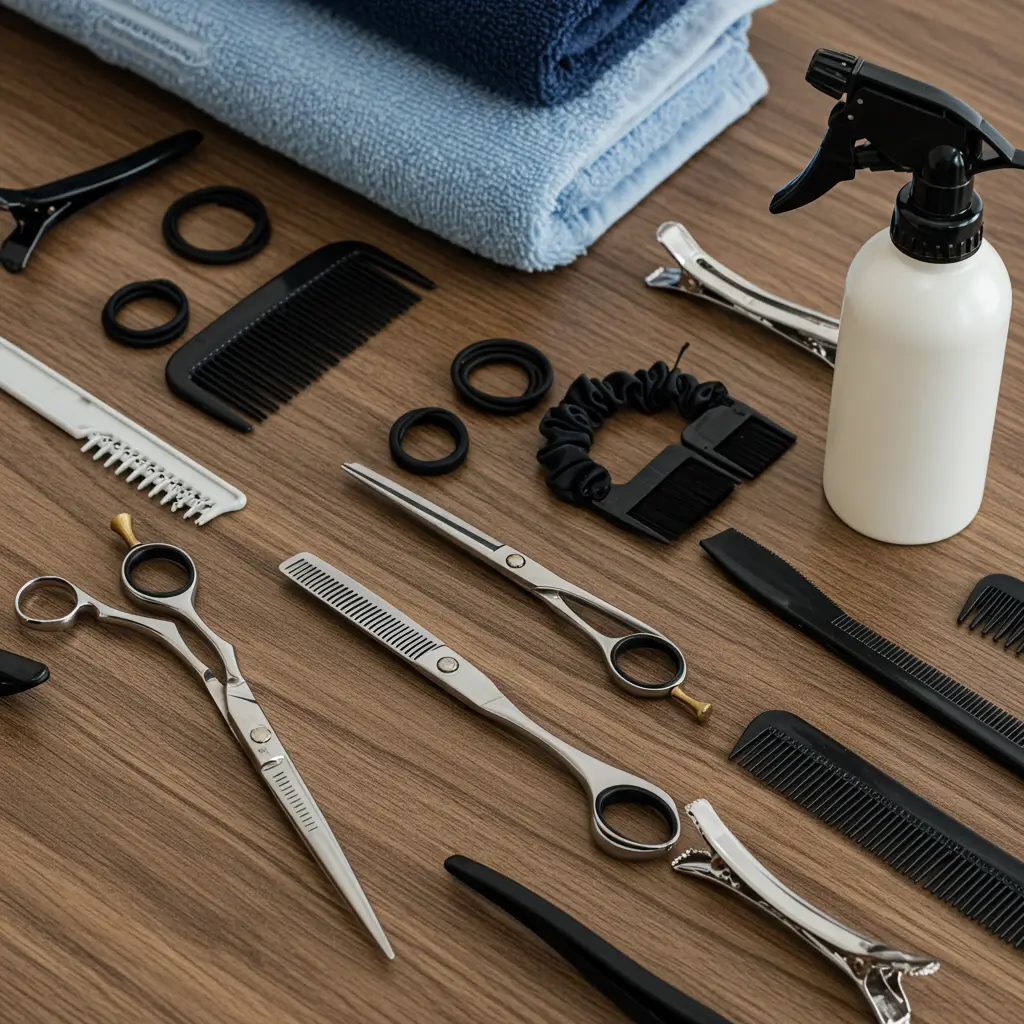
Let’s not sabotage ourselves before we begin. You wouldn’t carve a turkey with a butter knife, right? Same deal.
Here’s what you actually need:
- Hair cutting scissors (super sharp and made for hair)
- Fine-tooth comb
- Hair clips or sectioning clamps
- Spray bottle (for misting hair evenly)
- Mirror setup (front + handheld/back mirror combo)
- Hair ties (trust me)
Bold Tip: Never ever use regular scissors. They’ll massacre your ends and you’ll cry. FYI.
Step-By-Step: How To Cut A Bob Hairstyle (Without Losing Your Mind)
Always cut from back to front. This helps with symmetry, aka not ending up with one side longer than the other (we’ve all been there). And if you’re still figuring out which length suits you, our short hairstyles for round face and short hairstyles for women over 50 guides might give you a visual reference before you commit.
Step 1: Start With Damp Hair
Damp hair gives you better control, especially if you’re aiming for clean, blunt lines. Just don’t go soaking wet unless you’re really confident—you won’t see the actual shape till it dries.
Rhetorical check-in: Ever wonder why your salon cut looks shorter when dry? Yep. Shrinkage is real.
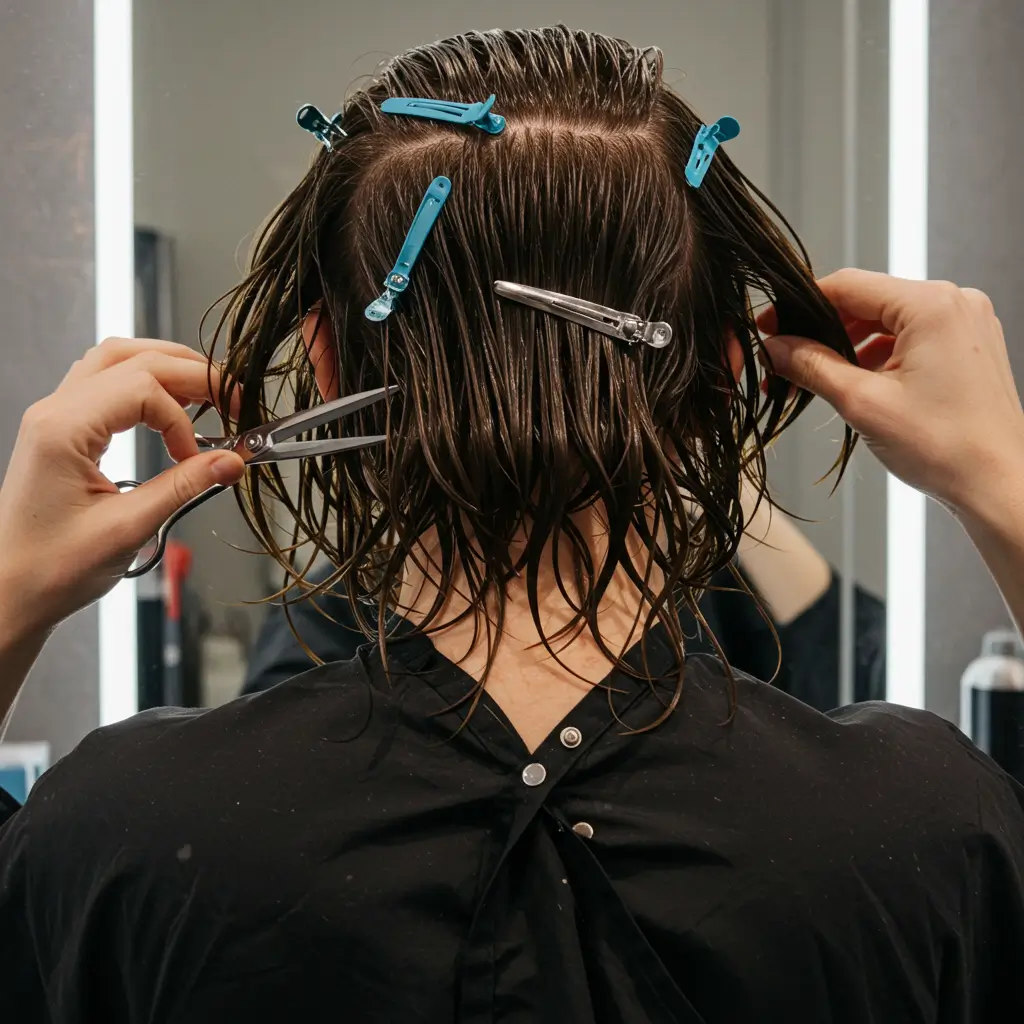
Step 2: Section Like a Pro
Divide your hair into four sections two in front, two in back.
- Clip them up
- Work from bottom to top
- Always cut from back to front
This helps with symmetry, aka not ending up with one side longer than the other (we’ve all been there).
Step 3: Decide Your Length
Pick your target length. Jawline? Cheekbone? Collarbone?
Pro tip: Always start longer than you think. You can always go shorter, but unless you’re into mullets (no judgment), you can’t glue it back.
Step 4: The First Cut (A.K.A. The “OMG Am I Doing This?” Moment)

Start with one of the back sections.
- Comb it straight down.
- Hold it between your fingers at the desired length.
- Snip straight across in small cuts. Not one big chop. You’re not Edward Scissorhands.
Bold Reminder: Always cut horizontally first, then go in vertically with tiny upward snips (called point cutting) to soften the edges.
Step 5: Match It On The Other Side
This is where you’ll find out how steady your hands are
- Use the already-cut side as your guide.
- Comb, measure, cut. And breathe.
Step 6: Tidy Up the Front
Front sections frame your face, so take your time.
- You can go blunt for a chic, edgy look or angle it slightly downward toward your chin for that modern, sleek bob vibe.
Don’t forget to point cut again to keep it from looking too helmet-y.
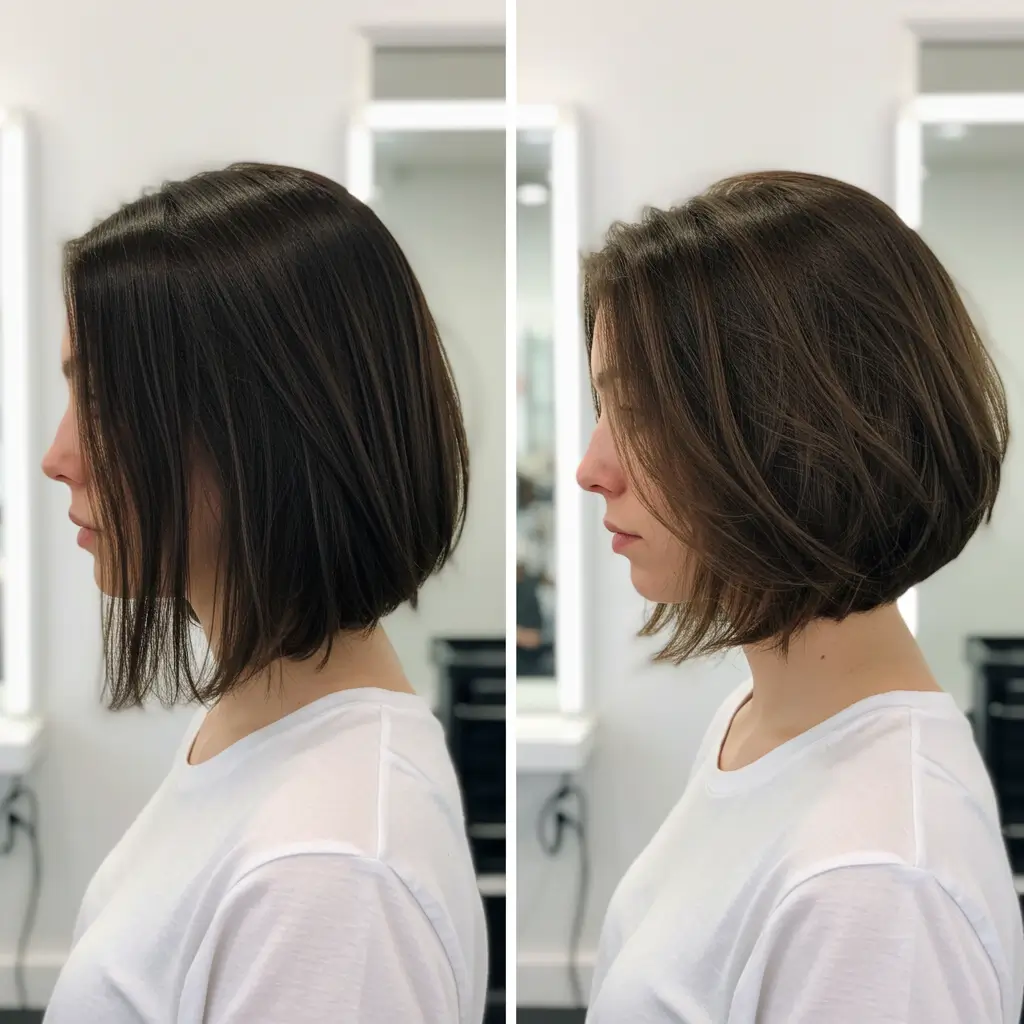
Step 7: Mirror Check & Dry
Use your mirror setup to check the back. Adjust if needed (and don’t panic if it’s a little uneven hair forgives).
Dry it completely, style it a bit, and you’ll really see the magic.
Extra Styling Tips to Make Your Bob Pop

Because a bob’s not just a cut it’s a mood. Use a flat iron for that sharp, polished look. Or go messy with some sea salt spray for effortless beach waves. Add a middle or deep side part to instantly change up the vibe. If you’re wearing your bob for a big event, check out our elegant wedding hairstyles for a bob to make your look even more special.
- Use a flat iron for that sharp, polished look.
- Or go messy with some sea salt spray for effortless beach waves.
- Add a middle or deep side part to instantly change up the vibe.
IMO, bobs look best with a bit of movement. Too stiff and you’ll look like a news anchor from 2005. Not ideal.
Common Mistakes (AKA Learn From My Pain)

Let me spare you some tears:
- Cutting dry when you’re not experienced. Hair behaves very differently when dry.
- Over-correcting. Notice one side’s off? Don’t keep trimming both until you have a pixie.
- Forgetting your hair will shrink. Always go a little longer than planned.
- No point cutting. Flat ends = mushroom cap realness. Not cute.
Should You Layer Your Bob?
Short answer? Maybe. Layers add texture and volume, especially if you have thick or wavy hair. But if you’re cutting it yourself for the first time, I’d say skip the layers. You can always add them later. If you decide to go for it, check out our tutorial on how to cut long layered hairstyles first it offers pro-level insights on layering without regrets.
Final Thoughts: You Got This
Cutting a bob at home isn’t rocket science but it does take patience, the right tools, and the ability to laugh when things go a bit sideways.If you’re unsure, practice on a wig first. Or at least don’t attempt this at 2 a.m. after watching one TikTok tutorial. Just saying.
But seriously if I can do it, you can too. Be bold, be careful, and worst case? Hats are still in fashion.
TL;DR (Too Long, Didn’t Read?)
- Use actual hair-cutting scissors
- Cut hair damp, not dripping
- Section your hair and start from the back
- Always cut longer first you can’t un-chop
- Use point cutting for soft, natural ends
- Style with flat irons, texture spray, or a bold parting
- Don’t stress hair grows back
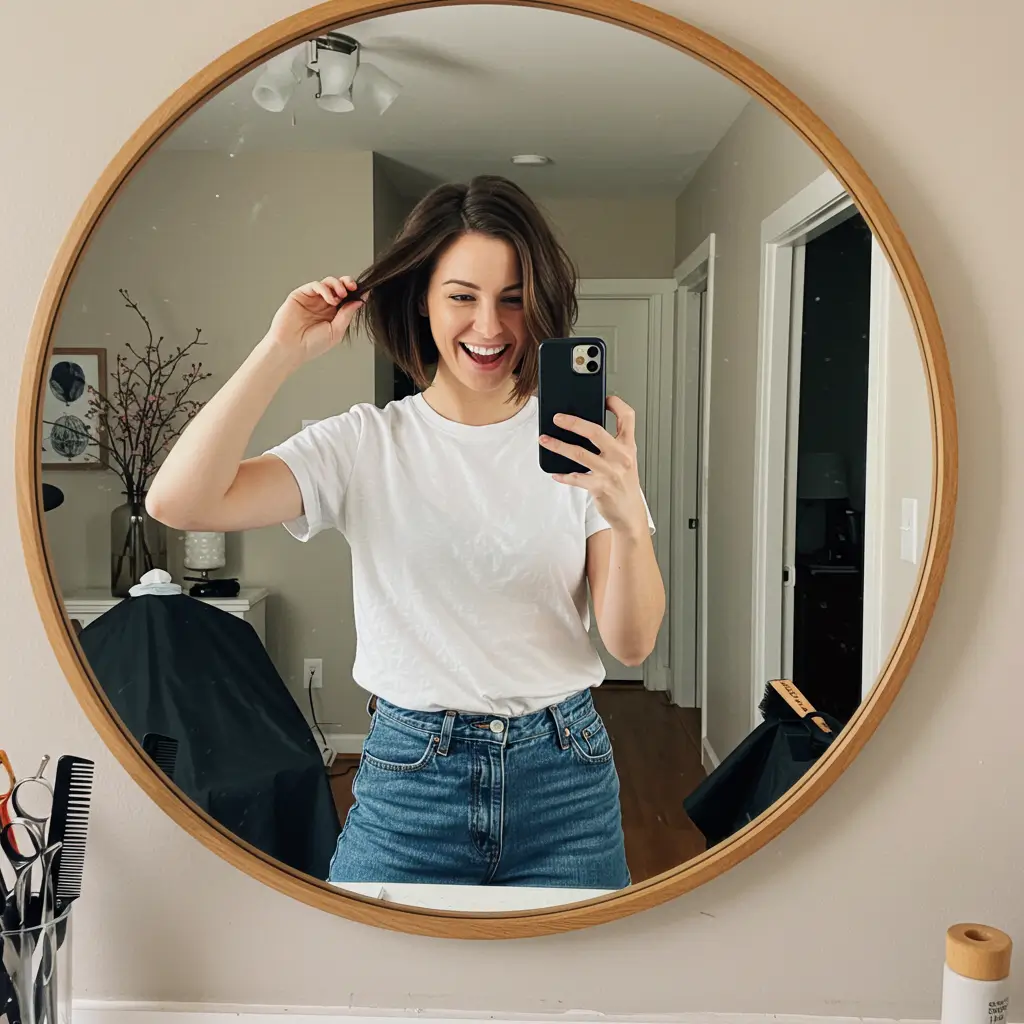
Now go forth and snip confidently. And hey, if it turns out amazing, tag me next time you post that mirror selfie