
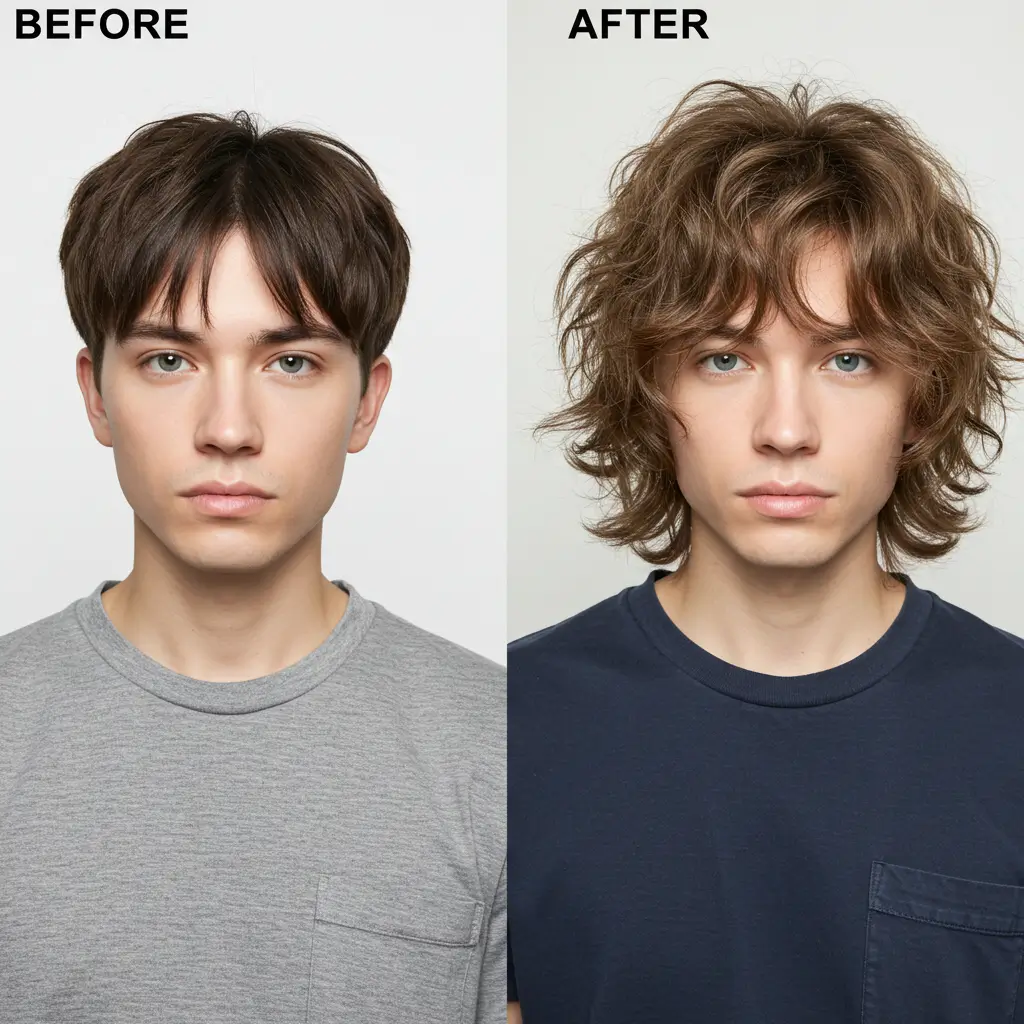
How To Cut A Shag Hairstyle?
So you’ve decided to cut a shag hairstyle. Bold move, my friend. Whether you’re doing it yourself (DIY warriors unite!) or giving your stylist some serious direction, the shag is back and it’s not just for ’70s rock stars or your artsy aunt from Portland. This cut has layers, personality, and just enough rebellion to make your hair look like it lives a more exciting life than you do.
I’ve cut a few shag styles on myself and my friends, and yeah some turned out amazing… others looked like I fought with a lawnmower and lost. That’s why I’m here to walk you through it the right way.
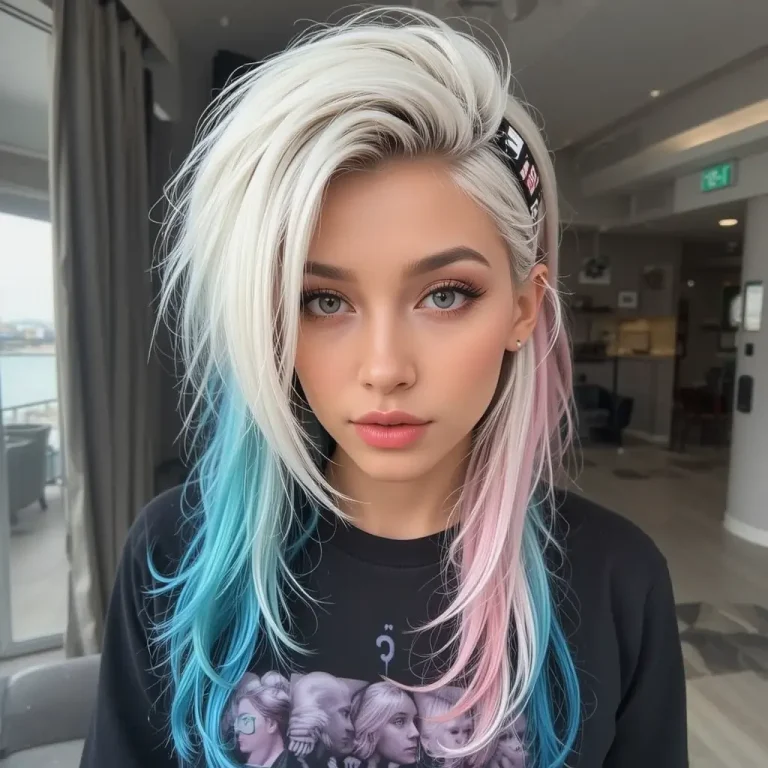
What Even Is a Shag Cut?
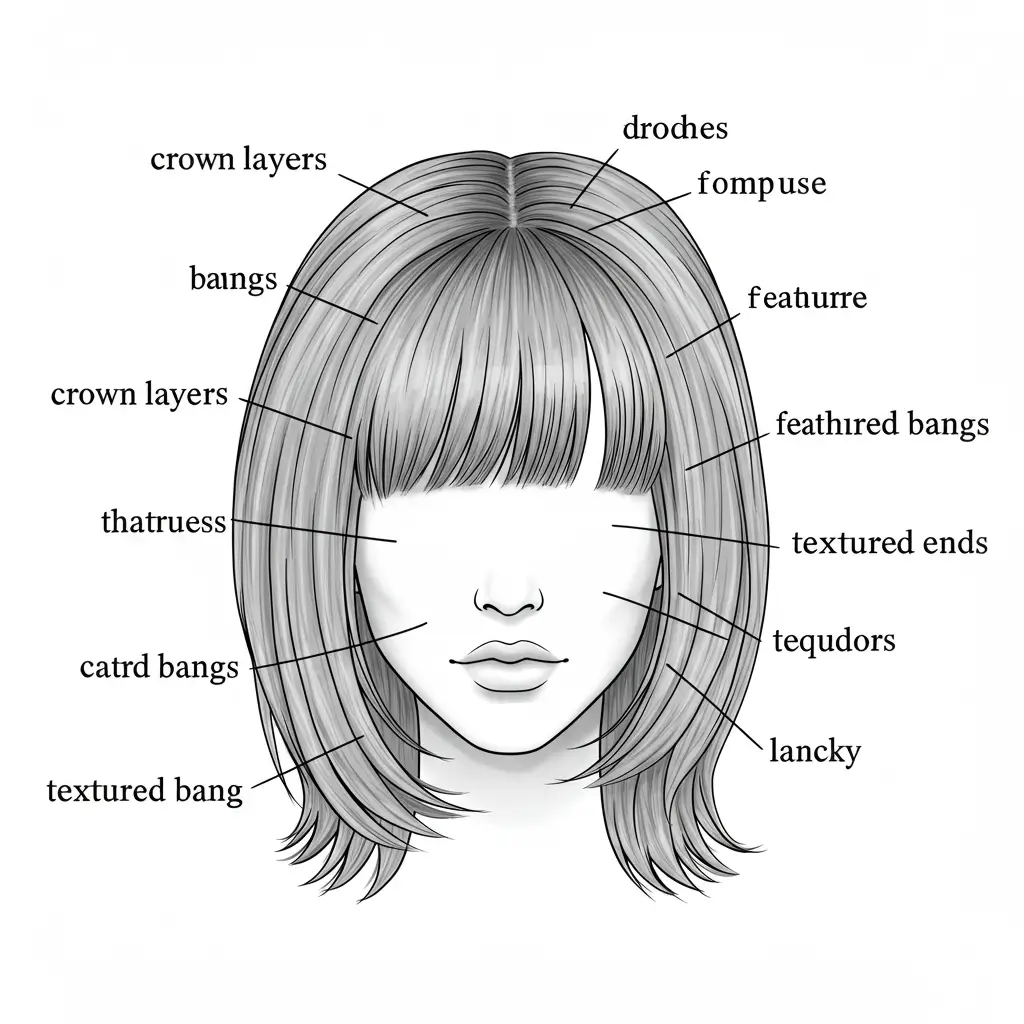
Alright, let’s get this out of the way: a shag haircut is all about layers, texture, and attitude. Think messy, lived-in, and cool without trying too hard (which we both know is trying… but let’s pretend). If you love layered movement and undone volume, you’ll find similar charm in other medium length hairstyles with layers too.
It usually features:
- Shorter layers around the crown for volume.
- Longer layers around the back and sides.
- Feathers or curtain bangs (optional, but so recommended).
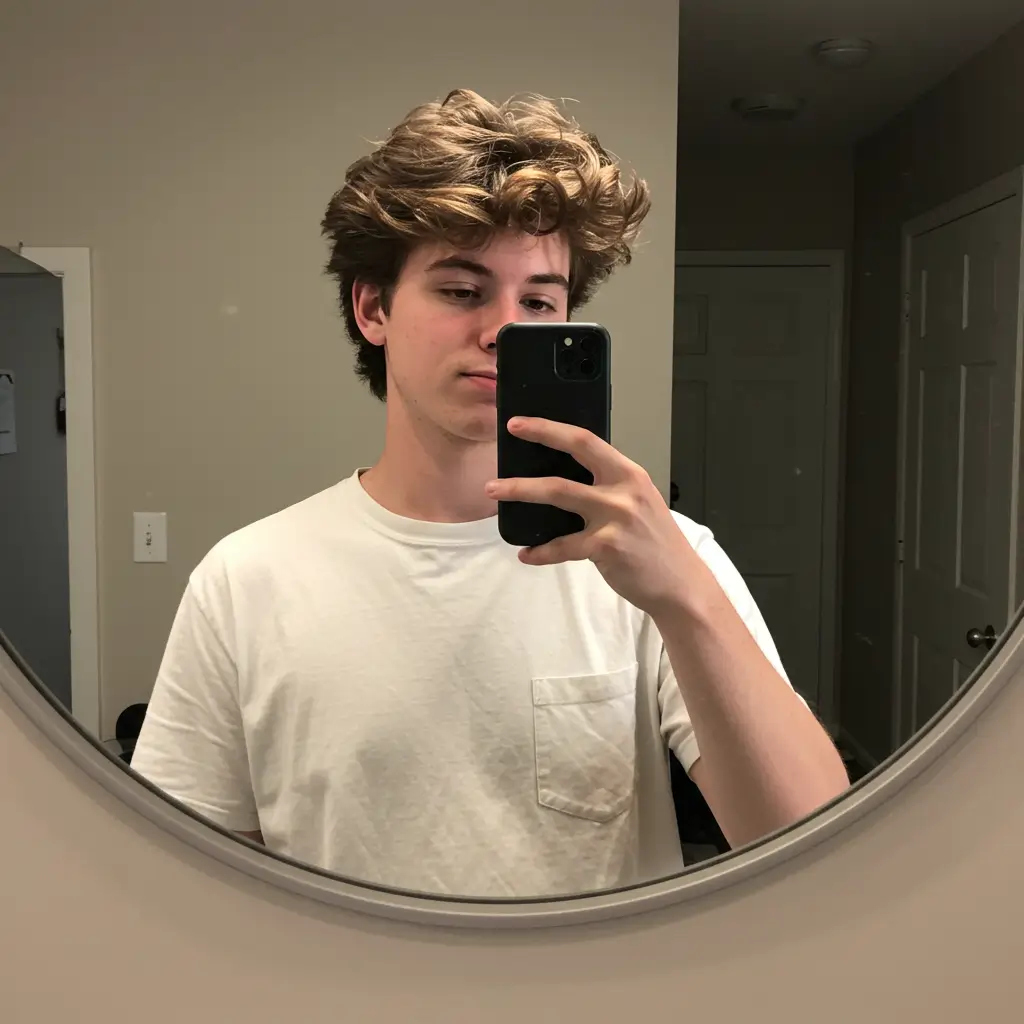
- A “just rolled out of bed” look that somehow still looks fabulous.
The best part? It works on straight, wavy, and curly hair. Basically, if you’ve got hair, you’ve got potential.
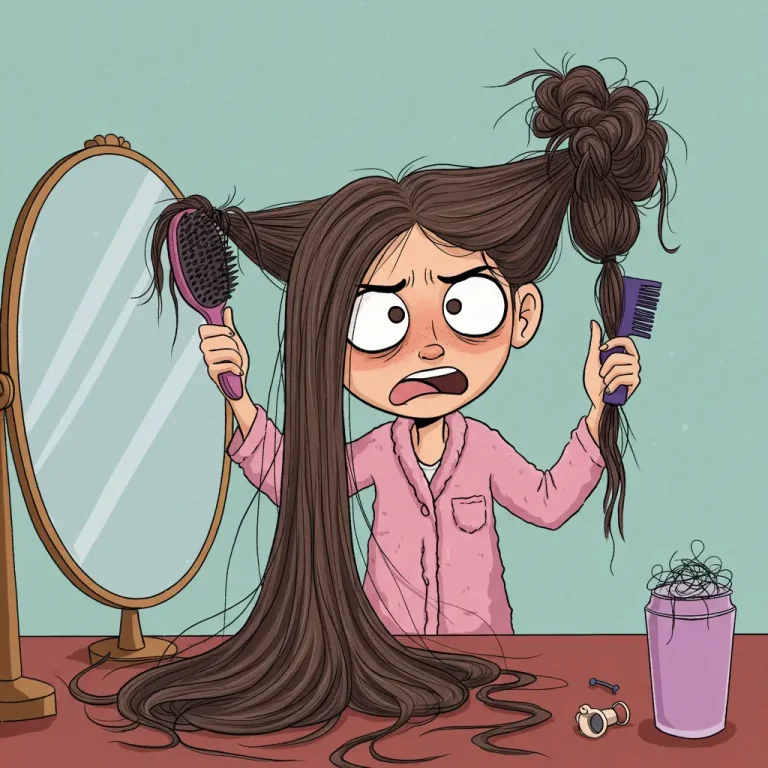
Tools You’ll Need to Slay This Shag
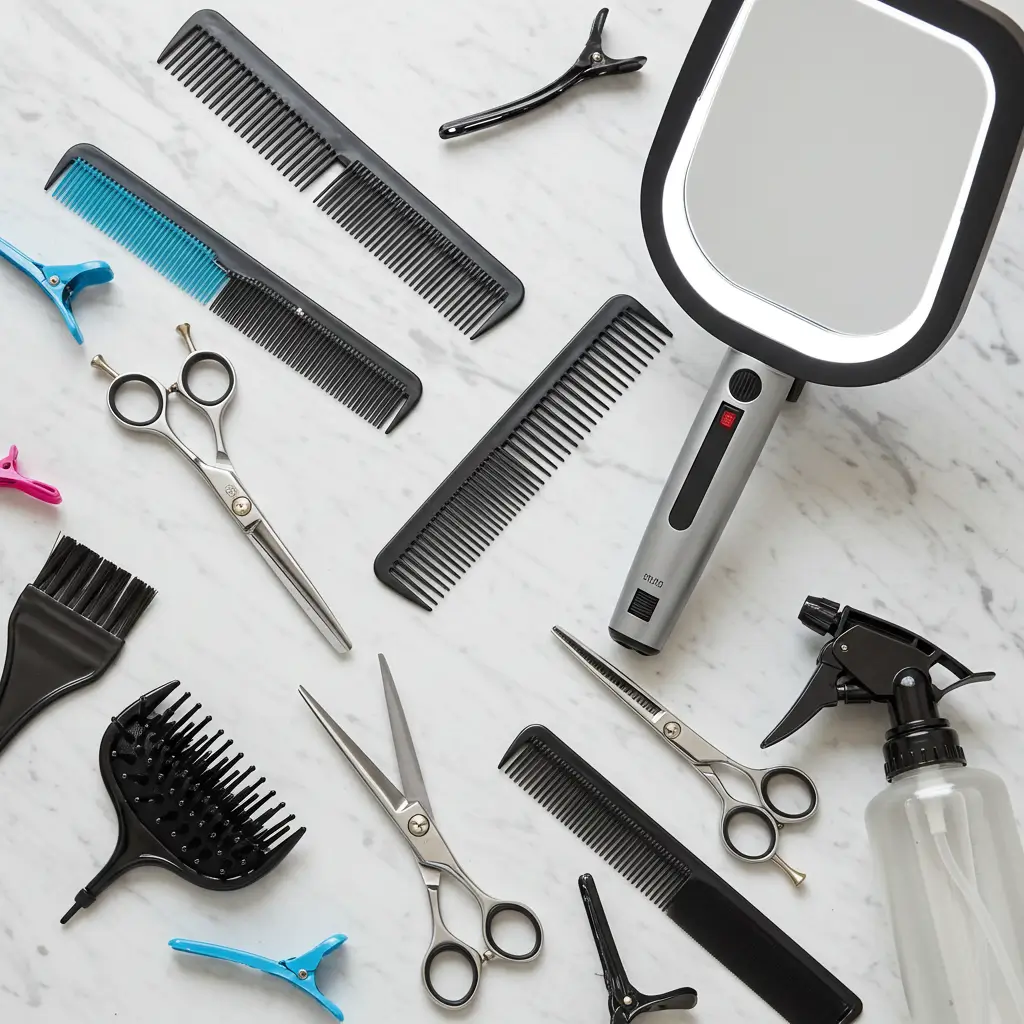
Before you grab kitchen scissors and start hacking (please don’t), gather the right tools. You’re not Edward Scissorhands, but with these, you might fool yourself into thinking you are. And if this is your first haircut attempt, consider reading a full hairstyles guide before diving in knowledge = fewer regrets.
Must-haves:
- Professional hair cutting shears – Not the ones you use to open Amazon boxes.
- Thinning shears – For removing bulk and blending like a pro.
- Sectioning clips – Because working in chaos never ends well.
- Fine-tooth comb and wide-tooth comb – One for precision, one for fluff.
- Spray bottle – Keep it damp, not drenched.
- Mirror setup – Preferably a 3-way or a friend who owes you a favor.
Bonus tip: Don’t cut your hair while emotional. The “breakup shag” rarely ends up Instagram-worthy. FYI.
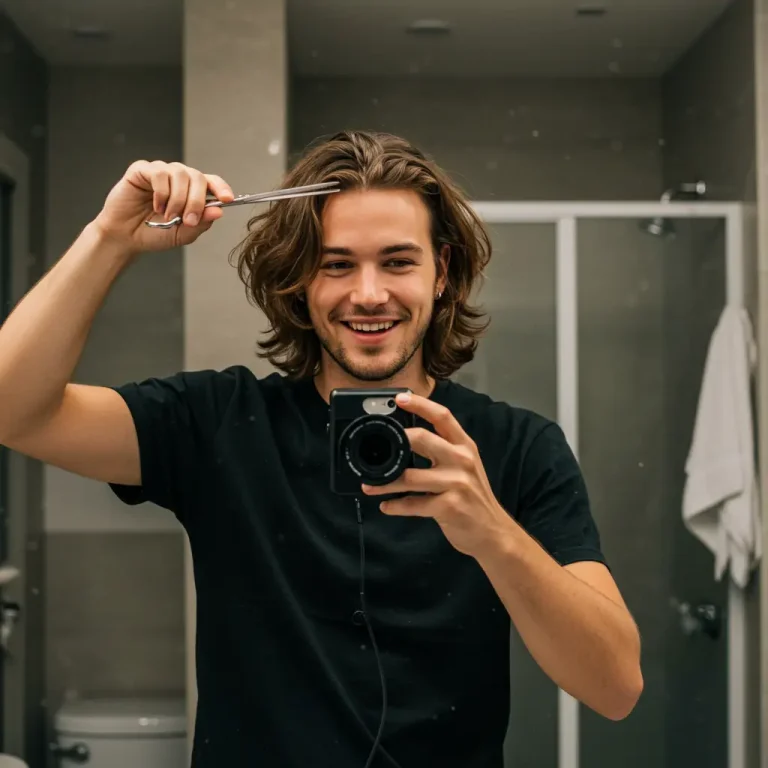
Step-by-Step: How To Cut A Shag Hairstyle At Home
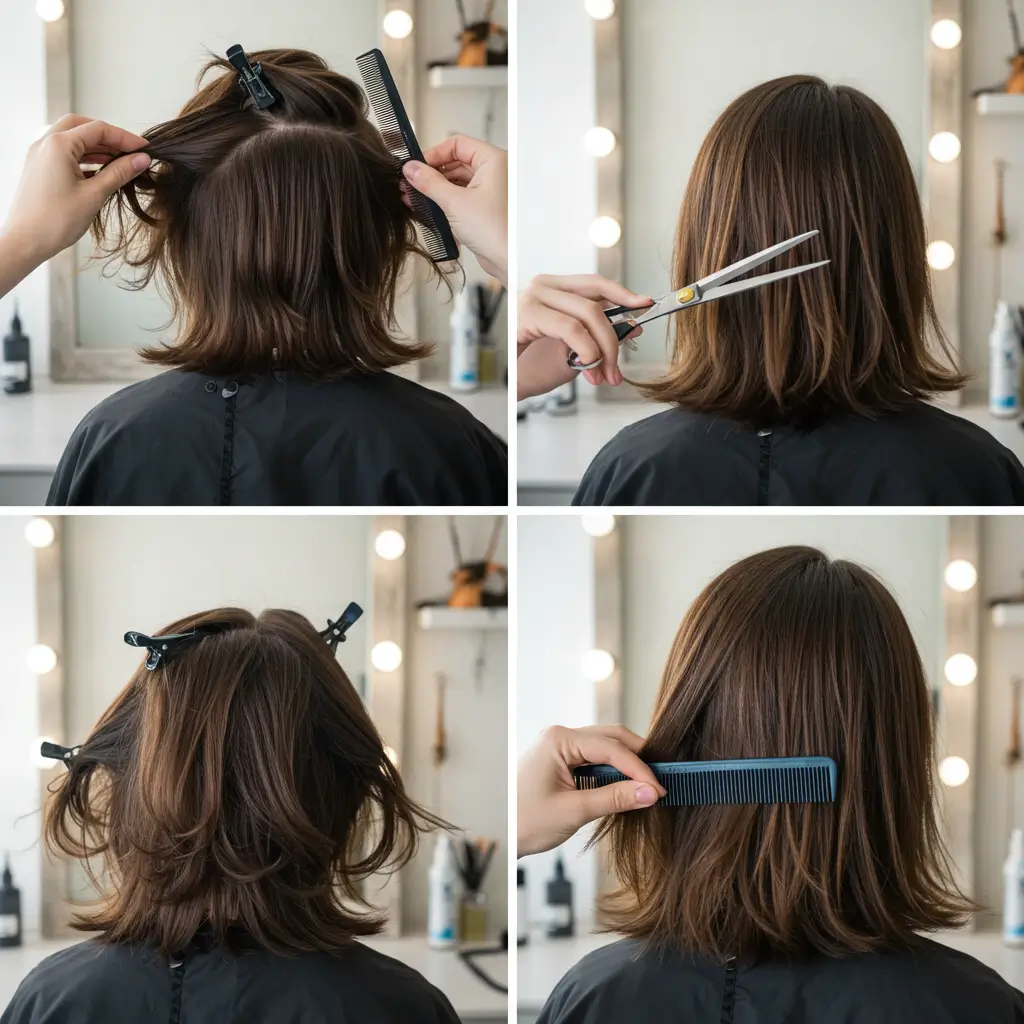
1. Start With Damp, Clean Hair
Not dripping wet. Just enough to stay manageable. You want to see how your natural texture lies when slightly damp. Plus, dry hair hides sins better, but wet hair tells the truth.
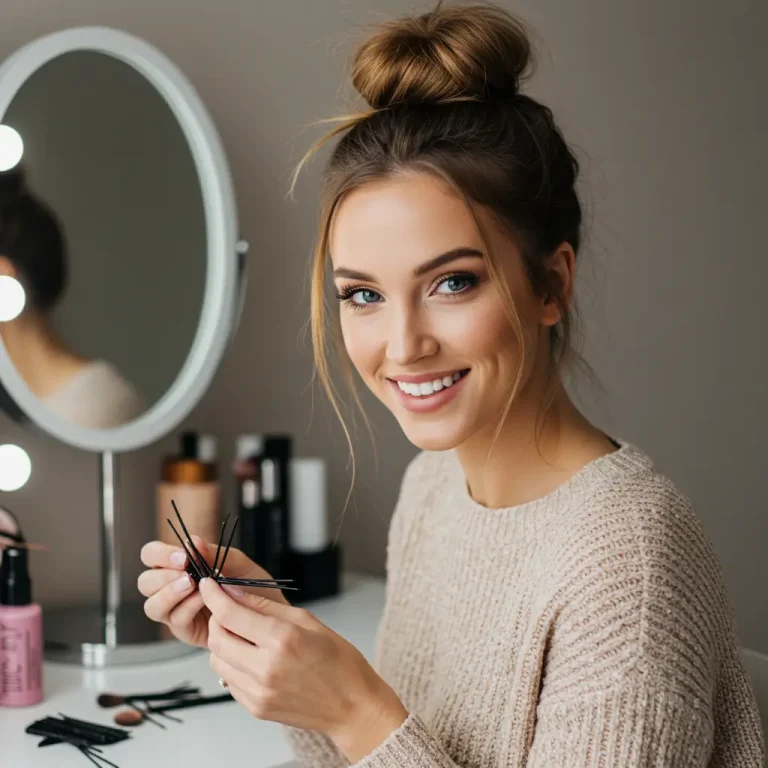
2. Section It Like a Boss
Divide your hair into 5 main sections:
- Top (crown area)
- Two sides
- Back upper (midsection)
- Back lower (nape area)
Clip them up. Don’t skip this. Unless chaos is your aesthetic.
3. Begin With the Crown Layers
Start with the top section. This is your volume zone.
- Take a section from the top.
- Hold it straight up (like you’re offering your split ends to the haircut gods).
- Cut at a 45-degree angle to keep it soft and layered.
- Use that as your guide and work outward.
Bold reminder: These crown layers make or break the shag. Keep them choppy, not blunt.
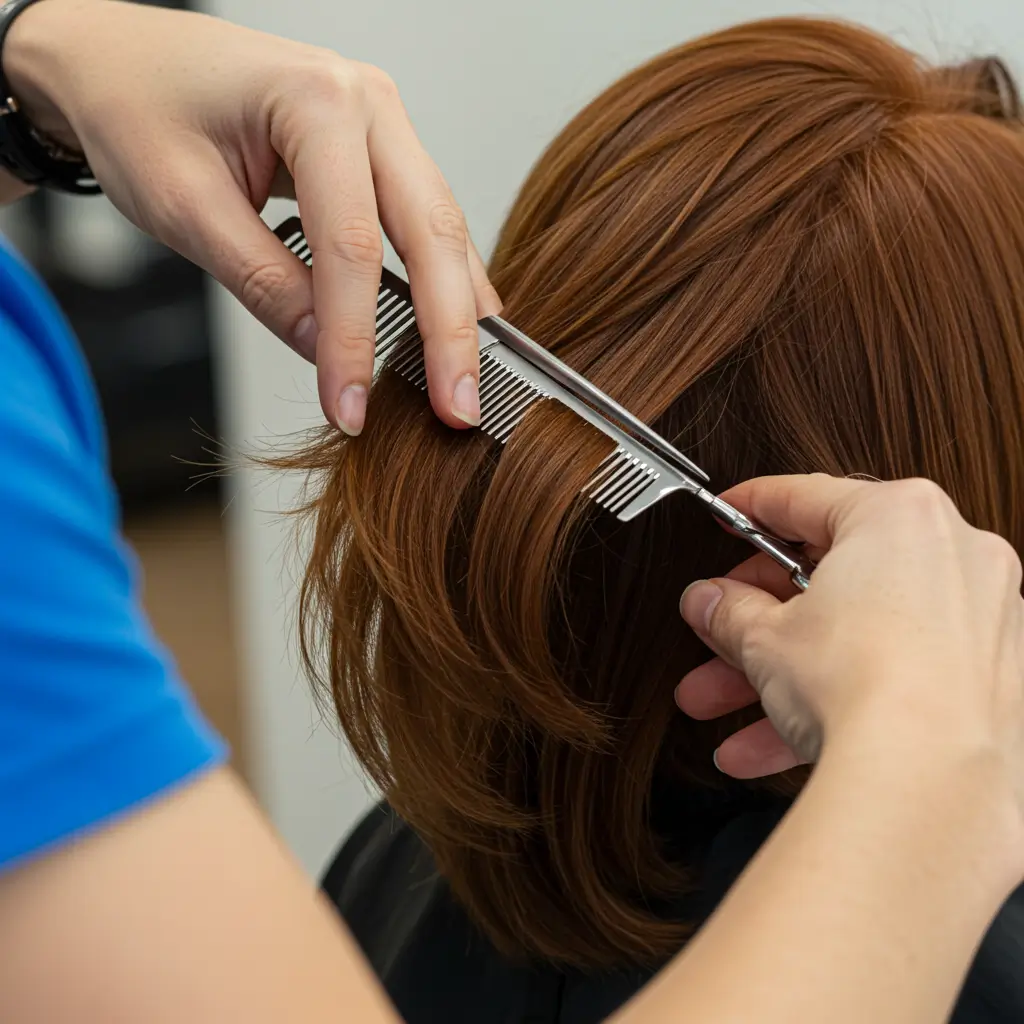
4. Face-Framing Magic
Now move to the front. Time to add drama (but the good kind).
- Take a small section near your temples.
- Angle your shears downward and snip in short, light strokes.
- Think feathered, not chopped. You’re not slicing a cucumber here.
These pieces frame your face and connect the crown to the rest.
Curtain Bangs: The Cherry On Top

Optional? Yes. Regrettable? Rarely. If you’re a fan of that swoopy, effortlessly cool fringe, curtain bangs are basically made for shags. For extra inspiration, check out our post on wedding hairstyles for curtain bangs you’d be surprised how versatile they really are.
- Section a triangle from the front of your hairline to just above the arches of your eyebrows.
- Comb it straight down.
- Cut in the center first (start longer than you think—seriously).
- Work your way outward, angling the scissors diagonally for that classic curtain swoop.
IMO, curtain bangs are the unsung heroes of a shag. They pull the look together like eyeliner for your face.
Thinning & Texturizing: The Secret Sauce
Okay, you’ve got the shape. But the magic? That’s in the texture.
Use your thinning shears to:
- Soften heavy ends.
- Blend harsh transitions between layers.
- Add airiness to the whole cut.
Just don’t overdo it. Thin too much and your hair will look like it’s trying to disappear.
Finishing Touches & Styling Tips
You did it! You gave your hair a whole new personality. Now it’s time to style: mousse or texturizing spray for volume, sea salt spray for grit and wave, and maybe even a bit of wax to bring those layers to life. Looking for more hair ideas by type or occasion? Browse our full hairstyles collection for endless looks.
Now it’s time to style:
- Mousse or texturizing spray for volume.
- Sea salt spray for grit and wave.
- Blow dry with a diffuser or air-dry if you want a lazy vibe (no judgment).
Finish with a light wax or pomade to piece out those layers.
And remember this cut thrives in chaos. The messier it looks, the more intentional it seems. Go figure.
What To Avoid (Learn From My Mistakes )

- Don’t cut layers too short unless you’re into the poodle aesthetic.
- Avoid blunt cuts; this isn’t geometry class.
- Don’t skip blending. Harsh lines will haunt you.
- Never trust bad lighting. Check in daylight before calling it a win.
Final Thoughts: You Got This
So now you know how to cut a shag hairstyle without a meltdown (hopefully). It’s rebellious, effortless, and lets your natural texture do most of the talking. Even if it’s not perfect, the beauty of a shag is that it’s meant to be a little wild.
Worst case? It grows out funky cool. Best case? You walk around looking like a vintage rockstar who just rolled out of bed and onto a Vogue cover.
Either way you’re winning. Now grab those shears (the good kind!) and give your hair the chaotic good it deserves.
Ready to rock your shag? Or still nervously holding those scissors like they might bite? Either way, go for it and tag me in the before & afters, yeah?