How To Do Braided Hairstyles: A Fun, Friendly Guide
Alright, real talk braided hairstyles look complicated, right? All those perfectly woven strands, the cool patterns, the elegance (or edge)? But here’s the thing: once you learn a few tricks and stop panicking over every stray hair, braiding becomes almost therapeutic. Like, “put on your favorite playlist and vibe” kind of therapeutic.
I used to stare at Instagram braid reels thinking, “Yeah, no way I’m doing that.” But I’ve since learned that you don’t need wizard-level hair magic to pull off stunning braided styles. You just need a bit of patience, a mirror, and this guide (plus maybe a bobby pin or twelve).
Let’s get into it minus the stress, plus some sass.
Start With The Basics: Braids 101
Before we tackle the fancy stuff, let’s break down the three most common braids. These are your foundation. Master these, and you’re golden. Whether your hair is long, medium, or short, these basics set you up for all kinds of braided hairstyles.
1. The Classic Three-Strand Braid
The OG of braiding. Simple, effective, and probably the first style your mom tried on you while you squirmed as a kid.
Here’s how to do it:
- Divide your hair into three equal sections.
- Cross the right section over the middle, then the left over the new middle.
- Repeat until you run out of hair.
- Tie it off and boom, you’re braided.
Pro tip: For that Pinterest-perfect looseness, gently tug the outer edges to “pancake” the braid.
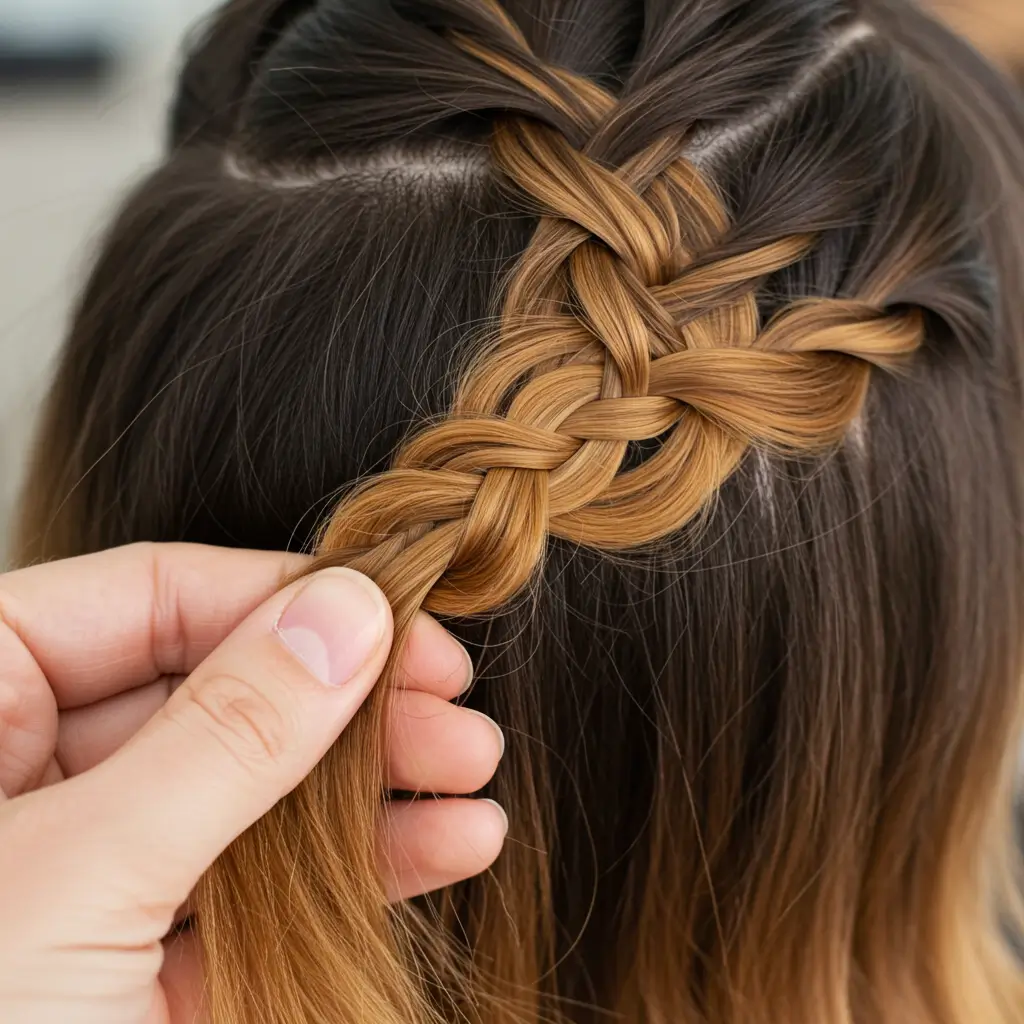
2. The French Braid
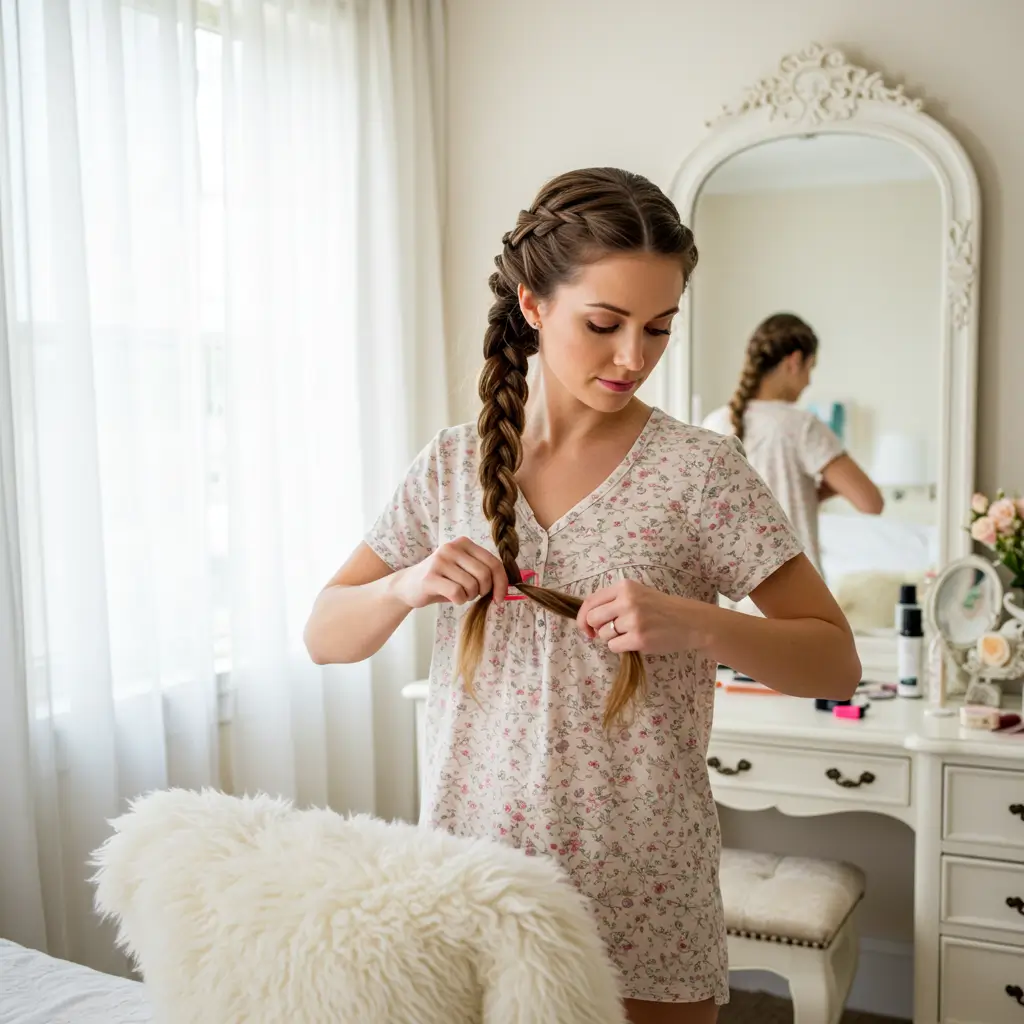
A bit more involved, but so worth it. It hugs your scalp and looks way fancier than it actually is.
How to French braid:
- Start with three small sections at your crown.
- Cross right over middle, then left over middle.
- Here’s the kicker: add more hair to each outer section before crossing again.
- Keep going until you hit the nape, then switch to a normal braid and tie it.
Why it’s awesome: Keeps your hair out of your face and looks super elegant. A win-win.
3. The Dutch Braid (aka the Reverse French Braid)
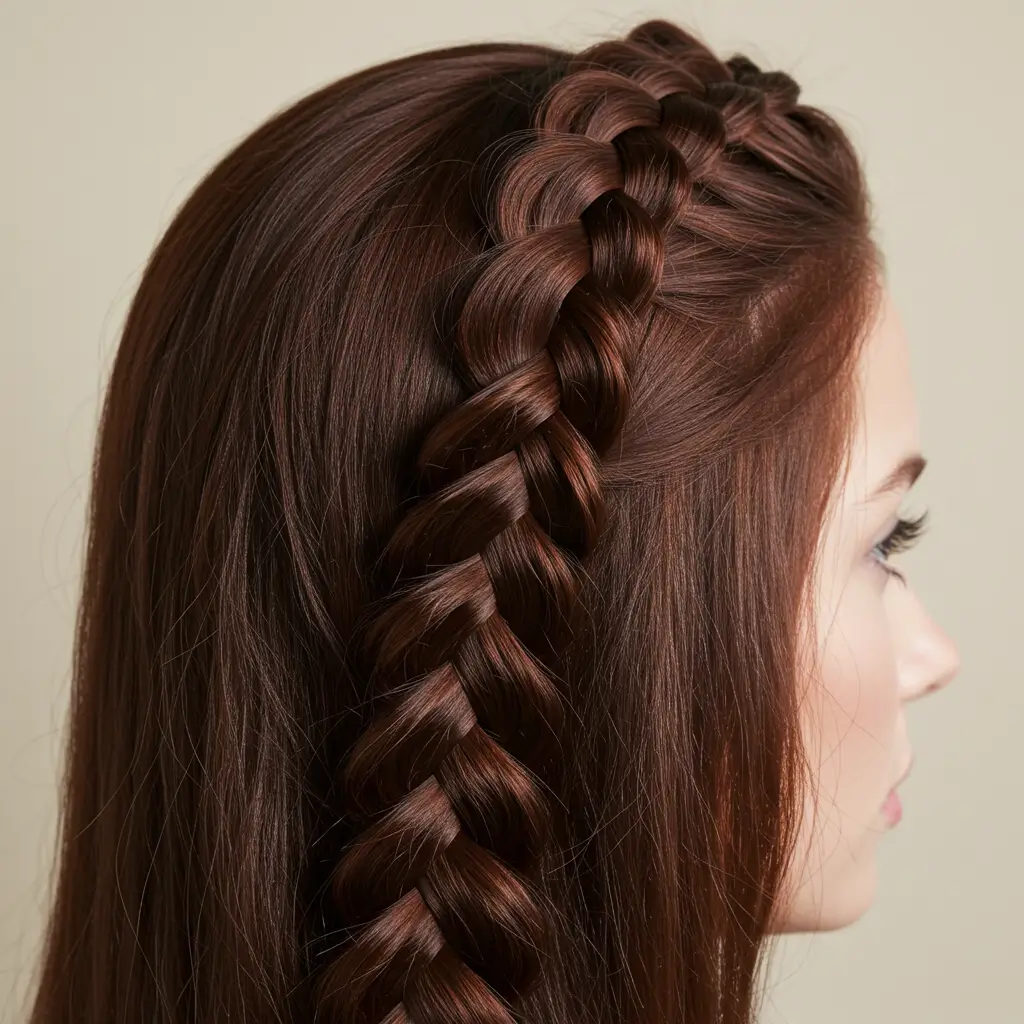
It’s like the French braid’s edgy sibling.
Same process as French, but instead of crossing over, you cross under the middle section. This makes the braid pop out more it’s basically 3D.
FYI: If you’re new to braiding, Dutch braids will feel weird at first. Stick with it. Trust me.
Section Like a Pro
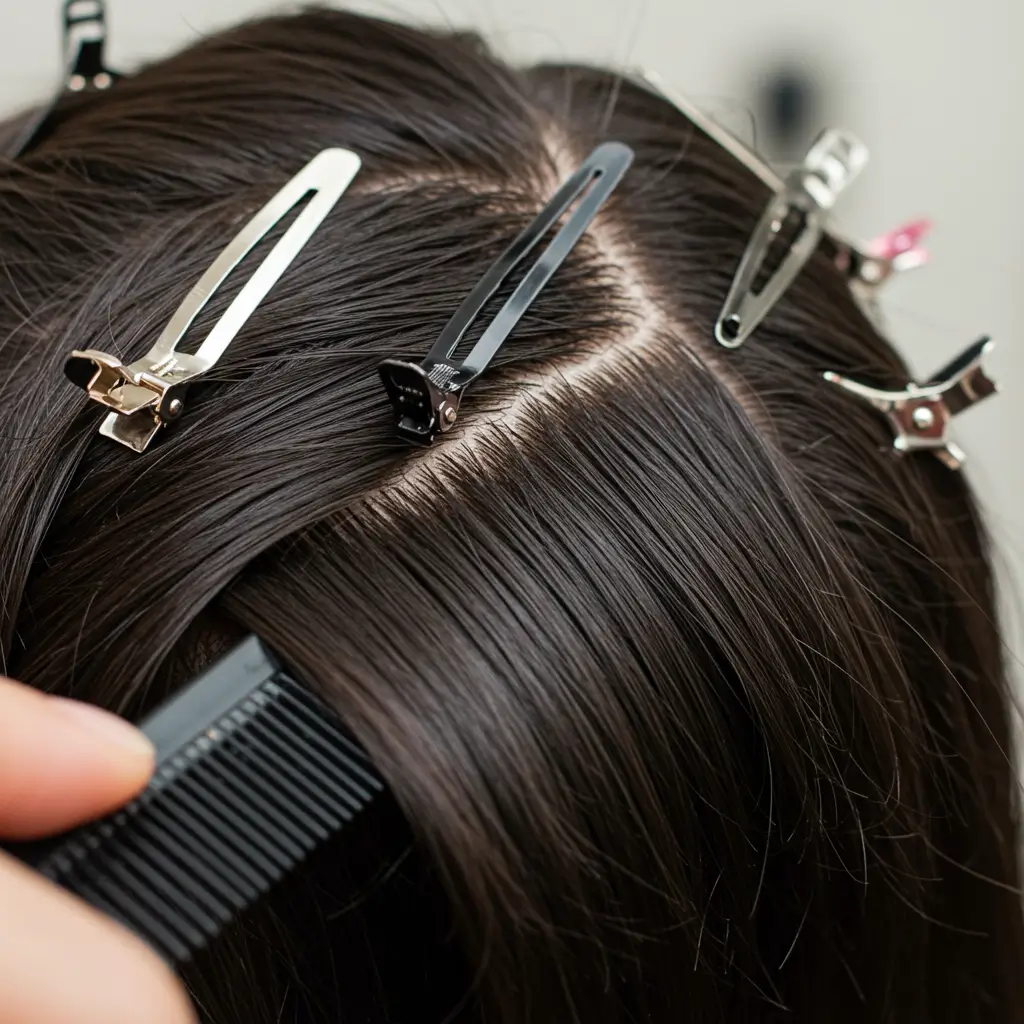
You ever try braiding and your sections turn into one giant bird’s nest? Yeah, same. The secret is clean sections.
- Use a rat tail comb to part your hair neatly.
- Clip the sections you’re not using so they don’t get all up in your business.
- Mist your hair with water or a little styling cream to keep flyaways at bay.
Honestly: prepping your hair properly is like stretching before a workout. It sucks to skip it.
Add Some Spice: Popular Braided Styles To Try
Once you’ve got the basics, you can start experimenting. Here are some chef’s kiss styles to try out when you’re feeling fancy. From long hairstyles to short hairstyles, braided looks are versatile enough to fit any vibe.
1. Double Dutch Braids

Bold, sporty, and cute. Think boxer braids but way more “cool girl at brunch” than “training montage.”
- Part your hair down the middle.
- Do a Dutch braid on each side.
- Tie ‘em off with scrunchies or clips for bonus style points.
2. Fishtail Braid
Looks insane. Isn’t.
- Split hair into two sections.
- Take a tiny piece from the outside of one section, cross it over, and add it to the other section.
- Repeat. Forever. (Okay, not forever, but it takes a bit.)
IMO, this one’s for when you’ve got a chill afternoon and a good show to binge.
3. Crown Braid

Wanna feel like a literal goddess? Do this.
- Make two braids from each side of your head.
- Wrap them over the top like a headband.
- Pin them in place like your life depends on it.
Now go stare at yourself in the mirror and try not to feel majestic.
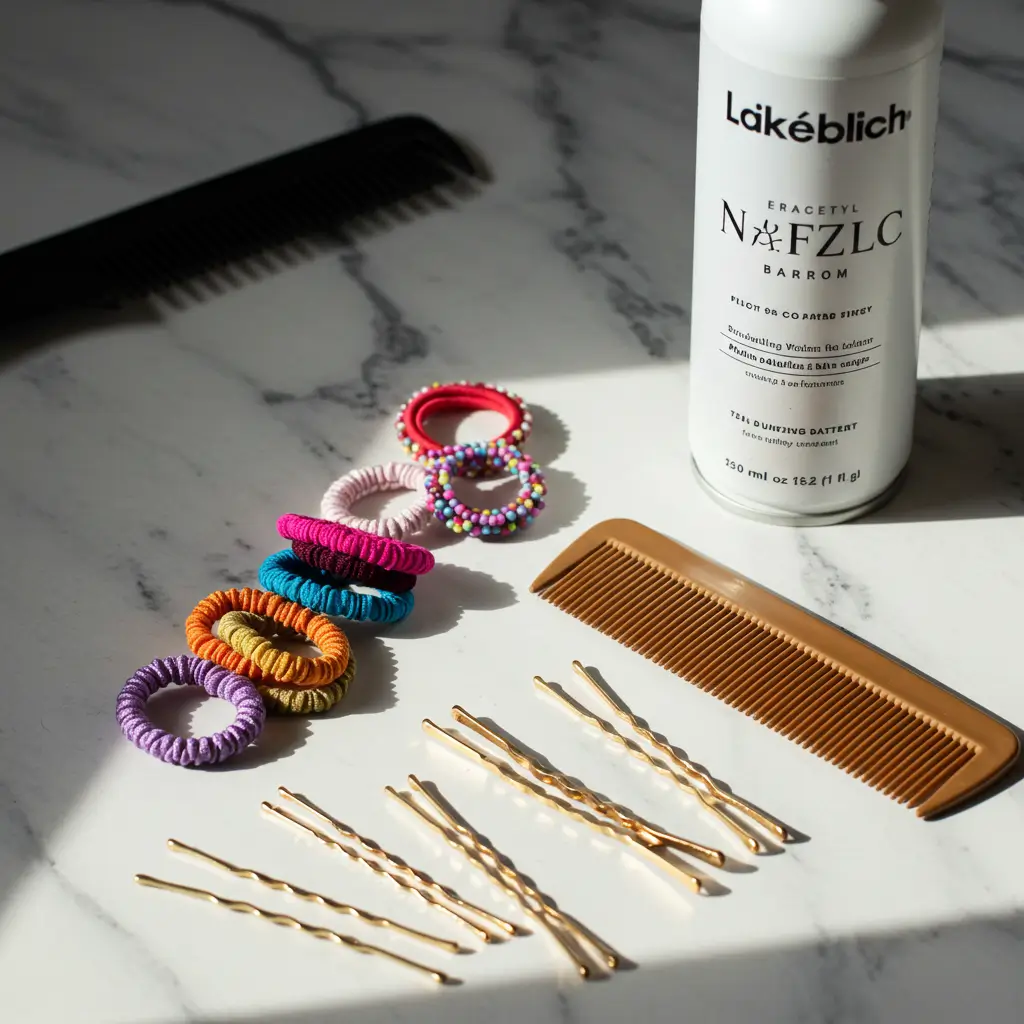
Tools That Make Life Easier
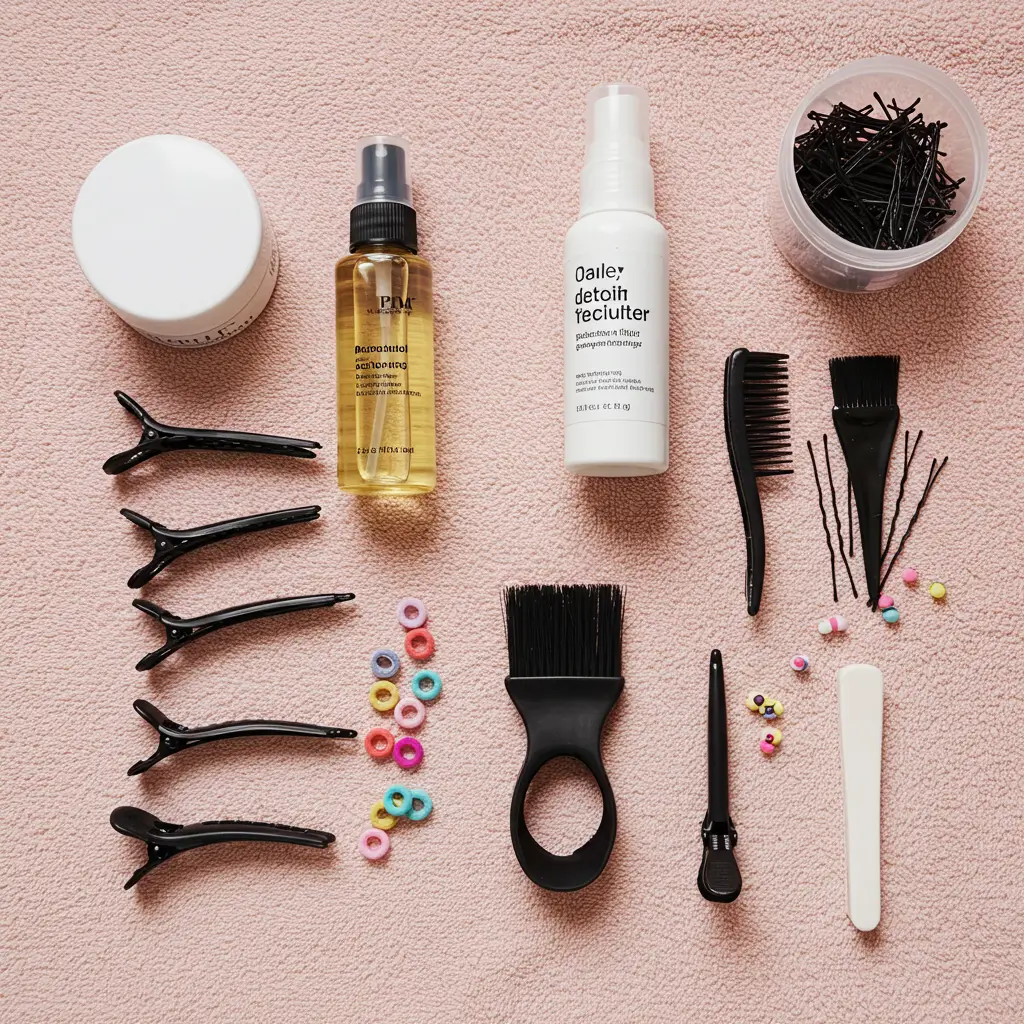
Sure, your fingers can work magic but a few tools won’t hurt. Here’s what I always keep in my braid bag:
- Rat-tail comb for clean parts
- Texturizing spray for grip
- Mini elastics (clear ones = invisible power)
- Bobby pins (aka the real MVPs)
- Hair clips or sectioning clamps
Bold truth: If you’re trying to braid without clips or elastics, you’re basically fighting with your hair and losing.
Braiding Tips From Someone Who’s Messed Up A Lot
Every hair texture brings its own flair and challenges. So let’s break it down real quick:
- Straight hair: Use styling cream or spray to add grip before braiding. Otherwise, it’ll slip out like it’s got commitment issues. For inspiration, check out our hairstyles for straight hair.
- Wavy hair: Ideal for most styles! A quick finger comb and you’re golden.
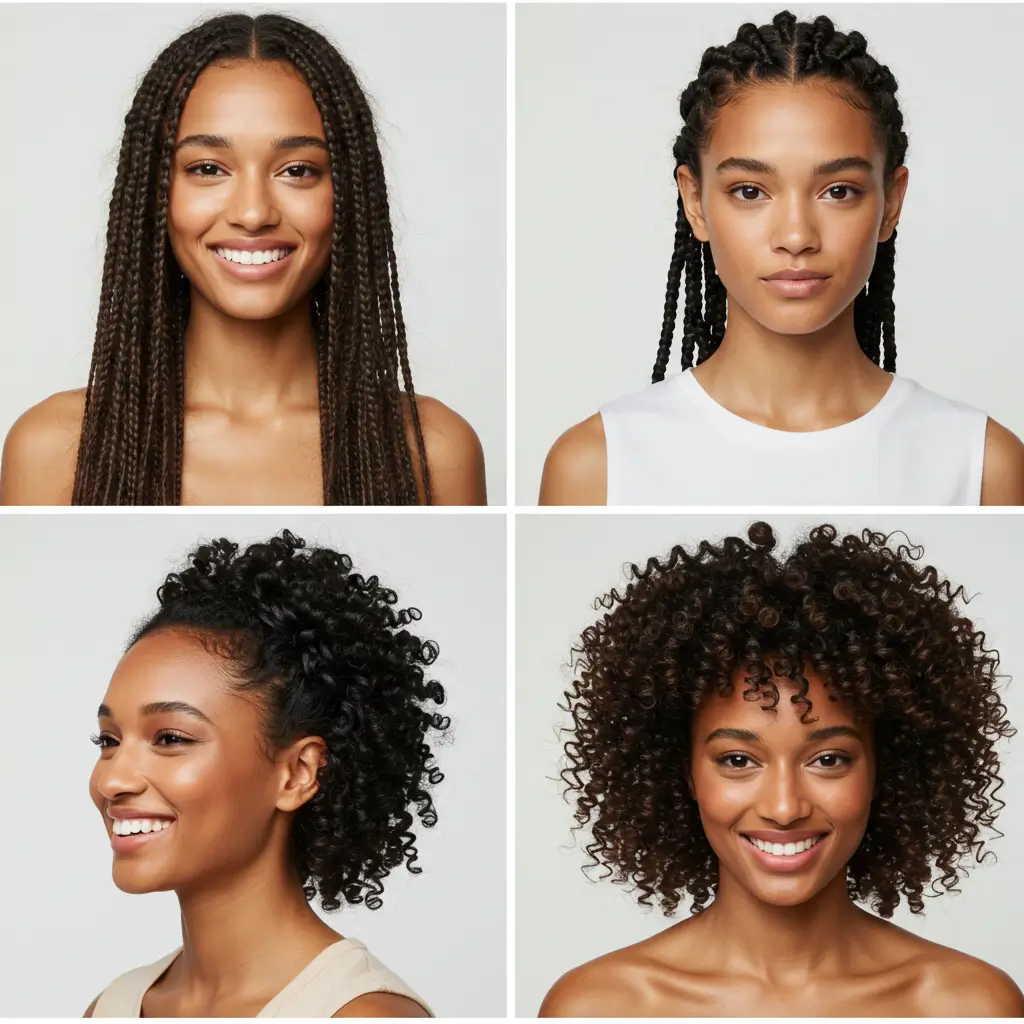
- Curly or coily hair: Use leave-in conditioner or oil to make parting and braiding smoother. Braids hold like a dream and look STUNNING with natural volume—especially on African hair types or kids with curls.
Braiding for Different Hair Types
Hey, I’ve been there. My first few braids looked like tangled headphone wires. Here’s what I wish I knew sooner:
Practice on someone else first if you’re struggling on yourself. Or use a wig head if you’re really committed. Don’t braid on freshly washed hair it’s too slippery. Day 2 or 3 hair works best. These tips apply whether you’re doing everyday looks or wedding hairstyles with intricate braids.
Final Thoughts:
Braiding your own hair might seem like a magic trick at first, but here’s the truth: it’s 90% muscle memory, 10% vibes. Keep practicing, watch some tutorials, and don’t stress if it’s not perfect on the first try or the fifth.
So next time you’re standing in front of the mirror with a brush in one hand and a hair tie in the other, remember: you’re not just doing a hairstyle, you’re crafting a vibe. Own it.
Now go grab those elastics and start braiding. You’ve got this. And if you totally mess it up? Hey, messy buns were invented for a reason.